Loading ...
Loading ...
Loading ...
10
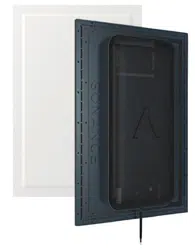
7. Remove the space saver, if applicable. Hold onto
the speaker wire attached to the back and pull it
through the opening, being careful not to damage
the surrounding drywall. The space saver can be
kept for future installations or recycled.
8. OPTIONAL: If the zip ring was also used, cut the
drywall at the speaker location using a zip tool and
the zip ring as a guide. Be sure to cut along the
outside edge of the zip ring. It will stay in place
permanently.
9. Install shims to your framing as needed. Half inch
(12.5mm) drywall does not require shims in most
cases. If you are using a thicker substrate such as
5/8” (15mm) drywall, we include a thick 1/8” (3mm)
shim to bring the speaker flush to the installation
surface. We also include a full set of thin 1/16”
(1.6mm) shims to make installation in a variety of
substrates easier.
NOTE: When using shims, make sure all 4 speaker
edges (top, bottom, and sides) are supported for a
flush install surface around the entire perimeter of
the speaker.
10. Connect the speaker wire from your wall or ceiling
to the wire leads on the speaker using the included
wire nuts.
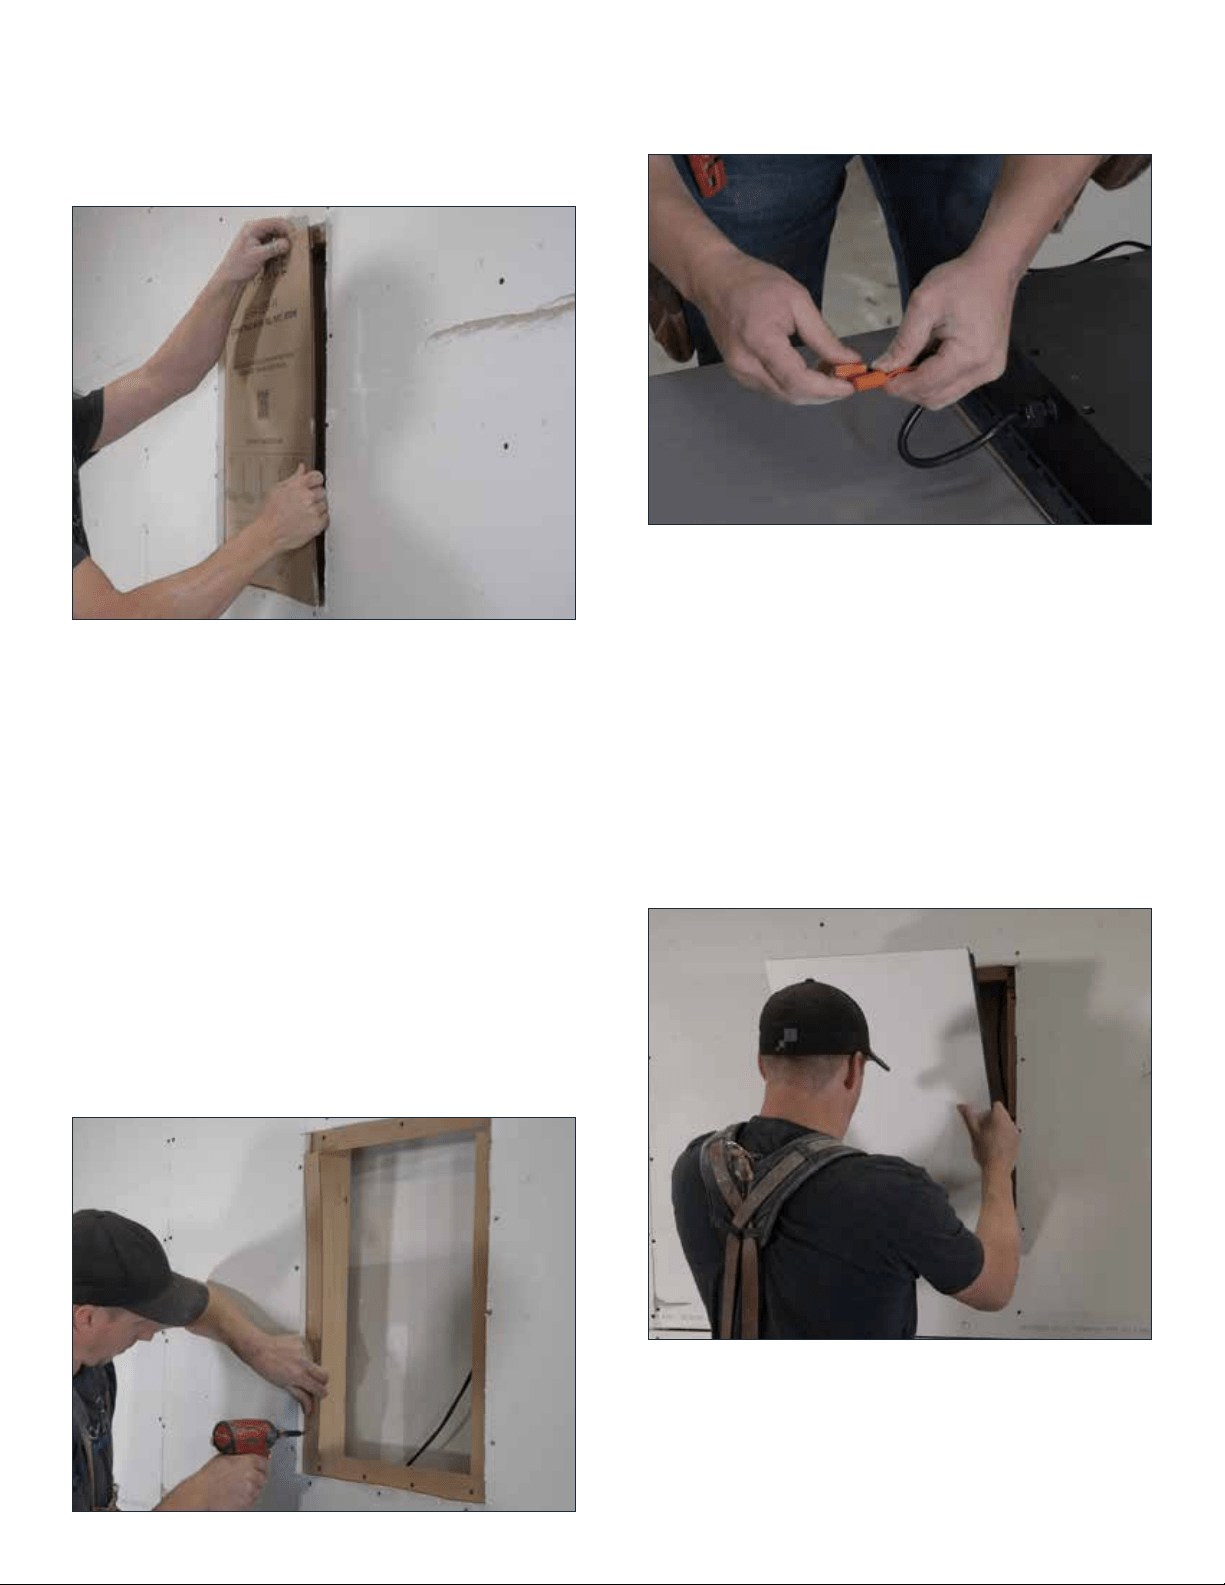
11. Place the speaker into the opening. In a ceiling
installation, do not hold the speaker in the center of
the diaphragm. Hold at the edge of the frame and
get assistance from a helper. Secure the speaker
using one of the included stainless steel screws
in each corner (use at least 4 screws total for this
step).
NOTE: The best practice is to use stainless screws
to secure the drywall surrounding the speaker as
well.Unlike standard drywall screws, these are
non-magnetic which will improve the accuracy of
the Sonance DISC system later on in the finishing
stage.
Loading ...
Loading ...
Loading ...