1
REPLACEMENT ELECTRONIC BOARD INSTRUCTIONS
Model WHESCS Wi-Fi Water Softener
A. REMOVE OLD ELECTRONIC BOARD
1. Unplug the softener’s power supply from the electri-
cal outlet.
2. Lift off the softener’s salt lid.
3. Unsnap the top cover from the back of the rim and
tilt forward to expose the electronic board inside.
4. Remove the tank light from the hole in the rim.
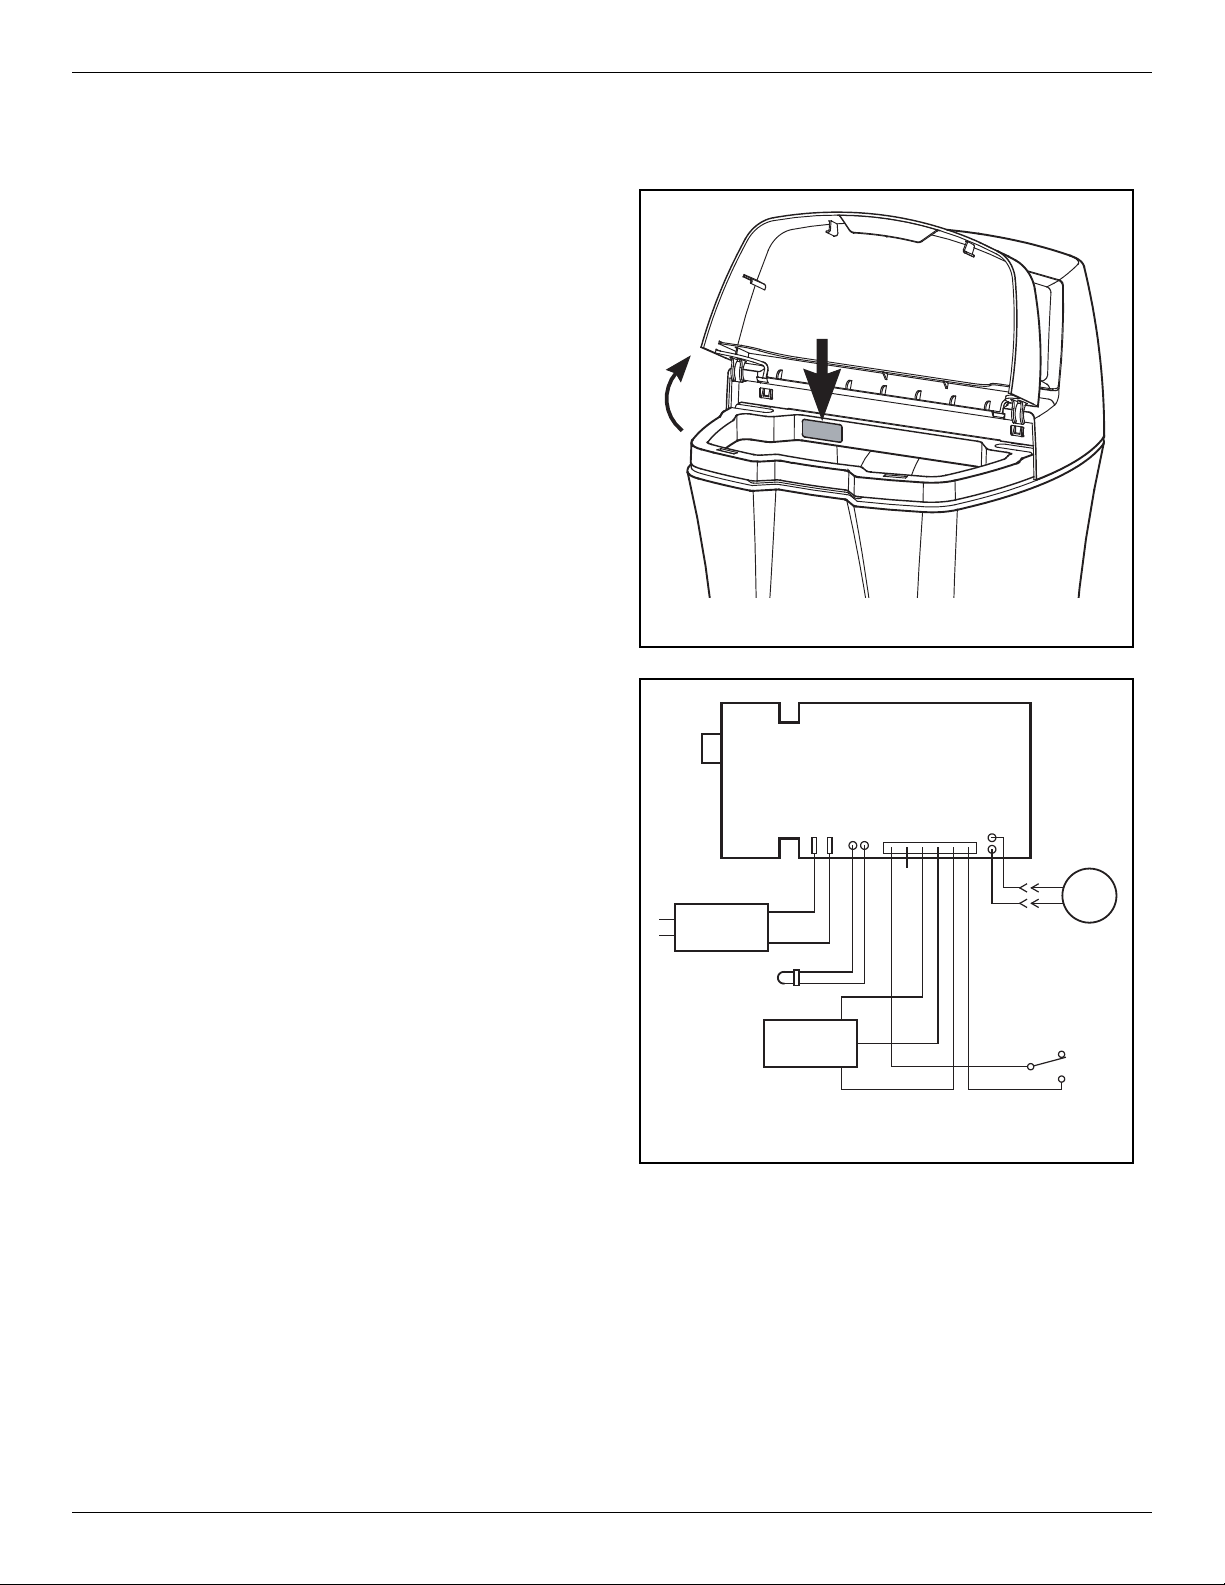
5. Unplug the wiring connections from the electronic
board (See Fig. 2).
6. Unsnap the board from the clips holding it inside the
top cover.
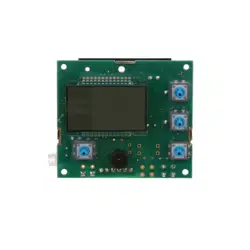
B. INSTALL NEW “IRIS ID” STICKER
NOTE: Do not lose or discard the “IRIS ID” sticker that
comes with the new electronic board. You will
need the 14-digit number on this sticker when
you re-connect your softener with Iris™.
1. Locate the “IRIS ID” sticker that comes with the new
electronic board.
2. Remove its backing and adhere it to the softener’s
rim, where shown in Fig. 1. It can cover the old ID
sticker, since the old 14-digit number will no longer
be used to identify your softener.
C. INSTALL NEW ELECTRONIC BOARD
1. Carefully snap the new electronic board into the
holding clips on the back of the top cover.
2. Reconnect the wiring to the new board (See Fig. 2),
including the power supply, valve motor connector,
and turbine/position switch connector.
3. Slide the new board’s tank light into the mounting
hole in the rim, with the bulb angled toward the front.
4. Snap the top cover back into place on the rim, tak-
ing care not to pinch any wires. Put salt lid back on.
D. PROGRAM THE NEW BOARD
1. Plug the power supply into the electrical outlet. A
model code (LLCS) and software version are briefly
shown in the display. Then the words “CURRENT
TIME” appear and “12:00 PM” begins to flash“.
2. Press the
r UP or s DOWN buttons to set the
present time. Up moves the display ahead; down
sets the time back. Be sure AM or PM is correct.
3. Press the PROGRAM button once to display a
flashing “25” and the word “HARDNESS”.
4. Press the
r UP or s DOWN buttons to set your
water supply’s hardness in grains per gallon.
5. Press the PROGRAM button again to display a
flashing “2:00AM” and the words “RECHARGE
TIME”. This is a good time for the recharge to start
in most households, because water is not in use.
6. If you want to change the recharge start time, press
the
r UP or s DOWN buttons until the desired
time shows. Be sure AM or PM is correct.
7. Press the PROGRAM button again to display a
flashing “nACL”.
8. Press the
r UP or s DOWN buttons to specify
whether you use sodium chloride (NaCl), which is
regular softener salt, or potassium chloride (KCl).
9. Press the PROGRAM button once again to return to
normal operating (time of day) display.
continued on the next page
Figure 1
Adhere the
new “IRIS ID”
sticker to the rim
Valve
Motor
Power
Supply
Tank
Light
Turbine
Sensor
Position
Switch
Back of
Electronic Control Board
Figure 2
Part No. 7349748 (Rev. A 7/18/15)

2
E. WI-FI CONNECTION PROCEDURE
The Iris™ cloud is a home management system from Lowe’s. If
you would like to connect to the Iris™ cloud, the water softener’s
electronic controller must be in AP (Access Point) Mode:
1. Verify that the green connection status light on the control
panel is flashing twice, repeatedly. If it is not, unplug the soft-
ener’s power supply and plug it back in.
2. On your device (laptop, tablet or smart phone), open a wireless
network control panel to display a list of the wireless networks
in range (See Fig. 3).
3. You will be disconnecting your device from your home’s Wi-Fi
network (you will temporarily connect to a different network).
Select the network that begins with “WHESCS” (See Fig. 4),
and connect your device to it.
4. Once your device indicates that it is connected to the
“WHESCS” network, open your internet browser (Chrome,
Firefox, Internet Explorer, etc.) and, in the address line (See
Fig. 5), type in this URL:
192.168.10.1
then click Go or press Enter.
5. After a screen like the one shown in Figure 6 appears, follow
these steps to connect the softener to your in-home wireless
network:
a. Locate your home’s wireless network in the list.
b. Click the “Join” button next to your home’s wireless network
(See Fig. 6).
c. If prompted, type your wireless network password in the dia-
log box, then click OK.
d. When you have connected successfully, the connection sta-
tus light on the softener’s control panel will be on steady (not
flashing). If you don’t get a steady connection status light,
repeat the steps in this section.
6. On your device (laptop, tablet or phone) go
back to the wireless network control panel (list
of networks in range) and reconnect to your
home’s network (See Fig. 3).
F. GETTING STARTED WITH IRIS™
Before you can sign in, the water softener must
be connected to your home’s wireless network
(as described above), and this network must be
connected to the internet.
1. Go to:
www.lowes.com/iris
2. Sign in to your Iris™ account.
3. Click the “Setup” button under the image of
the softener on your account.
4. Follow the on-screen instructions. When
prompted to enter the “IRIS ID” number, be
sure to use the one printed on the new sticker.
REPLACEMENT ELECTRONIC BOARD INSTRUCTIONS (continued)
OTHER
My Home’s Wireless Network
Figure 6
Figure 5
YOUR BROWSER’S ADDRESS LINE
WHESCSX_XXXXXXXXXXXX
My Home’s Wireless Network
Figure 3
My Home’s Wireless Network
WHESCSX_XXXXXXXXXXXX
Figure 4
Questions about Wi-Fi connection or Iris™? Call Toll Free 1-855-469-IRIS (1-855-469-4747)
Help is also available at www.lowes.com/iris/support