Loading ...
Loading ...
Loading ...
Setting Oven Controls (conrd)
5. Place the insert on the broil pan, then place the food on
the insert (See Fig. 1; some models). DO NOT use the
broil pan without the insert or cover the insert with
aluminum foil. The exposed fat could ignite.
6. Ifneeded, arrange oven rack to desired postion. Place
the pan on the oven rack. Close the oven door when
broiling.
7. Broil on one side until food is browned. Turn and broil
food on 2nd side.
Note: Always pull the oven rack out to the stop position
before turning or removing the food.
8. When broiling is finished, press _.
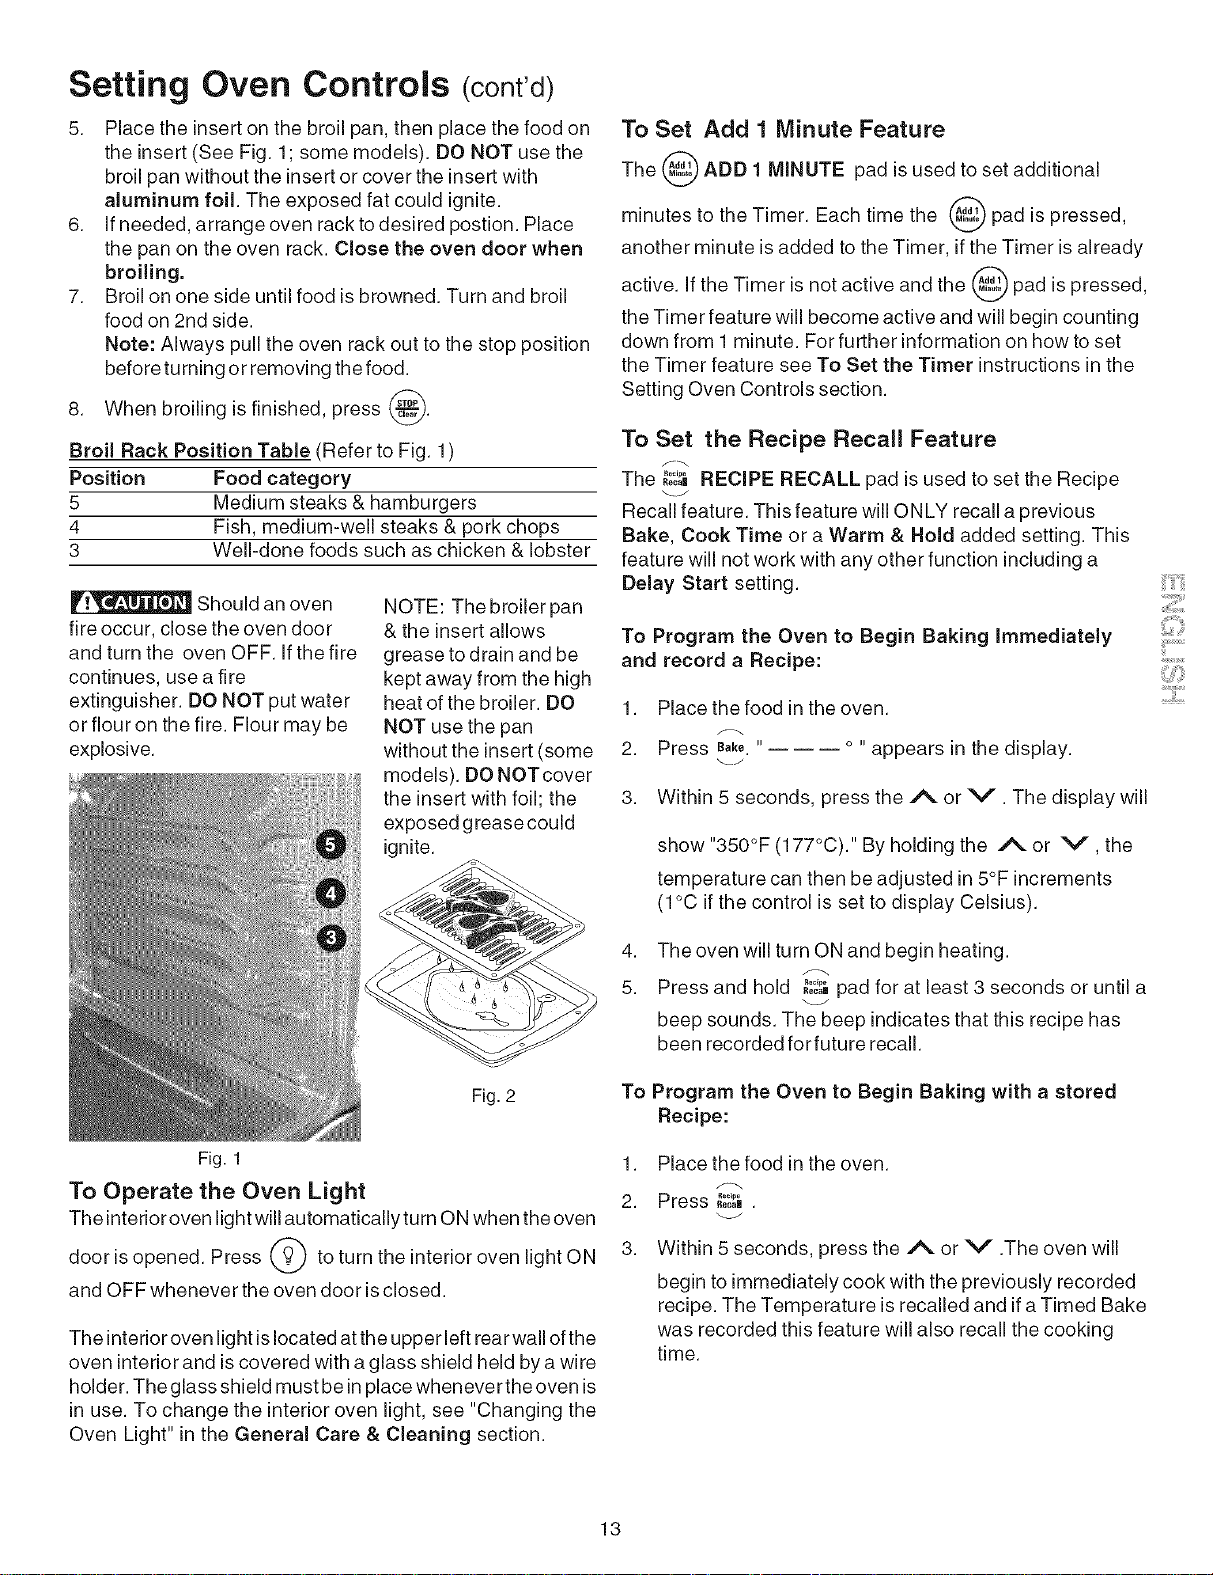
Broil Rack Position Table (Refer to Fig. 1)
Position Food category
5 Medium steaks & hamburgers
4 Fish, medium-well steaks & pork chops
3 Well-done foods such as chicken & lobster
Should an oven
fire occur, close the oven door
and turn the oven OFF. Ifthe fire
continues, use a fire
extinguisher. DO NOT put water
or flour on the fire. Flour may be
explosive.
Fig. 1
NOTE: The broiler pan
& the insert allows
grease to drain and be
kept away from the high
heat of the broiler. DO
NOT use the pan
without the insert (some
models). DO NOTcover
the insert with foil; the
exposed gtease could
ignite.
Fig. 2
To Operate the Oven Light
The interioroven light will automatically turn ON when the oven
door isopened. Press _ to turn the interior oven light ON
and OFF whenever the oven door isclosed.
The interior oven light islocated at the upper left rear wall of the
oven interior and is covered with a glass shield held by a wire
holder. The glass shield must be in place whenever the oven is
in use. To change the interior oven light, see "Changing the
Oven Light" in the General Care & Cleaning section.
To Set Add 1 Minute Feature
The @ ADD 1 MINUTE pad is used to set additional
minutes to the Timer. Each time the _ pad is
pressed,
another minute is added to the Timer, ifthe Timer isalready
active. If the Timer isnot active and the _ pad is
pressed,
the Timer feature will become active and will begin counting
down from 1 minute. For further information on how to set
the Timer feature see To Set the Timer instructions in the
Setting Oven Controls section.
To Set the Recipe Recall Feature
The ......
,o0,.RECIPE RECALL pad is used to set the Recipe
Recall feature. This feature will ONLY recall a previous
Bake, Cook Time or a Warm & Hold added setting. This
feature will not work with any other function including a
Delay Start setting.
To Program the Oven to Begin Baking Immediately
and record a Recipe:
1. Place the food in the oven.
2. Press B,k_.'.... appears in the display.
3. Within 5 seconds, press the/% or V. The display will
show "350°F (177°C)." By holding the A or V, the
temperature can then be adjusted in 5°F increments
(1°C if the control is set to display Celsius).
4.
5.
The oven will turn ON and begin heating.
Press and hold ,oo°.......pad for at least 3 seconds or until a
beep sounds. The beep indicates that this recipe has
been recorded for future recall.
To Program the Oven to Begin Baking with a stored
Recipe:
1. Place the food in the oven.
2. Press "°°_'°
l{ec°| .
3.
Within 5 seconds, press the I% or V .The oven will
begin to immediately cook with the previously recorded
recipe. The Temperature is recalled and if a Timed Bake
was recorded this feature will also recall the cooking
time.
....iiii.......
13
Loading ...
Loading ...
Loading ...