Loading ...
Loading ...
Loading ...
17 ENGLISH
MAINTENANCE
CAUTION: Always be sure that the tool is
switched o and the battery cartridge is removed
before attempting to perform inspection or
maintenance.
CAUTION: When inspecting or maintaining
the tool, always put the tool down. Assembling or
adjustingthetoolinanuprightpositionmayresultin
seriousinjury.
To maintain product SAFETY and RELIABILITY,
repairs,anyothermaintenanceoradjustmentshould
beperformedbyMakitaAuthorizedorFactoryService
Centers,alwaysusingMakitareplacementparts.
Cleaning the tool
Cleanthetoolbywipingodustwithadryclothorone
dippedinsoapywaterandwrungout.
NOTICE: Never use gasoline, benzine, thinner,
alcohol or the like. Discoloration, deformation or
cracks may result.
Shear blade maintenance
Before the operation or once per hour during operation,
applylow-viscosityoil(machineoil,orspray-typelubri-
cating oil) to the shear blades.
After operation, remove dust from both sides of the
shearbladeswithawiredbrush,wipeitowithacloth
andthenapplylow-viscosityoil(machineoil,orspray-
typelubricatingoil)totheshearblades.
NOTICE: Do not wash the shear blades in water.
Doingsomaycauserustordamagetothetool.
NOTICE: Dirt and corrosion cause excessive
blade friction and shorten the operating time per
battery charge.
Storage
Attach the blade cover to the shear blades so that the
blades are not exposed. Store the tool out of the reach
of children. Store the tool in a place not exposed to
moisture or rain.
Grinding the shear blades
NOTICE: If the shear blades have considerably
deformed by grinding, replace the shear blades
with new ones.
1. Installthebatterycartridgetothetool.
2. Turn on and start the tool so that the upper blade
andlowerbladearepositionedalternately.
3. Turnothetoolandremovethebatterycartridge
from the tool.
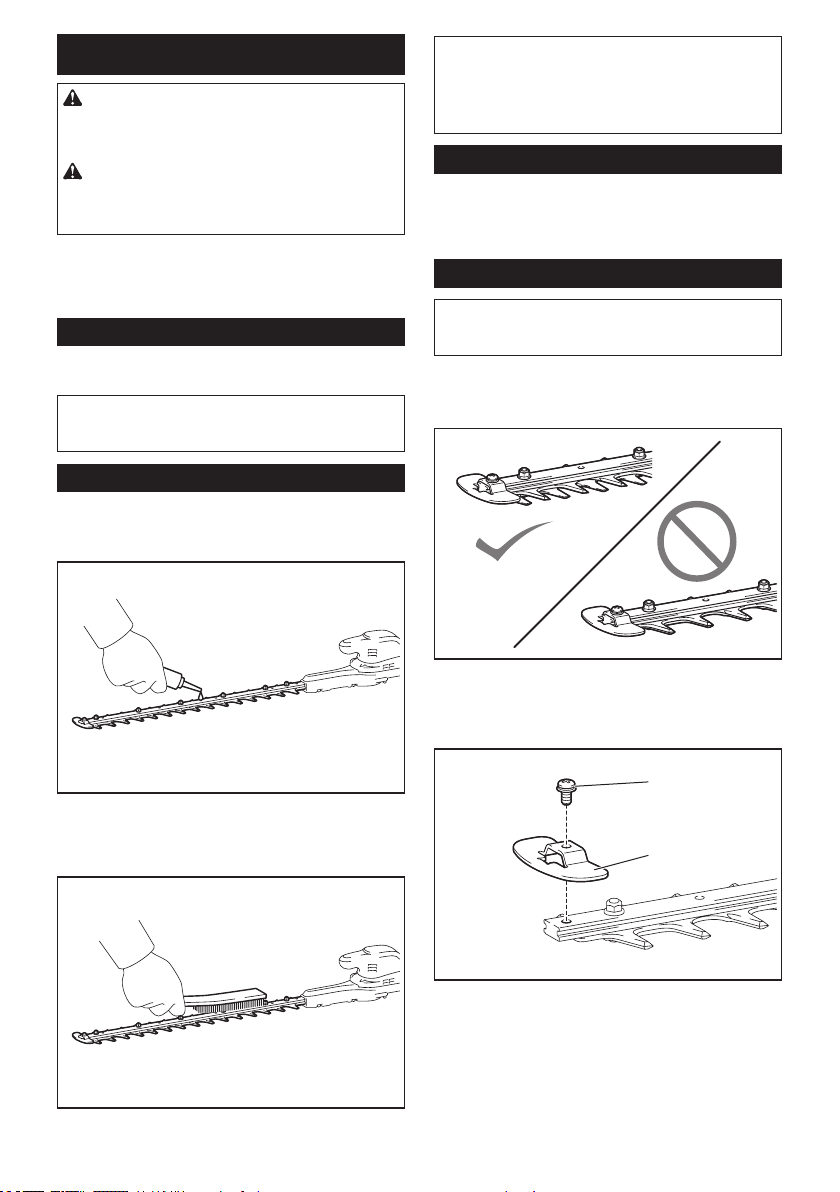
4. Remove the screw, and then remove the branch
catcher.
1
2
►1. Screw 2. Branch catcher
Loading ...
Loading ...
Loading ...