Loading ...
Loading ...
Loading ...
5 6
OPERATING INSTRUCTIONS OPERATING INSTRUCTIONS
BEFORE FIRST USE
The Food Prep Kit comes with a number of parts all designed to create beautiful,
healthful food.
1. Carefully unpack the Food Prep Kit and remove all packaging materials. Before throwing
away any packaging, check that all attachments and accessories are accounted for.
2. Wipe down the handheld motor unit with a damp cloth to remove any packaging debris.
Never immerse the motor unit in water.
3. Wash all accessories and attachments as detailed in the Cleaning and Maintenance
section on p. 12.
HOW TO ASSEMBLE THE SPIRALIZER
The spiralizer enables you to easily cut vegetables and fruits into long, spiraled
strands, ribbons, or thin shreds to make beautiful salads, desserts, and plant-based
“noodle” dishes. You can also use the grating disc to grate hard cheeses. Note that
you may need to trim the ingredient to t in the spiralizer base.
HOW TO USE THE SPRIRALIZER
STEP 1:
Ensure that the spiked food
gripper is snapped into place
on the spiralizer head (push
until you hear a click).
STEP 2:
Place the handheld
motor unit on the other
side of the spiralizer
head, aligning the arrow
on the motor unit with
the unlock symbol on the
spiralizer head.
STEP 4:
Choose one of the three
spiralizer discs (see diagram
on p. 4). With the sharp side
of the blade facing up, insert
your ngers into the nger
holes and align the three
grooves on the side of the disc
with the three ridges on the
spiralizer base. WARNING: Use
caution when handling as the
blades are sharp.
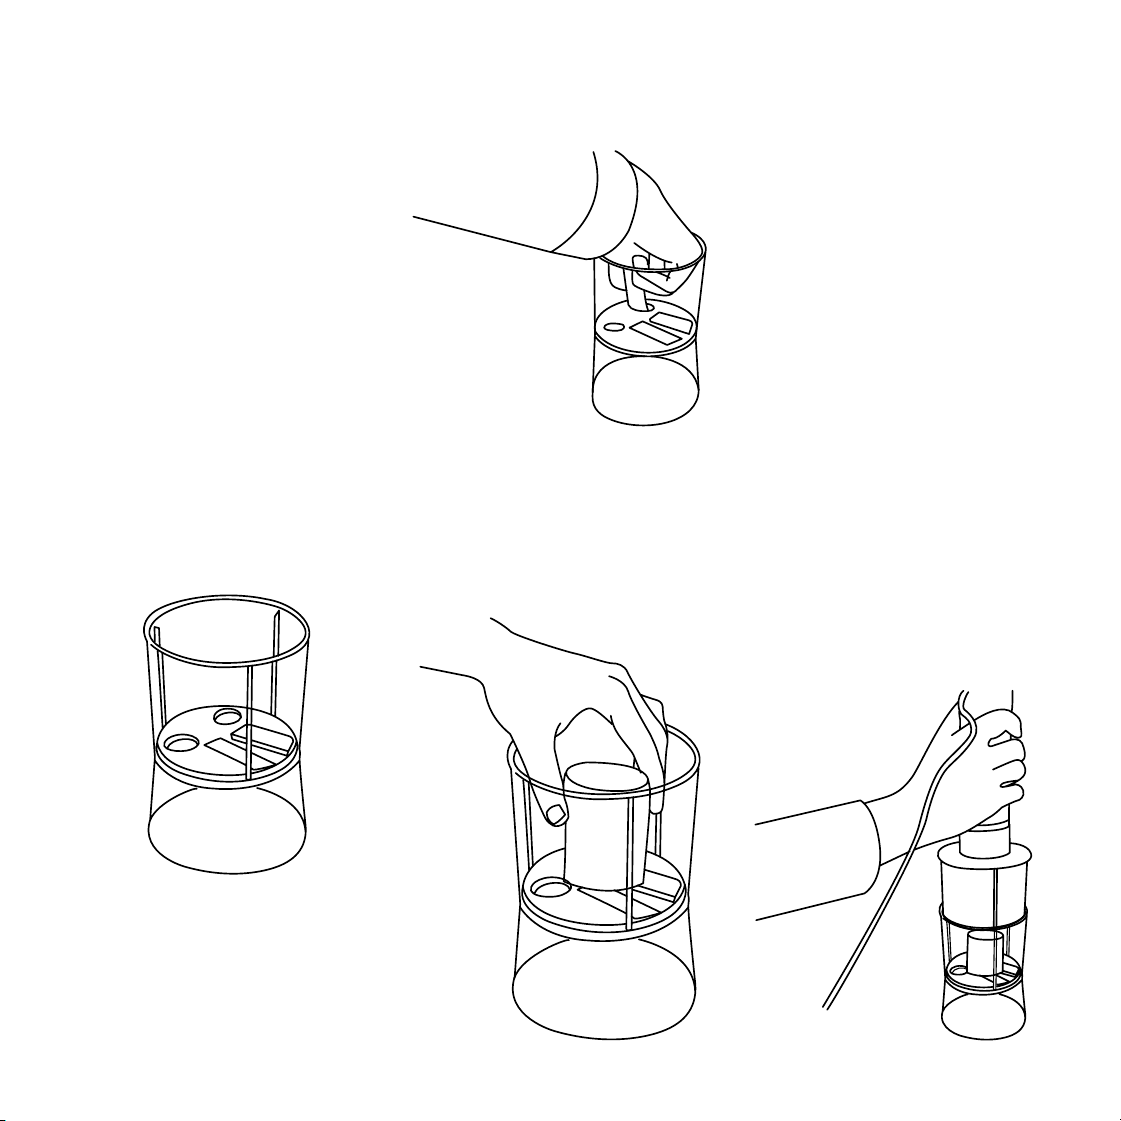
STEP 1:
Place the spiralizer base on a
at, even work surface.
STEP 2:
Put the vegetable in the
spiralizer base so that it rests
on top of the blade.
STEP 3:
Align the three grooves on
the spiralizer head with the
three ridges on the spiralizer
base, then lower the head into
the base until it rests on the
vegetable.
STEP 5:
Lower the disc into the top
portion of the spiralizer base
until it comes to rest on the
lip. Make sure the disc is level
and not tilted.
STEP 3:
Twist until the arrow
on the motor unit
aligns with the lock
symbol and it clicks
into place.
Loading ...
Loading ...
Loading ...