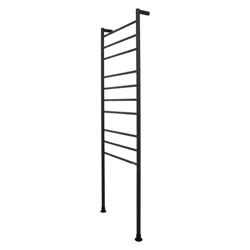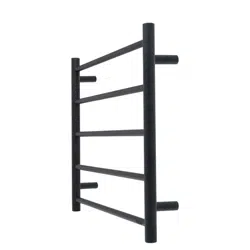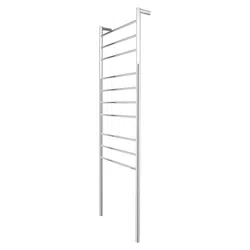
Tall Round Towel Warmer 10 Bar Ladder
Operating Instructions
For Models: GTRAR10C , GTRAR10B

When using any electrical appliance, basic safety precautions should always be observed.
READ THESE INSTRUCTIONS CAREFULLY AND KEEP THEM HANDY FOR FUTURE REFERENCE.
• This appliance is intended to warm and dry towels and therefore is hot to the touch.
When used by or near young children or infirm persons, close supervision is
necessary. Young children should be supervised to ensure that they do not play with the
appliance.
• NOTE The surface temperature of your towel rail will be 20-25 degrees higher than
the ambient air temperature. Any rise in ambient air temperature is directly
reflected in the appliance and as a result of this the appliance will feel hotter to the
touch during warmer periods. Also the insulation effect of towels will cause the
operating temperature to increase. Example, if the ambient air temperature is 20
degrees, this will mean the towel rail surface will be approximately 40-50 degrees.
• The towel rail is to be installed so that switches and other controls cannot be touched
by a person in the bath or shower.
• DO NOT use this appliance for any purpose other than its intended use.
• To avoid a hazard this heated towel rail MUST NOT be used to carry towels or any
other articles that have been in contact with oil, petroleum based products or dry
cleaning fluids.
• Use this appliance only with the voltage specified on the rating label, or elsewhere in
these instructions.
• Regulations require that electrical work be carried out only by authorised persons. For
your own safety and that of others ensure this is done.
• DO NOT immerse in any liquid.
• For service contact your nearest Authorised Service Agent.
WARNING: In order to avoid a hazard for young children, this appliance must be installed
so that the bottom rail is at least 600mm above the floor.
General Care and Safety Guide
Specifications
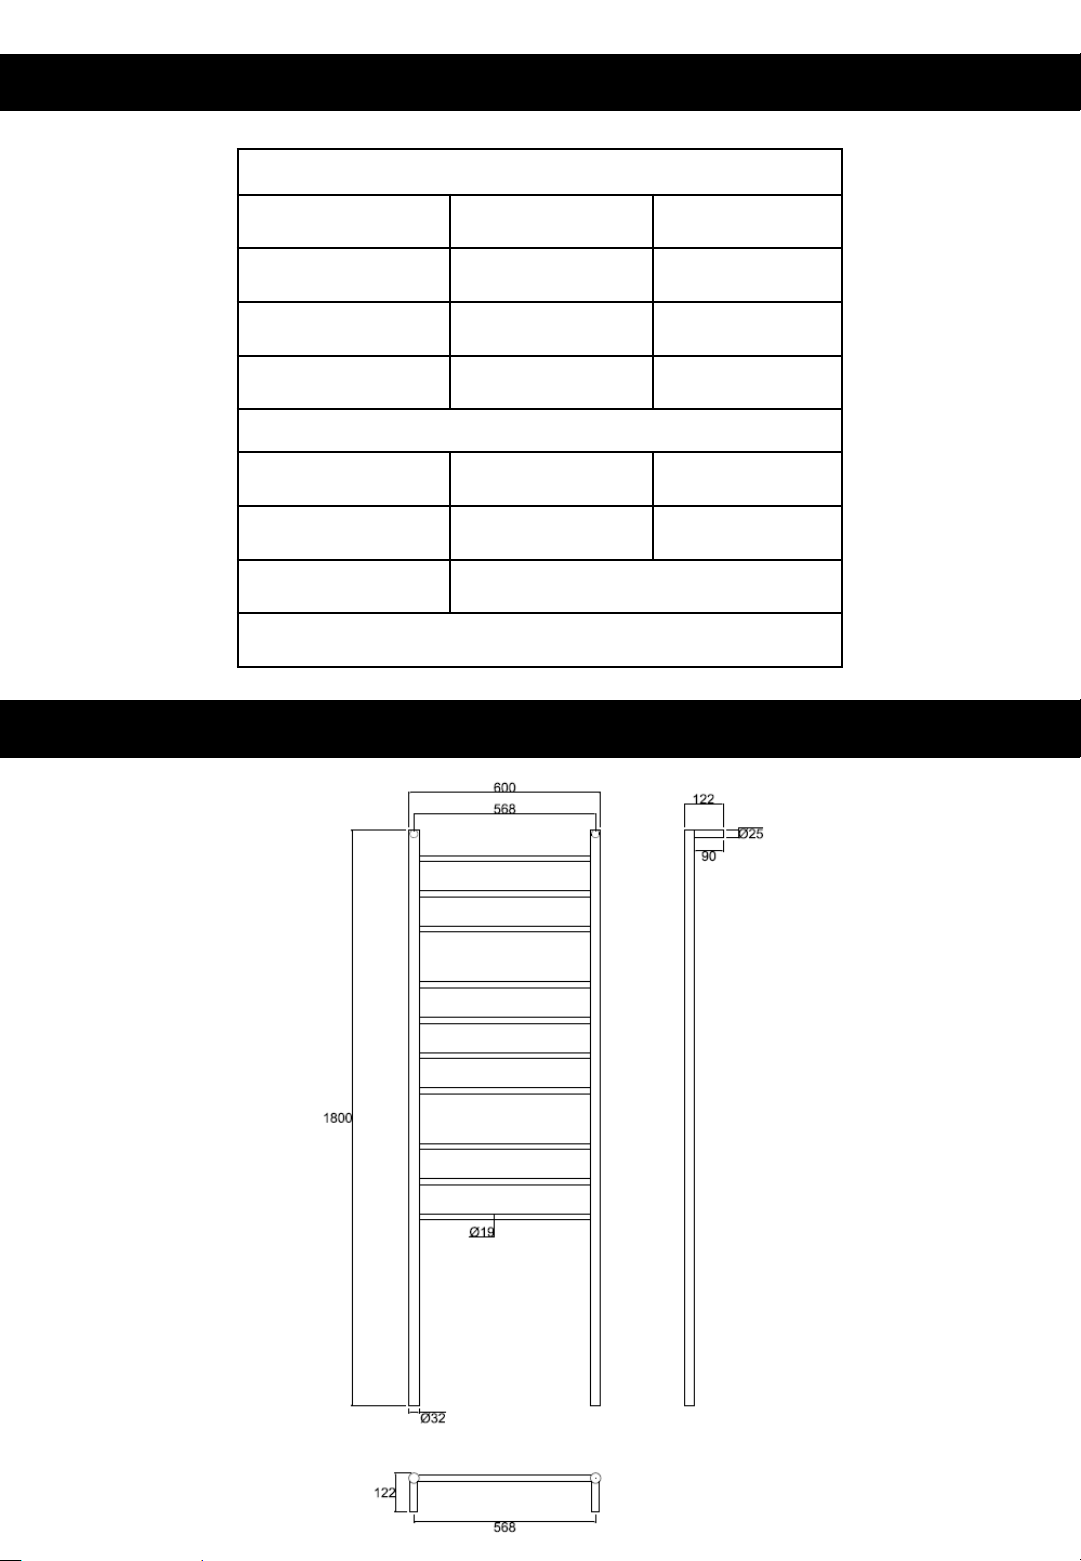
SPECIFICATIONS/DIMENSIONS
Model: GTRAR10C GTRAR10B
Height: 1800mm 1800mm
Width: 600mm 600mm
Depth: 112mm 112mm
ELECTRICAL
Wattage: 120W 120W
Colour: Stainless Steel Black
Power Supply 230-240 VAC, 50Hz, single phase
Ingress Protection Rating: IP55
Dimensions
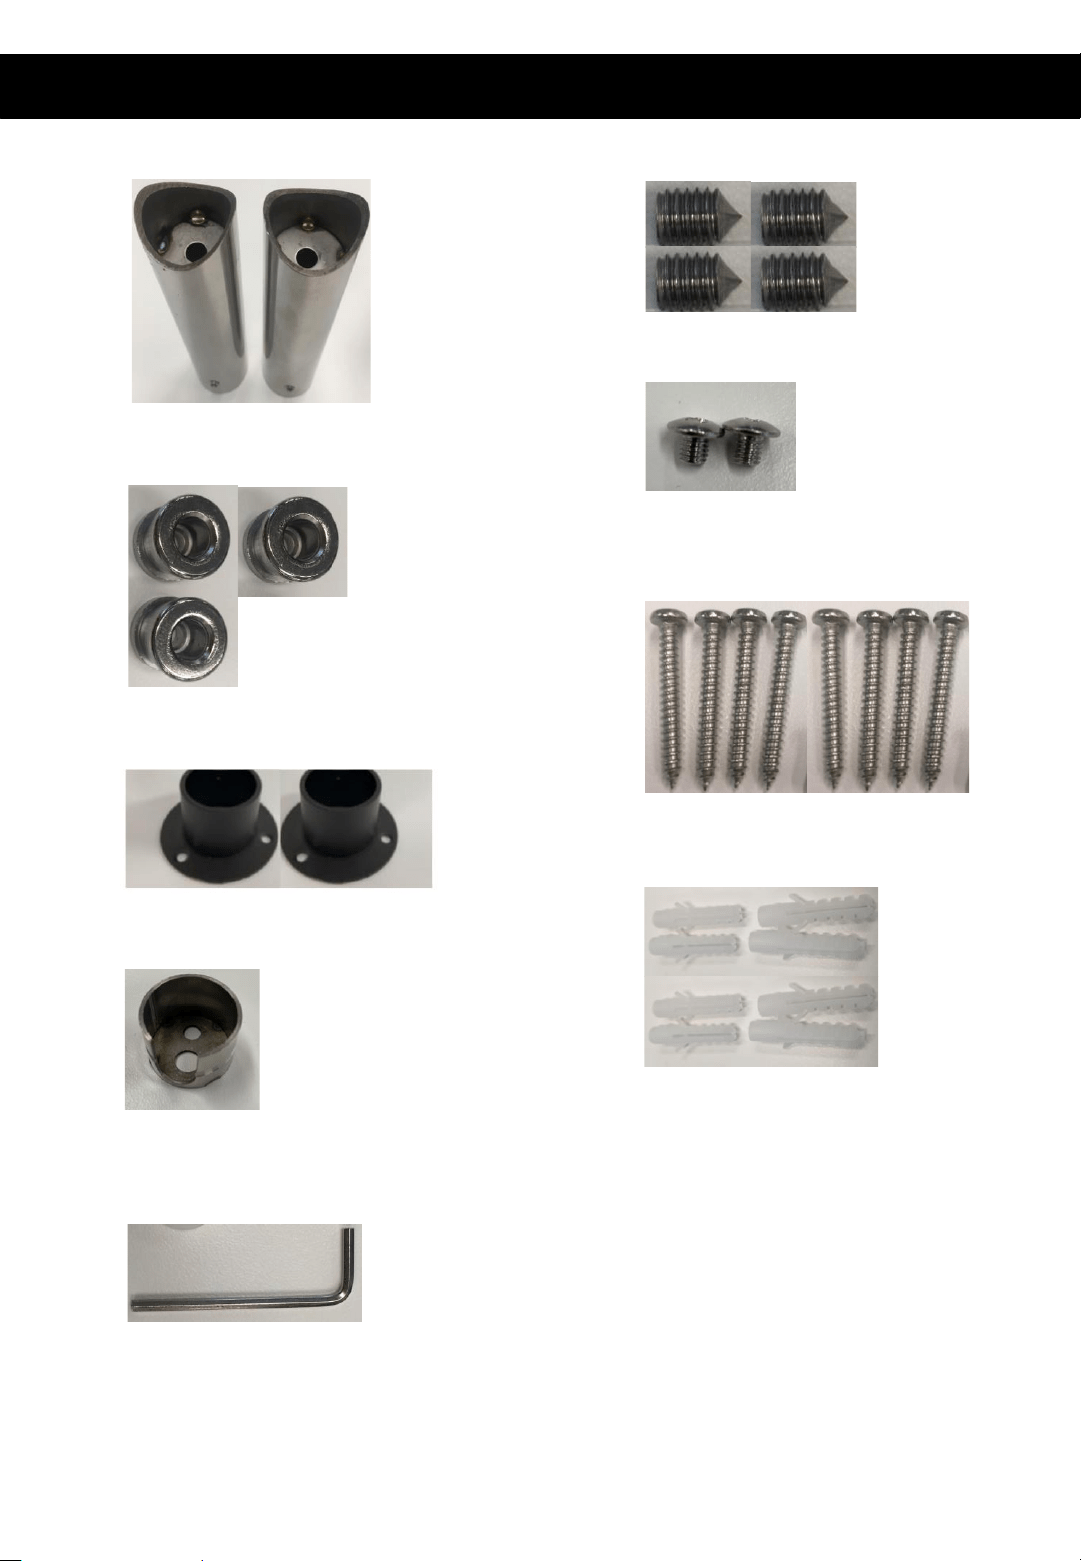
Components
2 x Upper Legs
4 x Grub Screws
3 x Mounting Bush
2 x Screws for Securing
Lower Legs
2 x optional Floor mounts
8 x Long Screws
For mounting to wall & floor
1 x Through Wall Bush
For Concealed Cable
8 x Wall Plugs
1 x Allen Key
Components

Installing your Towel Rail
Always choose a safe location for the Towel Rail, keeping in mind the safety
precautions outlined. Ensure all packaging has been removed from the unit before
use.
WALL PREPARATION
Goldair Heated Towel Rails may be fixed to any type of timber stud, steel stud or
masonry (solid or cavity) wall.
Walls made from timber or steel require studs at the correct position for all rails. If the
precise position can’t be determined early in the job, consider sheets of 18mm
construction ply, covering a larger area.
This rail has a small footprint against the wall. The wire holes and mounting holes must
be drilled neatly and accurately.
For drilling through hard materials such as porcelain tiles, marble, granite etc. an
appropriate drill bit must be used.
No responsibility will be taken by Goldair for instances where installers drill incorrectly.
NOTE: Attempting to fix into plasterboard or cement sheeting alone is not
recommended. Plasterboard in particular will not hold long term.
PRE WIRING
NOTE: Only drill holes when you are 100% sure of your measurements.
A means for disconnection must be incorporated in the fixed wiring in accordance with
the wiring guidelines AS/NZS 3000:2007.
Provision should be made for a Timer to control the mains supply. It is recommended
that a Timer is used for energy saving purposes. Goldair recommend a Goldair Heated
Towel Rail Timer (GBT100 – not supplied).
WALL MOUNTED TOWEL RAILS ARE ONLY TO BE MOUNTED ON HEAT
RESISTANT WALLS THAT COMPLY WITH CURRENT AS/NZS SPECIFICATIONS &
BUILDING REGULATIONS
WARNING: Installation must be completed by a registered electrician.
Installing your Towel Rail
MOUNTING INSTRUCTIONS
You must next select which side of the towel rail is needed to be wired in. The heated
towel rail within this box has two wiring options (left or right hand). The location of
existing wiring through or on the wall will dictate which side you will use.
For Left hand wiring, connect the power cable from Point A.
For Right hand wiring, connect the power cable from Point B.
For the side that you do not use, insert the blank termination plug into the power cable
and secure with the cap screw fitting.
B
A
Example only (alternate model may be shown)
Blank termination plug
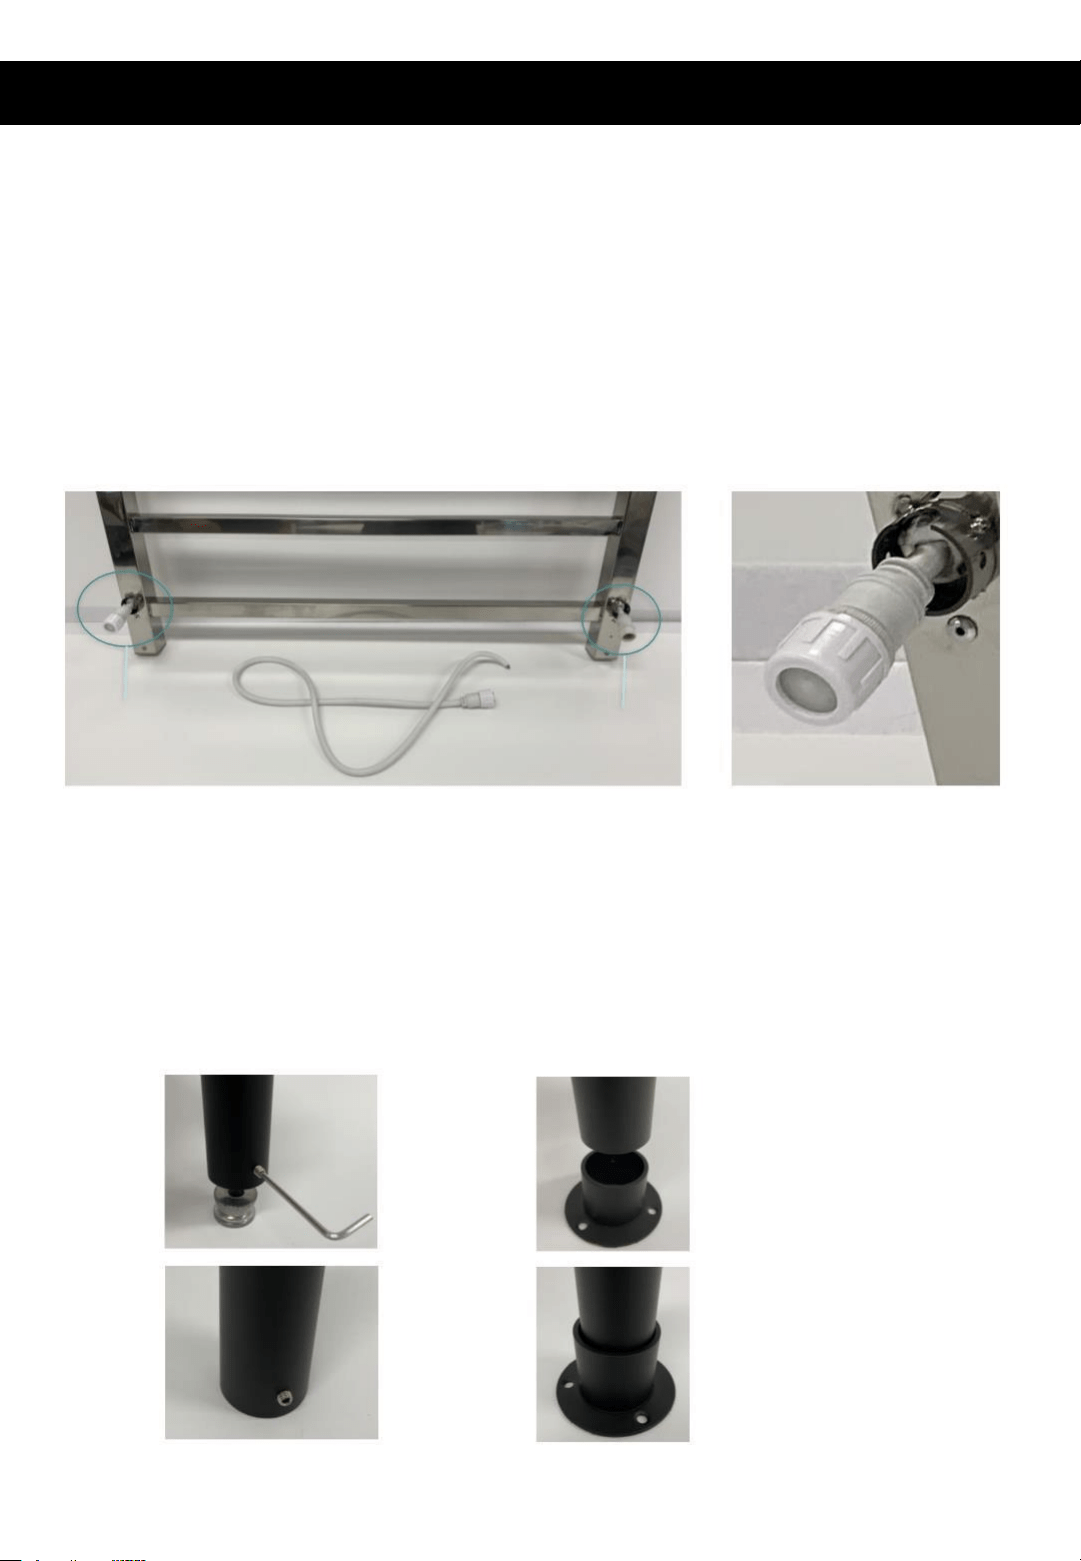
CONCEALED OR EXPOSED WIRING
First, select which method of cord entry your installation situation requires – exposed
or concealed. (please see images below as an indication to the differences)
The accessory pack contains 2 wall legs and 2 different floor mounting options. It contains
3 floor / wall mount bushes and 2 optional external floor mount fittings as shown below.
Internal Floor
Mount
External Floor
Mount
Installing your Towel Rail
1. You must first select which side of the towel rail needs to be wired in. The heated towel rail within this
box has two wiring options (left or right hand). The location of existing wiring through or on the wall will
dictate which side you will use.
Your Goldair towel rail comes with a quick-connect cable allowing for easy pre-installation of the mains
power by your electrician – once you have selected either left or right side cable exit, ensure that the
blank cover is fitted tightly to the non selected side for water tightness.
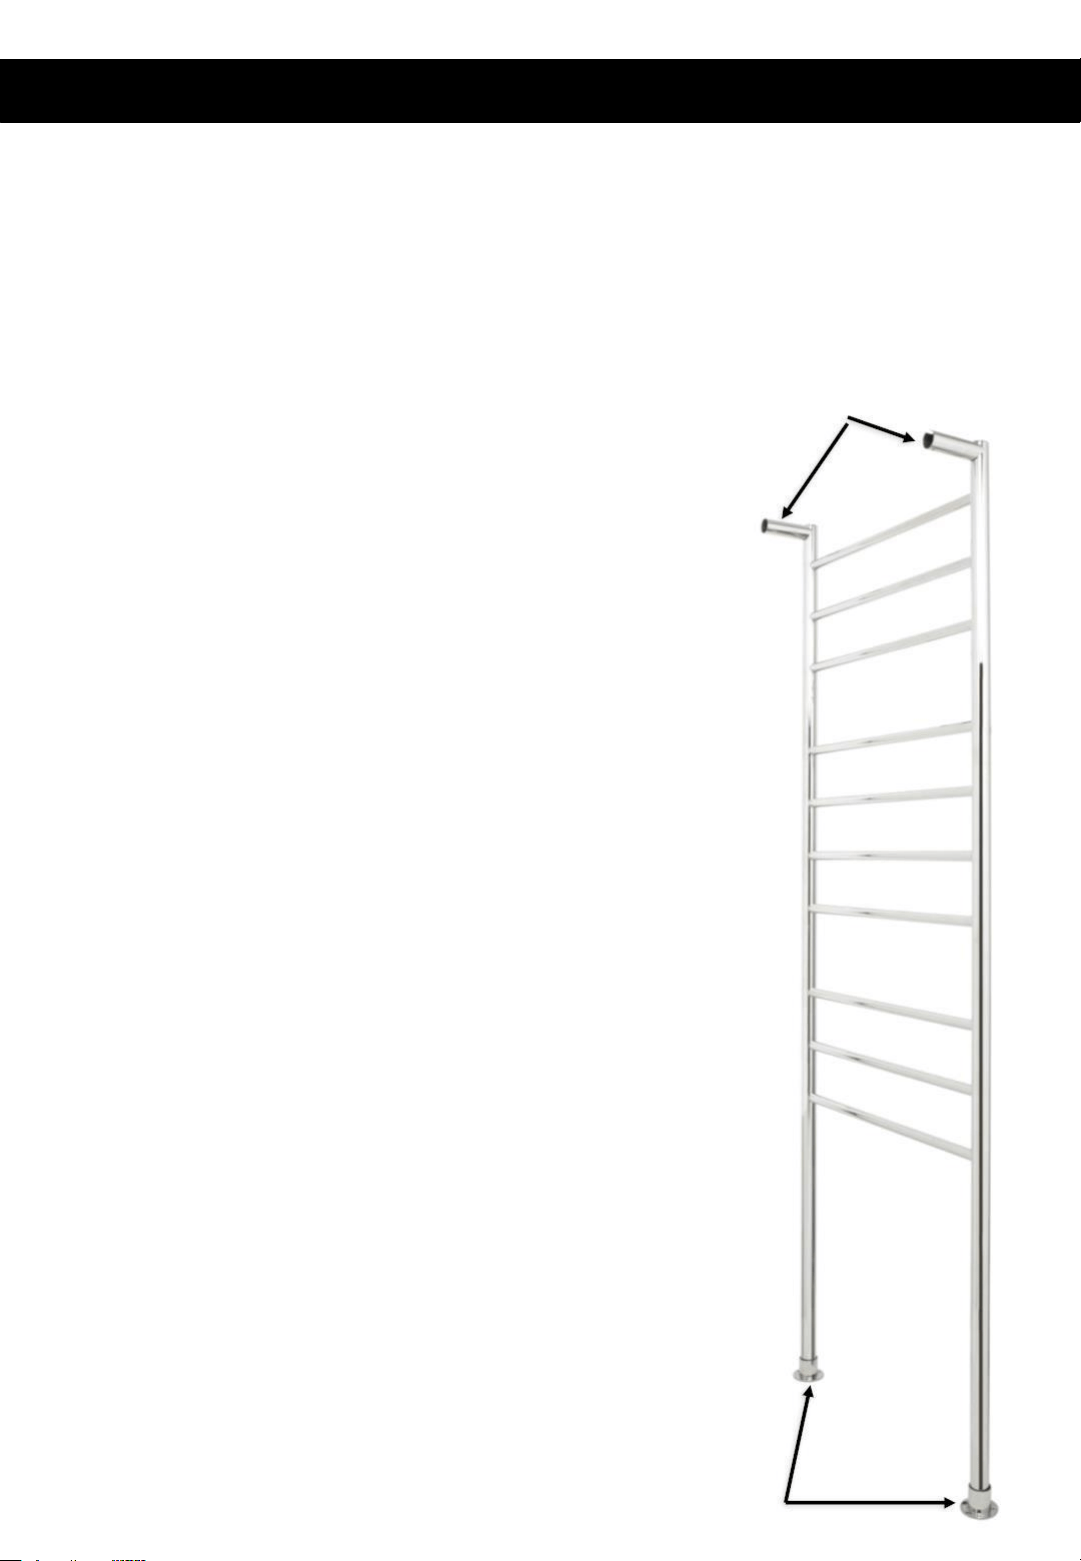
2. Select desired spot to mount towel rail with at least 300mm
Upper Legs
clearance from all permanent objects in surrounding area. The
Ladder Towel Rail should be installed in accordance to local
governing New Zealand regulations. The Goldair Heated
Ladder Towel Rail can only be mounted 1 way with wiring at
the top.
3. Decide if you will use the internal or external floor mounts
as noted on the previous page.
4. Once you have selected your installation location – carefully
mark on the wall and floor with a pencil the location of the legs
by holding the towel rail in place temporarily. Ensure the towel
rail is square and that the legs on the floor are the right
distance from the wall to ensure the uprights are
perpendicular to the floor.
5. Mark the centers of the leg locations and then drill holes
suitable for the supplied fixing screws, if installing into Gib,
concrete or block, insert wall plugs into the hole.
6. Screw the mounting bushes into place where you have
drilled the holes, if you are using a concealed cable installation
you will need to use the included concealed wall lug – screw
through the smaller hole, the cable enters through the larger
hole.
7. Now fit the upper legs onto the wall lugs and secure into
place using the grub screws supplied.
8. Once all of your wall mounts and upper legs are correctly
installed, you can carefully lower the towel rail onto the floor
mounts and then into the wall mounts.
9. Fix the legs in place using the grub screws for the lower legs
and the supplied short screws on the upper legs.
Internal or External
Floor mount
Installation (continued)
Goldair – New Zealand
Monday – Friday 8am-5pm
Phone +64 (0)9 917 4000
Phone 0800 232 633
Goldair – Australia
Monday – Friday 8am-5pm
Phone +61 (0)3 9336 4423
Phone 1300 465 324
[email protected]om.au
SUPPORT AND TECHNICAL ADVICE
Installation (continued)
This appliance MUST be installed in accordance with the relevant wiring rules and
regulations and in particular those regulations which cover installation of appliances and
accessories in damp situations such as bathrooms, showers, laundries and other areas
with fixed water containers. It is to be fitted in accordance with applicable
Australian/New Zealand standards (AS/NZS).
The means for disconnection must be incorporated in the fixed wiring in accordance with
the wiring rules.
WARNING: In order to avoid a hazard for very young children, this appliance should be
installed so that the lowest heated rail is at least 600 mm above the floor.
Special purpose tools are required for the replacement of the power supply cord and
element. Contact an Authorised Service Agent for service.
PLEASE NOTE: Goldair takes no responsibility for instances where walls/tiles have been
drilled without correct measurements being taken by the installer – ensure you have
the correct measurements before drilling any holes.
PLEASE NOTE: Goldair takes no responsibility for instances that occur where heated
towel rails have not been installed according to AS/NZS standards.
CARE AND CLEANING
Surface rust can occur on stainless steel over time. To avoid this the Heated Towel Rail
is best wiped down from time to time with a damp cloth and a stainless steel cleaner.
DO NOT USE ANY ABRASIVE OR CORROSIVE CLEANERS.
PROOF OF PURCHASE
To receive warranty, retain receipt as proof of purchase.
Thank you for purchasing this Goldair product. Your product is warranted against faults and manufacture when
used in normal domestic use for a period of three years. In non-domestic use Goldair limits the voluntary warranty
to three months.
Goldair undertake to repair or replace this product at no charge if found to be defective due to a manufacturing
fault during the warranty period.
This warranty excludes damage caused by misuse, neglect, shipping accident, incorrect installation, or work carried
out by anyone other than a qualified electrical service technician.
PLEASE KEEP YOUR RECEIPT AS THIS WILL HELP VERIFY YOUR WARRANTY.
The benefits given to you by this warranty are in addition to other rights and remedies available to you under law in
relation to the goods or services to which this warranty relates.
In Australia, our goods come with guarantees that cannot be excluded under the Australian Consumer Law. You are
entitled to a replacement or refund for a major failure and compensation for any other reasonably foreseeable loss
or damage. You are also entitled to have the goods repaired or replaced if the goods fail to be of acceptable quality
and the failure does not amount to a major failure.
In New Zealand this warranty is additional to the conditions and guarantees of the Consumers Guarantee Act
(1993).
Three Year Warranty
Goldair Two Year Warranty (IMPORTANT: Please complete and retain this warranty card)
Name
Address
Place Of Purchase Date Of Purchase
Name Of Product Model Number
Attach a copy of the purchase receipt to this warranty card
Due to continual design improvements, the product illustrated in this User Manual may differ slightly from the actual product.
Goldair – New Zealand
CDB Goldair
PO Box 100-707
N.S.M.C
Auckland
Phone +64 (0)9 917 4000
Phone 0800 232 633
www.goldair.co.nz
Goldair – Australia
CDB Goldair Australia Pty
PO Box 574
South Morang
Victoria, 3752
Phone +61 (0)3 9365 5100
Phone 1300 GOLDAIR (1300 465 324)
www.goldair.com.au

New Zealand
PO Box 100707,
North Shore Mail Centre,
Auckland, 0745
www.goldair.co.nz
Australia
PO Box 574,
South Morang,
Victoria, 3752
www.goldair.com.au