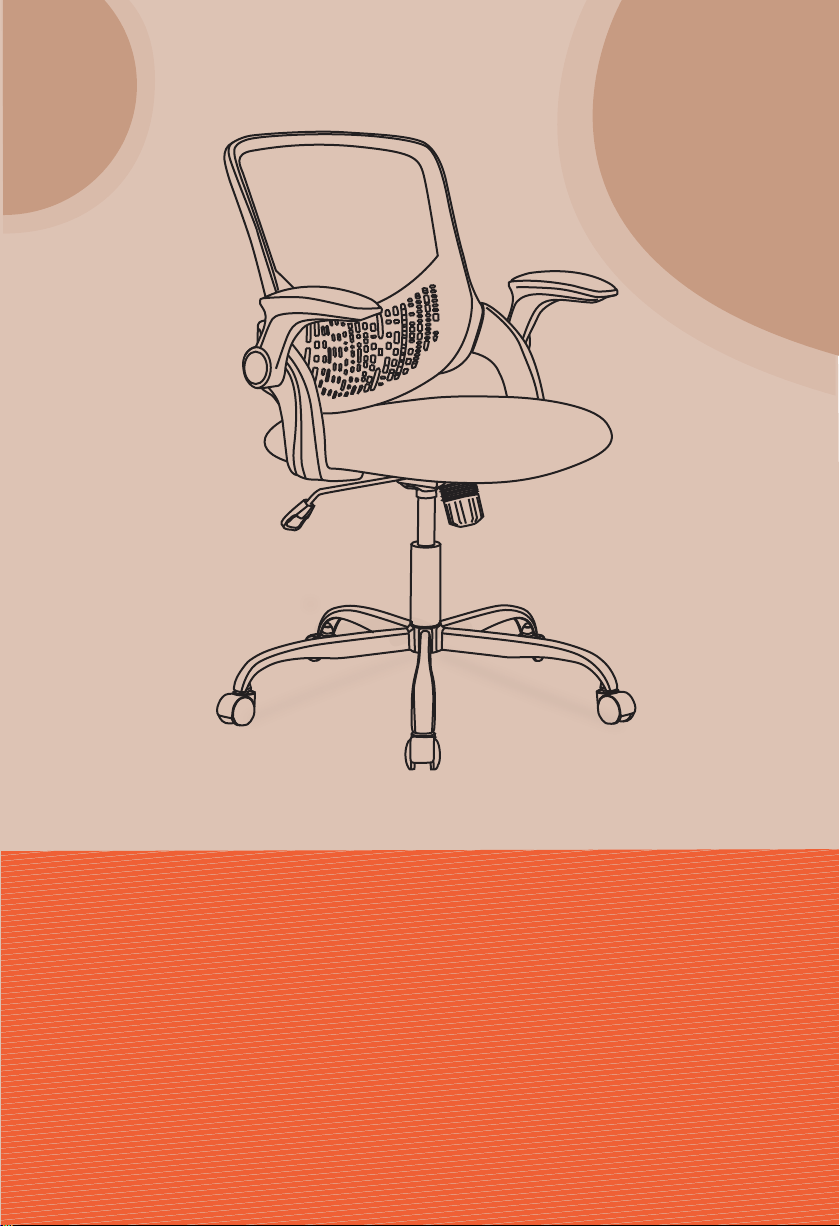
MANUAL
Model: C-1368-1B
INSTRUCTION

Package List
Without further ado, we kindly suggest you to list all parts needed
for the chair first.
2
Backrest
Mechanism
Gas Lift Base
Legs BoltsCasters
Bolts
(1)*1 (2)*1 (3)
*1(L)*1(R)
(4)*1 (5)*1 (6)*1
(7)*5 (8)*5 (9)*10
(10)*4
Seat Cushion
Armrests
Bolts
(12)*6
(13)*1
Wrench
Bolts
(11)*4
FRONT

Assembly Instruction
Step 1:
Turn the Base (6) upside down,
then insert Base Legs (7) one
by one to Base.
Use the Wrench (13) to screw Ten
Bolts (9) into the pre-drilled
screw holes to fix the Base and
the Base Legs.
1
3
2
3
(9)×2
(6)
(7)
Both hands are forced at the
same time to press the Casters
(8) into the holes at the end
of each Base Leg.
Step 2:
2
Insert the Gas Lift (5) into
the center hole of the Base.
Step 3:
(5)

4
5
4
B 1
B2
50%
A
B
(11)
(1)
Step 5:
Attach the Armrest
(3)*1(L)
to
the Backrest
(1)
.Pay attention to the
Backrest slot. Use the Wrench
(13)
to
fix bolt
(11)*2
into the position
B1
and
B2
.
B1
B2
(1)
B
A
5
(11)
50%
All bolts do not need to be
tightened, they only need to
be fixed in half.
All bolts do not need to be
tightened, they only need to
be fixed in half.
Step 4:
Attach the Armrest
(3)*1(R)
to the
Backrest
(1)
. Pay attention to the
Backrest slot. Use the Wrench
(13)
to fix bolt
(11)*2
into the position
B1
and
B2
.

6
5
7
(10)×4
Two Bolts
and Two Bolts at the
Step 7:
Attach the Mechanism (4)
to the Seat Cushion using
(10) at the front
(10)
back, tighten all the bolts
with the Wrench (13) .
6
Step 6:
100%
(12)×6
.
Turn the Seat Cushion (2) upside
down and align the hole position
of the Armrest (3)*1(L)*1(R)
with the pre-drilled hole position
under the Seat Cushion. Attach
the Armrest (3)*1(L)*1(R) to
the Seat Cushion (2) with Six
Bolts (12).Using the Wrench (13).
100% tighten the Bolts.
(2)
Note 1: The "Front" mark on the Armrests and the "Front" mark on the
Seat Cushion should be in the same direction.
Note 2: Armrests are labeled with an "L" (left) or "R" (right) to show which
side they should be placed on.
FRONT
( Note! Don't make the direction wrong, make
sure the front of the
Mechanism is facing
the front of the Seat. )
(4)

6
9
8
Step 8:
.
Insert the slot on the back of the
mechanism behind the cushion
into the Gas Lift.
100%
Step 9:
.
100% tighten the Backrest
Armrest Bolts
Make sure all bolts and screws are fully tightened before using chair.
Lubricate all moving parts and tighten all bolts/screws every 6 month
or whenever needed.
CAUTION:
6

Instructions For Use
7
1. Seat Height: Paddle-shaped lever on the right side
To lower:
While seated, lift lever up.
To raise:
While taking your weight off chair,
lift lever up.
* At the proper height, your feet should rest flat on the floor.
2. Padded Flip-up Arms
The padded feature allows you to rest
comfortably.
The armrests of the office chair have
a flip up design, you could customize
them according to your needs.
7

3. Operating the rocking function
To let your chair tilt back, pull the
control handle out.
To stop your chair from tilting, sit
forward, then push the control
handle in.
8
To increase tension:
While seated, turn knob forward
(Counter clockwise).
To decrease tension:
While seated, turn knob
backward (Clockwise ).
+
-