See reverse for easy-to-follow
instructions and exclusive deals.
Baery Backup
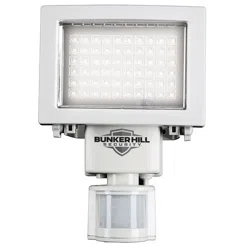
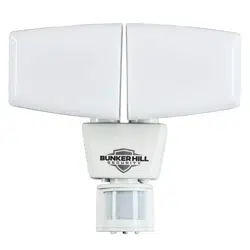
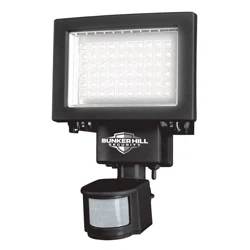
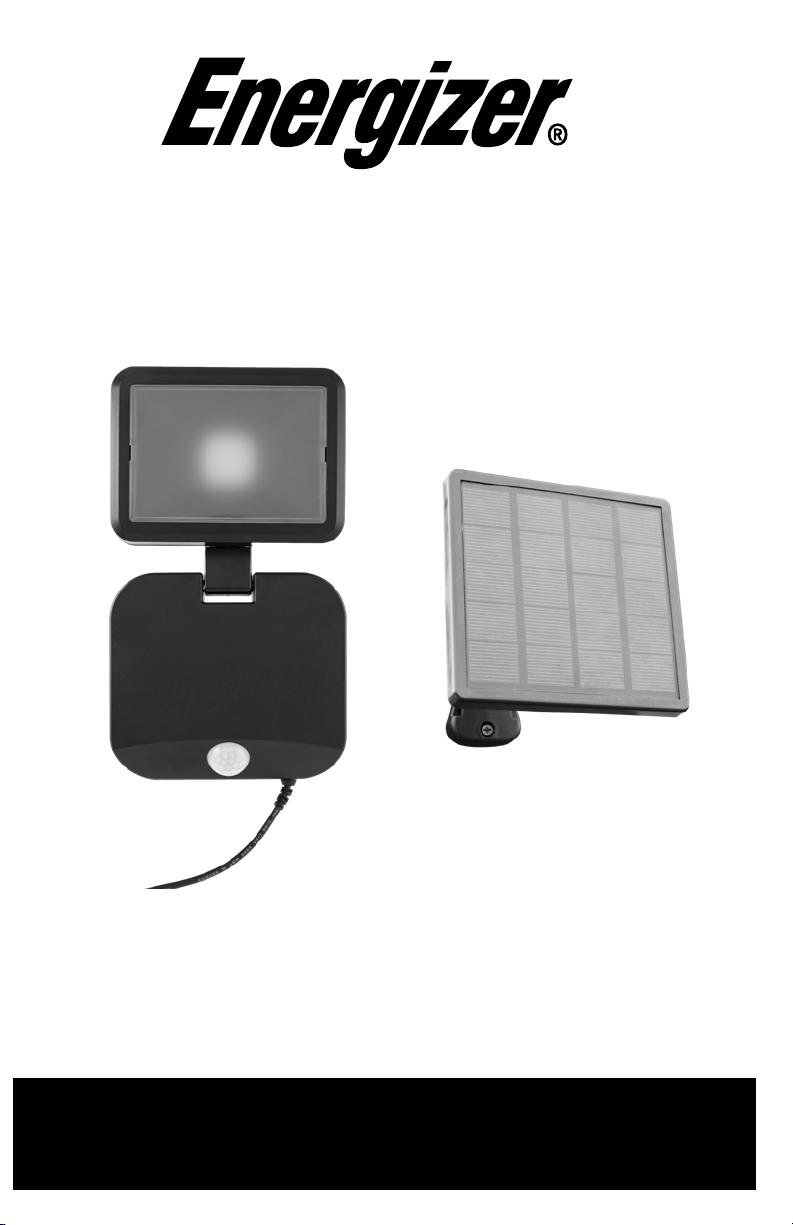
Solar Security Light
Luz de seguridad solar con batería de reserva
PILAS
Use 4 pilas D para encenderla o como respaldo para el panel solar, las pilas no están
incluidas. Cuando las reemplace, no coloque pilas nuevas con pilas viejas.
1. Retire el soporte de montaje deslizándolo hacia abajo. (Imagen 1)
2. Aoje el tornillo de la tapa del compartimiento para pilas con un destornillador de cabeza
plana o un destornillador de cabeza Philips n.° 1.
3. Libere cada pinza y retire la tapa del compartimiento para pilas.
4.
Coloque 4 pilas D (no incluidas); tenga en cuenta los polos. Vuelva a colocar la tapa del
compartimiento para pilas ajustando el tornillo en su lugar, no apriete demasiado. (Imagen 2)
LUZ DE SEGURIDAD
Monte la luz de seguridad en paredes o aleros. Para obtener el mejor
rendimiento
,
instale a 2,4 m (8 pies) sobre el nivel del suelo como mínimo. Asegúrese de que el
área de montaje esté seca y limpia de residuos.
1. Sostenga la cubierta trasera/el soporte de montaje en su lugar y marque la ubicación de cada
tornillo o use la plantilla incluida.
2. Taladre oricios piloto con una broca de 3/16”.
3. Inserte los tacos incluidos.
4. Instale la cubierta trasera/el soporte de montaje con los tornillos incluidos y un destornillador
Philips n.° 1; no apriete demasiado.
5. Vuelva a colocar la luz de seguridad en el soporte de montaje, asegurándose de que las
pinzas encajen en su lugar.
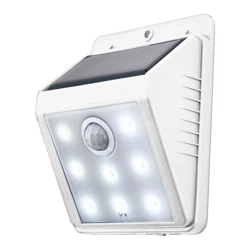
PANEL SOLAR
Al instalar, asegúrese de que no haya objetos que obstruyan la exposición total a la luz
solar del panel. Una carga diaria completa puede tardar hasta 7 horas.
1. Marque las ubicaciones de montaje de la base del brazo corto o largo utilizando los oricios
para tornillos como guías.
2. Antes de perforar, verique que las áreas marcadas estén libres de obstáculos como cables
y líneas eléctricas.
3.
Perfore un oricio piloto con una broca de 3/32” y je la base con los tornillos y tacos incluidos.
4.
Alinee el panel solar con la parte superior del brazo de montaje y ajuste el ángulo para una
exposición óptima a la luz solar. (Imagen 3) Asegúrelo al brazo con la tuerca de mariposa provista.
5. Enchufe el cable USB-A de 4,57 m (15 ) en el panel solar y la luz de seguridad.
Nota: Si enchufa el cable USB-A en un puerto o tomacorriente USB, asegúrese
de que sea una fuente de alimentación de 5 V, 2 A.
OPERACIÓN
Panel solar:
Presione el botón en la parte posterior del panel solar para encender la luz de seguridad.
La luz de seguridad consumirá energía del panel solar antes de consumir energía de las pilas.
Sensor de movimiento:
La luz se enciende en condiciones de poca luz cuando se detecta movimiento en
un rango de 7,62 m (25 ) y 120°, y se apaga cuando ya no se detecta movimiento.
Cabezales ajustables: Gire los cabezales de la luz de seguridad para dirigirlas hacia donde necesita
la mayor cobertura.
PROYECTOR O REFLECTOR
Coloque o retire las lentes esmeriladas
incluidas sobre cada cabezal para alternar
entre los modos de reector y proyector.
Proyector - Cuando desea una luz más brillante
• Sin las lentes colocadas, la luz brilla en un
área concentrada.
(Imagen 4)
•
Cuando retire la lente, use suavemente un
destornillador de plano para sacarla de su
lugar.
(Imagen 5)
Reector - Cuando desea una luz más difusa
• Con la lente colocada, la luz difusa brilla en
un área más amplia.
•
Al colocar la lente, asegúrese de que los
oricios de la lente estén en el costado de la
lámpara y que encaje rmemente en su lugar.
Figure 1
Figure 2
Figure 3
Figure 4
Figure 5
ADVERTENCIA:
Lea todas las precauciones de seguridad y las instrucciones de instalación
detenidamente antes de instalar u operar el equipo.
• No exponga al panel solar al fuego ni al calor intenso.
• No lo sumerja en agua.
INSTRUCCIONES DE LA BATERÍA:
• Este producto contiene una batería de litio recargable. La batería no es reparable. Contacte a
Jasco Products si necesita reemplazar la unidad de energía solar.
CUIDADO Y MANTENIMIENTO:
• El panel solar no debe sumergirse en agua ni en otros líquidos. La característica de resistencia
al agua sirve para corregir una instalación o, en ciertos ángulos, para la lluvia.
• Para optimizar la efectividad del panel solar, haga lo siguiente: Elija una ubicación para el
panel solar donde haya la mayor luz solar posible durante el año. Limpie el panel cada varios
meses para eliminar polvo o restos que puedan afectar la eciencia del panel para recolectar
energía solar.
HECHO EN CHINA
©2021 Energizer. Energizer
y algunos diseños grácos
son marcas comerciales
de Energizer Brands, LLC y
subsidiarias relacionadas, que
se utilizan bajo la licencia de
Jasco Products Company, LLC.
¿Preguntas? Comuníquese al
1-800-654-8483 entre las 7:00
a.m. y las 8:00 p.m. CST (hora
central estándar)
Garantía de 2 años. Visite
www.byjasco.com para conocer
los detalles de la garantía.
ADVERTENCIA
RIESGO DE DESCARGA ELÉCTRICA
• NO SUMERGIR.
• NO USE CERCA DE PECERAS.
• EL PANEL SOLAR ES UN PRODUCTO PARA LUGARES
HÚMEDOS Y NO TIENE PIEZAS REPARABLES.
• ASEGÚRESE DE QUE EL PANEL SOLAR ESTÉ AL
MENOS A 5 METROS DE PISCINAS Y SPAS.
• EVITE DAÑAR EL PANEL SOLAR. REVISE QUE EL
PANEL SOLAR NO TENGA DAÑOS FÍSICOS U OTROS
CAUSADO POR LA EXPOSICIÓN A LOS ELEMENTOS A
LA INTEMPERIE.
• REEMPLACE EL PANEL SOLAR SI ESTUVIERA DAÑADO.
•
NO LO INSTALE EN LUGARES DONDE PUEDAN
PISARLO.
• LOS NIÑOS NO DEBEN JUGAR CON EL PANEL SOLAR.
• USE EL PANEL SOLAR SOLO CON LUCES COLGANTES USB.
PRECAUCIÓN
• LAS BATERÍAS PUEDEN DERRAMAR
LÍQUIDOS NOCIVOS O MATERIALES
INFLAMABLES O ESTALLAR CAUSANDO
LESIONES Y DAÑOS AL PRODUCTO.
• REEMPLACE TODAS LAS BATERÍAS AL
MISMO TIEMPO.
• REEMPLACE LAS BATERÍAS TOTALMENTE
DESCARGADAS INMEDIATAMENTE.
•
QUITE LAS BATERÍAS SI EL DISPOSITIVO
NO VA A SER UTILIZADO POR UN TIEMPO
LARGO
.
• NO SUMERGIR EN AGUA.
• LIMPIAR SOLAMENTE CON UN PAÑO
SUAVE Y HÚMEDO.
Discover innovative
power solutions at
www.byjasco.com/power
Like our product?
Leave a review
on your favorite
retailer website
or amazon.com
Having problems?
Let us know how
we can help.
1-800-654-8483
between 7AM-8PM,
M-F, Central Time.
Thank you for your purchase!
For deals, to register
your purchase and to
tell us how we’re
doing, simply scan
the code or visit
byjasco.com/deals
Instructions made easy
Read instructions or watch
easy-to-follow video.
Scan code or visit
https://byjasco.com/
57418i
Baery Backup Solar Security Light
BATTERIES
Power or use 4D batteries as a back-up to your solar panel, batteries not included.
When replacing, do not mix old batteries with new batteries.
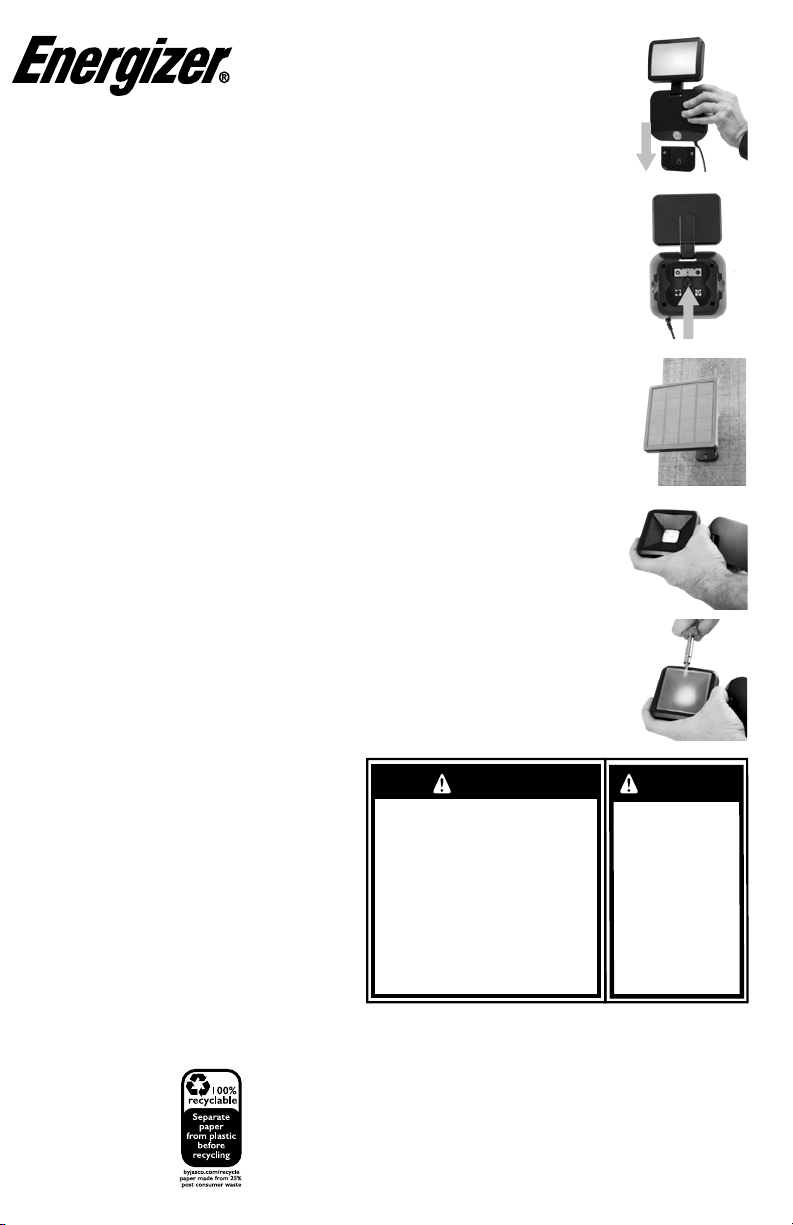
1. Remove the mounting bracket by sliding it down. (Figure 1)
2.
Loosen the baery door screw with either a at-head screwdriver or a #1 Philips- head screwdriver.
3.
Unlatch each clip and remove the baery door.
4. Insert 4 D baeries (not included), noting polarity. Replace the baery door, fastening the
screw back into place — do not overtighten. (Figure 2)
SECURITY LIGHT
Mount the security light on walls or eaves. For the best performance, install at least 8ft.
above ground level. Ensure the mounting area is dry and clean of debris.
1. Hold the mounting bracket in place and mark the location for each screw.
2. Drill pilot holes using a 3/16in. drill bit.
3. Insert the included anchors.
4.
Install the mounting bracket using the included screws and a #1 Phillips-head screwdriver —
do not overtighten.
5.
Reaach the security light to the mounting bracket, ensuring the clips lock into place.
SOLAR PANEL
When installing, ensure that there are no objects obstructing the panel from full sunlight
exposure. A full daily charge will take up to 7 hours.
1.
Mark the mounting locations of either the short or long-arm base using the screw holes as guides.
2.
Before drilling, check that the marked areas are clear of obstacles such as cables and electrical lines.
3.
Drill a pilot hole using a 3/32in. drill bit and secure the base with the included screws and anchors.
4. Align the solar panel with the top of the mounting arm and adjust the angle for optimum
sunlight exposure. (Figure 3) Secure it to the arm with the provided wing nut.
5. Plug the provided 15. USB-A cable into the solar panel and security light.
Note: If plugging USB-A cable into USB port or outlet, ensure it is a 5V, 2A power source
OPERATION
Solar panel:
Press the buon on the back of the solar panel to power the security light. The
security light will consume power from the solar panel before consuming baery power.
Motion sensor:
The light turns on in low light conditions when motion is detected in a 25., 120°
range and o when motion is no longer detected.
Adjustable heads:
Rotate the head of the security light to point where you need the most coverage.
SPOTLIGHT OR FLOODLIGHT
Attach or remove the included frosted lens over the head to alternate between ood
and spotlight modes.
Spotlight - When you want a brighter light
•
No lens aached, the light shines in a concentrated area. (Figure 4)
•
When removing the lens, gently use a athead screwdriver to pop it out of place. (Figure 5)
Floodlight - When you want a more diused light
• Lens aached, diused light shines in a wider area.
•
When aaching the lens, ensure the holes of the lens are on the side of the light xture and that it
rmly snaps into place.
Figure 1
Figure 2
Figure 3
Figure 4
Figure 5
WARNING: Read all safety precautions and installation instructions carefully before installing or
operating this xture.
- Do not expose the solar panel to re or intense heat.
- Do not immerse it in water.
BATTERY INSTRUCTIONS:
This product contains a rechargeable lithium baery. The baery is non serviceable, please
contact Jasco Products for a replacement solar power unit.
CARE AND MAINTENANCE:
-The solar panel is not allowed to dip into water or any other liquid. The water-resistant function
is limited to correct installation or within a certain angle in rain.
-To optimize the eectiveness of your solar panel, do the following: Choose a location for your
solar panel that gets the most sunlight throughout the year. Wipe the panel every few months
to remove dust or debris that might aect the solar energy harvesting eciency of the panel.
57418-1 EnSp Manual v1 7/30
CAUTION
•
BATTERIES MAY LEAK
HARMFUL LIQUIDS OR
IGNITABLE MATERIALS
OR EXPLODE CAUSING
INJURY OR PRODUCT
DAMAGE.
• DO NOT MIX OLD
AND NEW OR OTHER
BATTERY TYPES.
•
REPLACE ALL BATTERIES
AT THE SAME TIME.
• REMOVE BATTERIES
IF PRODUCT IS TO
BE UNUSED FOR
EXTENDED PERIOD
OF TIME.
WARNING
RISK OF ELECTRIC SHOCK
• DO NOT SUBMERSE.
• DO NOT USE AROUND AQUARIUMS.
•
SOLAR PANEL IS A WET LOCATION PRODUCT
AND HAS NO SERVICEABLE PARTS.
• KEEP SOLAR PANEL AT LEAST 16 FEET FROM
POOL AND SPAS.
• AVOID DAMAGE TO SOLAR PANEL. INSPECT
THE SOLAR PANEL FOR PHYSICAL DAMAGE
OR OTHER DAMAGE CAUSED BY OUTDOOR
EXPOSURE TO THE ELEMENTS.
•
REPLACE THE SOLAR PANEL IF DAMAGED.
•
DO NOT INSTALL IN LOCATIONS WHERE SOLAR
PANEL CAN BE STEPPED ON.
•
CHILDREN SHOULD NOT PLAY WITH SOLAR PANEL.
•
ONLY USE SOLAR PANEL WITH SECURITY LIGHT.
MADE IN CHINA
©2021 Energizer. Energizer
and certain graphic designs
are trademarks of Energizer
Brands, LLC and related
subsidiaries and are used under
license by Jasco Products
Company, LLC.
Contact our U.S.-based
Consumer Care at
1-800-654-8483 between
7AM-8PM, M-F, Central Time.
2-year warranty. Visit
www.byjasco.com for warranty
details.
Discover innovative
power solutions at
www.byjasco.com/power
Like our product?
Leave a review
on your favorite
retailer website
or amazon.com
Having problems?
Let us know how
we can help.
1-800-654-8483
between 7AM-8PM,
M-F, Central Time.
Thank you for your purchase!
For deals, to register
your purchase and to
tell us how we’re
doing, simply scan
the code or visit
byjasco.com/deals
Instructions made easy
Read instructions or watch
easy-to-follow video.
Scan code or visit
https://byjasco.com/
57418i
Baery Backup Solar Security Light
BATTERIES
Power or use 4D batteries as a back-up to your solar panel, batteries not included.
When replacing, do not mix old batteries with new batteries.
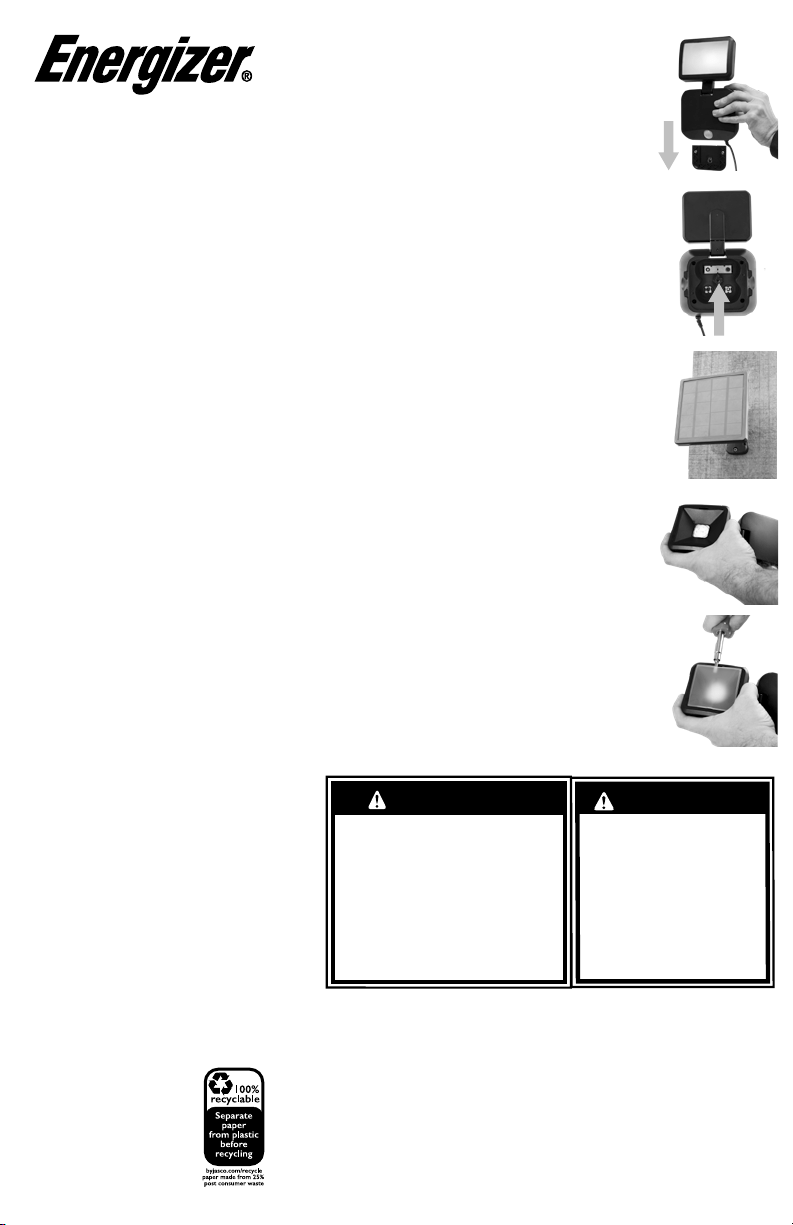
1. Remove the mounting bracket by sliding it down. (Figure 1)
2.
Loosen the baery door screw with either a at-head screwdriver or a #1 Philips- head screwdriver.
3.
Unlatch each clip and remove the baery door.
4. Insert 4 D baeries (not included), noting polarity. Replace the baery door, fastening the
screw back into place — do not overtighten. (Figure 2)
SECURITY LIGHT
Mount the security light on walls or eaves. For the best performance, install at least 8ft.
above ground level. Ensure the mounting area is dry and clean of debris.
1. Hold the mounting bracket in place and mark the location for each screw.
2. Drill pilot holes using a 3/16in. drill bit.
3. Insert the included anchors.
4.
Install the mounting bracket using the included screws and a #1 Phillips-head screwdriver —
do not overtighten.
5.
Reaach the security light to the mounting bracket, ensuring the clips lock into place.
SOLAR PANEL
When installing, ensure that there are no objects obstructing the panel from full sunlight
exposure. A full daily charge will take up to 7 hours.
1.
Mark the mounting locations of either the short or long-arm base using the screw holes as guides.
2.
Before drilling, check that the marked areas are clear of obstacles such as cables and electrical lines.
3.
Drill a pilot hole using a 3/32in. drill bit and secure the base with the included screws and anchors.
4. Align the solar panel with the top of the mounting arm and adjust the angle for optimum
sunlight exposure. (Figure 3) Secure it to the arm with the provided wing nut.
5. Plug the provided 15. USB-A cable into the solar panel and security light.
Note: If plugging USB-A cable into USB port or outlet, ensure it is a 5V, 2A power source
OPERATION
Solar panel:
Press the buon on the back of the solar panel to power the security light. The
security light will consume power from the solar panel before consuming baery power.
Motion sensor:
The light turns on in low light conditions when motion is detected in a 25., 120°
range and o when motion is no longer detected.
Adjustable heads:
Rotate the head of the security light to point where you need the most coverage.
SPOTLIGHT OR FLOODLIGHT
Attach or remove the included frosted lens over the head to alternate between ood
and spotlight modes.
Spotlight - When you want a brighter light
•
No lens aached, the light shines in a concentrated area. (Figure 4)
•
When removing the lens, gently use a athead screwdriver to pop it out of place. (Figure 5)
Floodlight - When you want a more diused light
• Lens aached, diused light shines in a wider area.
•
When aaching the lens, ensure the holes of the lens are on the side of the light xture and that it
rmly snaps into place.
Figure 1
Figure 2
Figure 3
Figure 4
Figure 5
WARNING: Read all safety precautions and installation instructions carefully before installing or
operating this xture.
- Do not expose the solar panel to re or intense heat.
- Do not immerse it in water.
BATTERY INSTRUCTIONS:
This product contains a rechargeable lithium baery. The baery is non serviceable, please
contact Jasco Products for a replacement solar power unit.
CARE AND MAINTENANCE:
-The solar panel is not allowed to dip into water or any other liquid. The water-resistant function
is limited to correct installation or within a certain angle in rain.
-To optimize the eectiveness of your solar panel, do the following: Choose a location for your
solar panel that gets the most sunlight throughout the year. Wipe the panel every few months
to remove dust or debris that might aect the solar energy harvesting eciency of the panel.
57418-1 EnSp Manual v1 7/30
CAUTION
•
BATTERIES MAY LEAK
HARMFUL LIQUIDS OR
IGNITABLE MATERIALS
OR EXPLODE CAUSING
INJURY OR PRODUCT
DAMAGE.
• DO NOT MIX OLD
AND NEW OR OTHER
BATTERY TYPES.
•
REPLACE ALL BATTERIES
AT THE SAME TIME.
• REMOVE BATTERIES
IF PRODUCT IS TO
BE UNUSED FOR
EXTENDED PERIOD
OF TIME.
WARNING
RISK OF ELECTRIC SHOCK
• DO NOT SUBMERSE.
• DO NOT USE AROUND AQUARIUMS.
•
SOLAR PANEL IS A WET LOCATION PRODUCT
AND HAS NO SERVICEABLE PARTS.
• KEEP SOLAR PANEL AT LEAST 16 FEET FROM
POOL AND SPAS.
• AVOID DAMAGE TO SOLAR PANEL. INSPECT
THE SOLAR PANEL FOR PHYSICAL DAMAGE
OR OTHER DAMAGE CAUSED BY OUTDOOR
EXPOSURE TO THE ELEMENTS.
•
REPLACE THE SOLAR PANEL IF DAMAGED.
•
DO NOT INSTALL IN LOCATIONS WHERE SOLAR
PANEL CAN BE STEPPED ON.
•
CHILDREN SHOULD NOT PLAY WITH SOLAR PANEL.
•
ONLY USE SOLAR PANEL WITH SECURITY LIGHT.
MADE IN CHINA
©2021 Energizer. Energizer
and certain graphic designs
are trademarks of Energizer
Brands, LLC and related
subsidiaries and are used under
license by Jasco Products
Company, LLC.
Contact our U.S.-based
Consumer Care at
1-800-654-8483 between
7AM-8PM, M-F, Central Time.
2-year warranty. Visit
www.byjasco.com for warranty
details.
See reverse for easy-to-follow
instructions and exclusive deals.
Baery Backup
Solar Security Light
Luz de seguridad solar con batería de reserva
PILAS
Use 4 pilas D para encenderla o como respaldo para el panel solar, las pilas no están
incluidas. Cuando las reemplace, no coloque pilas nuevas con pilas viejas.
1. Retire el soporte de montaje deslizándolo hacia abajo. (Imagen 1)
2. Aoje el tornillo de la tapa del compartimiento para pilas con un destornillador de cabeza
plana o un destornillador de cabeza Philips n.° 1.
3. Libere cada pinza y retire la tapa del compartimiento para pilas.
4.
Coloque 4 pilas D (no incluidas); tenga en cuenta los polos. Vuelva a colocar la tapa del
compartimiento para pilas ajustando el tornillo en su lugar, no apriete demasiado. (Imagen 2)
LUZ DE SEGURIDAD
Monte la luz de seguridad en paredes o aleros. Para obtener el mejor
rendimiento
,
instale a 2,4 m (8 pies) sobre el nivel del suelo como mínimo. Asegúrese de que el
área de montaje esté seca y limpia de residuos.
1. Sostenga la cubierta trasera/el soporte de montaje en su lugar y marque la ubicación de cada
tornillo o use la plantilla incluida.
2. Taladre oricios piloto con una broca de 3/16”.
3. Inserte los tacos incluidos.
4. Instale la cubierta trasera/el soporte de montaje con los tornillos incluidos y un destornillador
Philips n.° 1; no apriete demasiado.
5. Vuelva a colocar la luz de seguridad en el soporte de montaje, asegurándose de que las
pinzas encajen en su lugar.
PANEL SOLAR
Al instalar, asegúrese de que no haya objetos que obstruyan la exposición total a la luz
solar del panel. Una carga diaria completa puede tardar hasta 7 horas.
1. Marque las ubicaciones de montaje de la base del brazo corto o largo utilizando los oricios
para tornillos como guías.
2. Antes de perforar, verique que las áreas marcadas estén libres de obstáculos como cables
y líneas eléctricas.
3.
Perfore un oricio piloto con una broca de 3/32” y je la base con los tornillos y tacos incluidos.
4.
Alinee el panel solar con la parte superior del brazo de montaje y ajuste el ángulo para una
exposición óptima a la luz solar. (Imagen 3) Asegúrelo al brazo con la tuerca de mariposa provista.
5. Enchufe el cable USB-A de 4,57 m (15 ) en el panel solar y la luz de seguridad.
Nota: Si enchufa el cable USB-A en un puerto o tomacorriente USB, asegúrese
de que sea una fuente de alimentación de 5 V, 2 A.
OPERACIÓN
Panel solar:
Presione el botón en la parte posterior del panel solar para encender la luz de seguridad.
La luz de seguridad consumirá energía del panel solar antes de consumir energía de las pilas.
Sensor de movimiento:
La luz se enciende en condiciones de poca luz cuando se detecta movimiento en
un rango de 7,62 m (25 ) y 120°, y se apaga cuando ya no se detecta movimiento.
Cabezales ajustables: Gire los cabezales de la luz de seguridad para dirigirlas hacia donde necesita
la mayor cobertura.
PROYECTOR O REFLECTOR
Coloque o retire las lentes esmeriladas
incluidas sobre cada cabezal para alternar
entre los modos de reector y proyector.
Proyector - Cuando desea una luz más brillante
• Sin las lentes colocadas, la luz brilla en un
área concentrada.
(Imagen 4)
•
Cuando retire la lente, use suavemente un
destornillador de plano para sacarla de su
lugar.
(Imagen 5)
Reector - Cuando desea una luz más difusa
• Con la lente colocada, la luz difusa brilla en
un área más amplia.
•
Al colocar la lente, asegúrese de que los
oricios de la lente estén en el costado de la
lámpara y que encaje rmemente en su lugar.
Figure 1
Figure 2
Figure 3
Figure 4
Figure 5
ADVERTENCIA:
Lea todas las precauciones de seguridad y las instrucciones de instalación
detenidamente antes de instalar u operar el equipo.
• No exponga al panel solar al fuego ni al calor intenso.
• No lo sumerja en agua.
INSTRUCCIONES DE LA BATERÍA:
• Este producto contiene una batería de litio recargable. La batería no es reparable. Contacte a
Jasco Products si necesita reemplazar la unidad de energía solar.
CUIDADO Y MANTENIMIENTO:
• El panel solar no debe sumergirse en agua ni en otros líquidos. La característica de resistencia
al agua sirve para corregir una instalación o, en ciertos ángulos, para la lluvia.
• Para optimizar la efectividad del panel solar, haga lo siguiente: Elija una ubicación para el
panel solar donde haya la mayor luz solar posible durante el año. Limpie el panel cada varios
meses para eliminar polvo o restos que puedan afectar la eciencia del panel para recolectar
energía solar.
HECHO EN CHINA
©2021 Energizer. Energizer
y algunos diseños grácos
son marcas comerciales
de Energizer Brands, LLC y
subsidiarias relacionadas, que
se utilizan bajo la licencia de
Jasco Products Company, LLC.
¿Preguntas? Comuníquese al
1-800-654-8483 entre las 7:00
a.m. y las 8:00 p.m. CST (hora
central estándar)
Garantía de 2 años. Visite
www.byjasco.com para conocer
los detalles de la garantía.
ADVERTENCIA
RIESGO DE DESCARGA ELÉCTRICA
• NO SUMERGIR.
• NO USE CERCA DE PECERAS.
• EL PANEL SOLAR ES UN PRODUCTO PARA LUGARES
HÚMEDOS Y NO TIENE PIEZAS REPARABLES.
• ASEGÚRESE DE QUE EL PANEL SOLAR ESTÉ AL
MENOS A 5 METROS DE PISCINAS Y SPAS.
• EVITE DAÑAR EL PANEL SOLAR. REVISE QUE EL
PANEL SOLAR NO TENGA DAÑOS FÍSICOS U OTROS
CAUSADO POR LA EXPOSICIÓN A LOS ELEMENTOS A
LA INTEMPERIE.
• REEMPLACE EL PANEL SOLAR SI ESTUVIERA DAÑADO.
•
NO LO INSTALE EN LUGARES DONDE PUEDAN
PISARLO.
• LOS NIÑOS NO DEBEN JUGAR CON EL PANEL SOLAR.
• USE EL PANEL SOLAR SOLO CON LUCES COLGANTES USB.
PRECAUCIÓN
• LAS BATERÍAS PUEDEN DERRAMAR
LÍQUIDOS NOCIVOS O MATERIALES
INFLAMABLES O ESTALLAR CAUSANDO
LESIONES Y DAÑOS AL PRODUCTO.
• REEMPLACE TODAS LAS BATERÍAS AL
MISMO TIEMPO.
• REEMPLACE LAS BATERÍAS TOTALMENTE
DESCARGADAS INMEDIATAMENTE.
•
QUITE LAS BATERÍAS SI EL DISPOSITIVO
NO VA A SER UTILIZADO POR UN TIEMPO
LARGO
.
• NO SUMERGIR EN AGUA.
• LIMPIAR SOLAMENTE CON UN PAÑO
SUAVE Y HÚMEDO.