Loading ...
Loading ...

3
Quick Installation
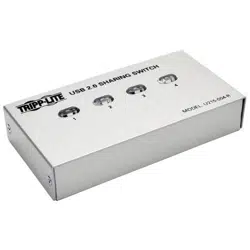
Installation Figure
Installing the Software
Installing the USB Sharing Application:
• Insert the application CD in your computer’s CD-ROM drive to start the installation process. If
your computer does not have a CD-ROM drive, you can download the software from Tripp Lite’s
website at www.tripplite.com/support.
• If the installation does not automatically start, navigate to your CD-ROM drive in your Computer
window (for Windows systems) or in Finder (for Mac OS X), and double-click the corresponding
driver file.
• The Install page is displayed. The installation process will only take a few seconds.
• When the End of Installation dialog box is displayed, click “Finished”.
Note: We highly recommend that you reboot your PC after installation.
Status Indication on Taskbar
Color of Status Indicator:
Red Another computer is using the device; you may not switch between PCs at this
moment (busy status).
Green Device is now connected.
Yellow Device is currently connected to another computer. Press Ctrl + F11 to switch, or
right-click with the mouse and select “switch” (for Mac OS X, use Alt + F11).
Note: The status indicator on the Taskbar will be GREEN for ALL computers if the switch is improperly installed.
Storage devices such as external hard drives and printers will continue to send signals back and forth to your
computer whenever they are connected. When this occurs, the indicator icon will appear red and blinking. If
you would like to control the USB Peripheral Sharing Switch without busy statuses, simply press Ctrl + F11 (for
Mac OS X, use Alt + F11) and the confirmation message will open. Click “Yes” to confirm the switch.
Flash Drive
15-06-170-933487_EN.indd 3 6/23/2015 2:01:30 PM
Loading ...
Loading ...
Loading ...