Loading ...
Loading ...
Loading ...
7
5. Initial Use
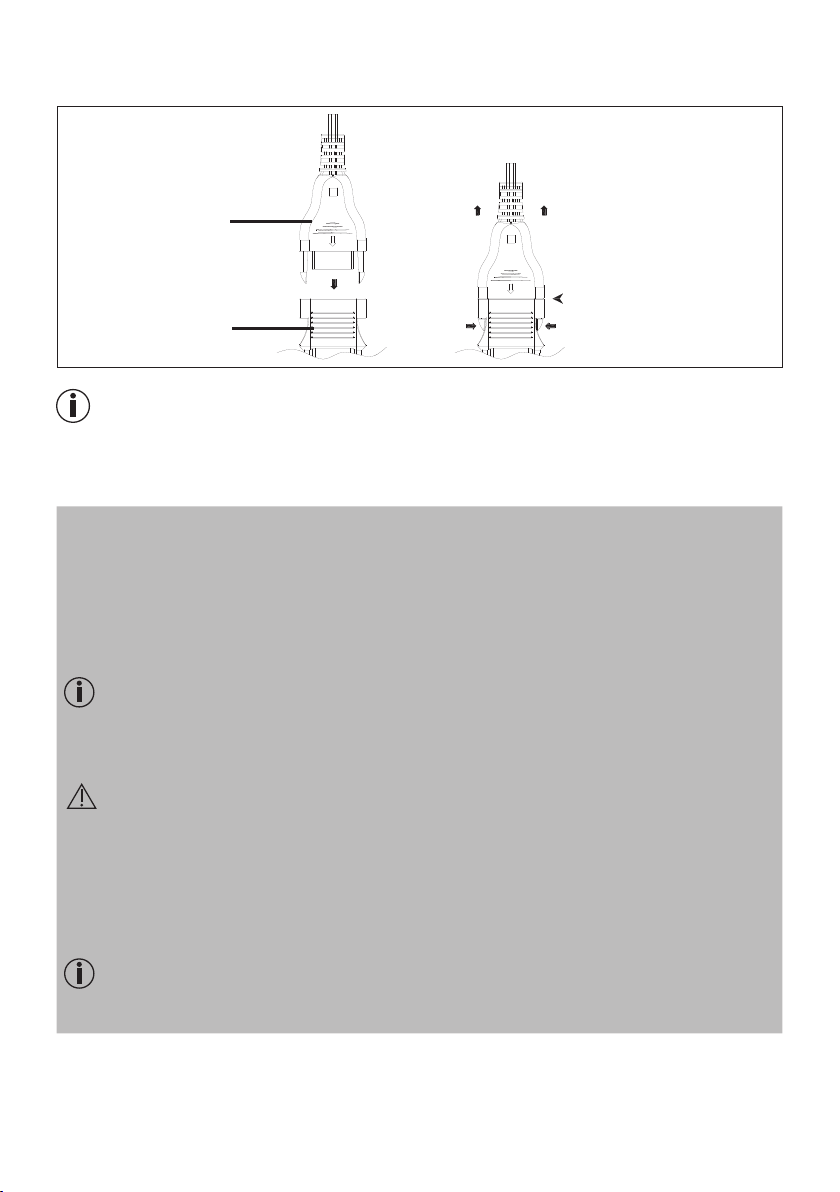
Attach the Blanket Connector to the Control Connector. Push both parts together securely to ensure a tight fit.
Control Connector
Blanket Connector
NOTICE
The Control Connector must be connected to the Blanket Connector before plugging the unit into an elec-
trical outlet. After connecting the Blanket Connector to the Control Connector, plug the unit into a 120V AC
electrical outlet.
6. To Use
To turn the blanket on, press the power button. Select the desired heat setting by continuing to press the
power button until the heat indicator light is the color of your desired heat setting:
Green=Warm Orange=Medium
Yellow=Low Red=High
To turn the blanket off, press the power button one more time.
NOTICE
If the unit does not turn on when you press the power button, make sure the Control Connector is securely
plugged into the Blanket Connector.
To turn the blanket off, scroll through all the heat settings until the heat indicator light turns off.
WARNING
If the blanket is being used over several hours, we recommend that you set the lowest temperature set-
ting on the controller to avoid overheating the heated body, which may lead to burns to the skin.
AUTO-OFF FEATURE
To conserve energy and prevent skin burns caused by excessive use, the blanket includes an auto-off
feature. The unit will turn off automatically after two hours of continuous use. The red auto-off light will
blink when this feature is activated.
NOTICE
After a power outage, the blanket automatically resets the timer on the auto-off feature.
Loading ...
Loading ...
Loading ...