Loading ...
Loading ...
Loading ...
,&
LL&CAUTION: Always wear safety
glasses or eye shields while assembling
snow thrower.
TOOLS REQUIRED FOR ASSEMBLY
1 - Knife to cut carton
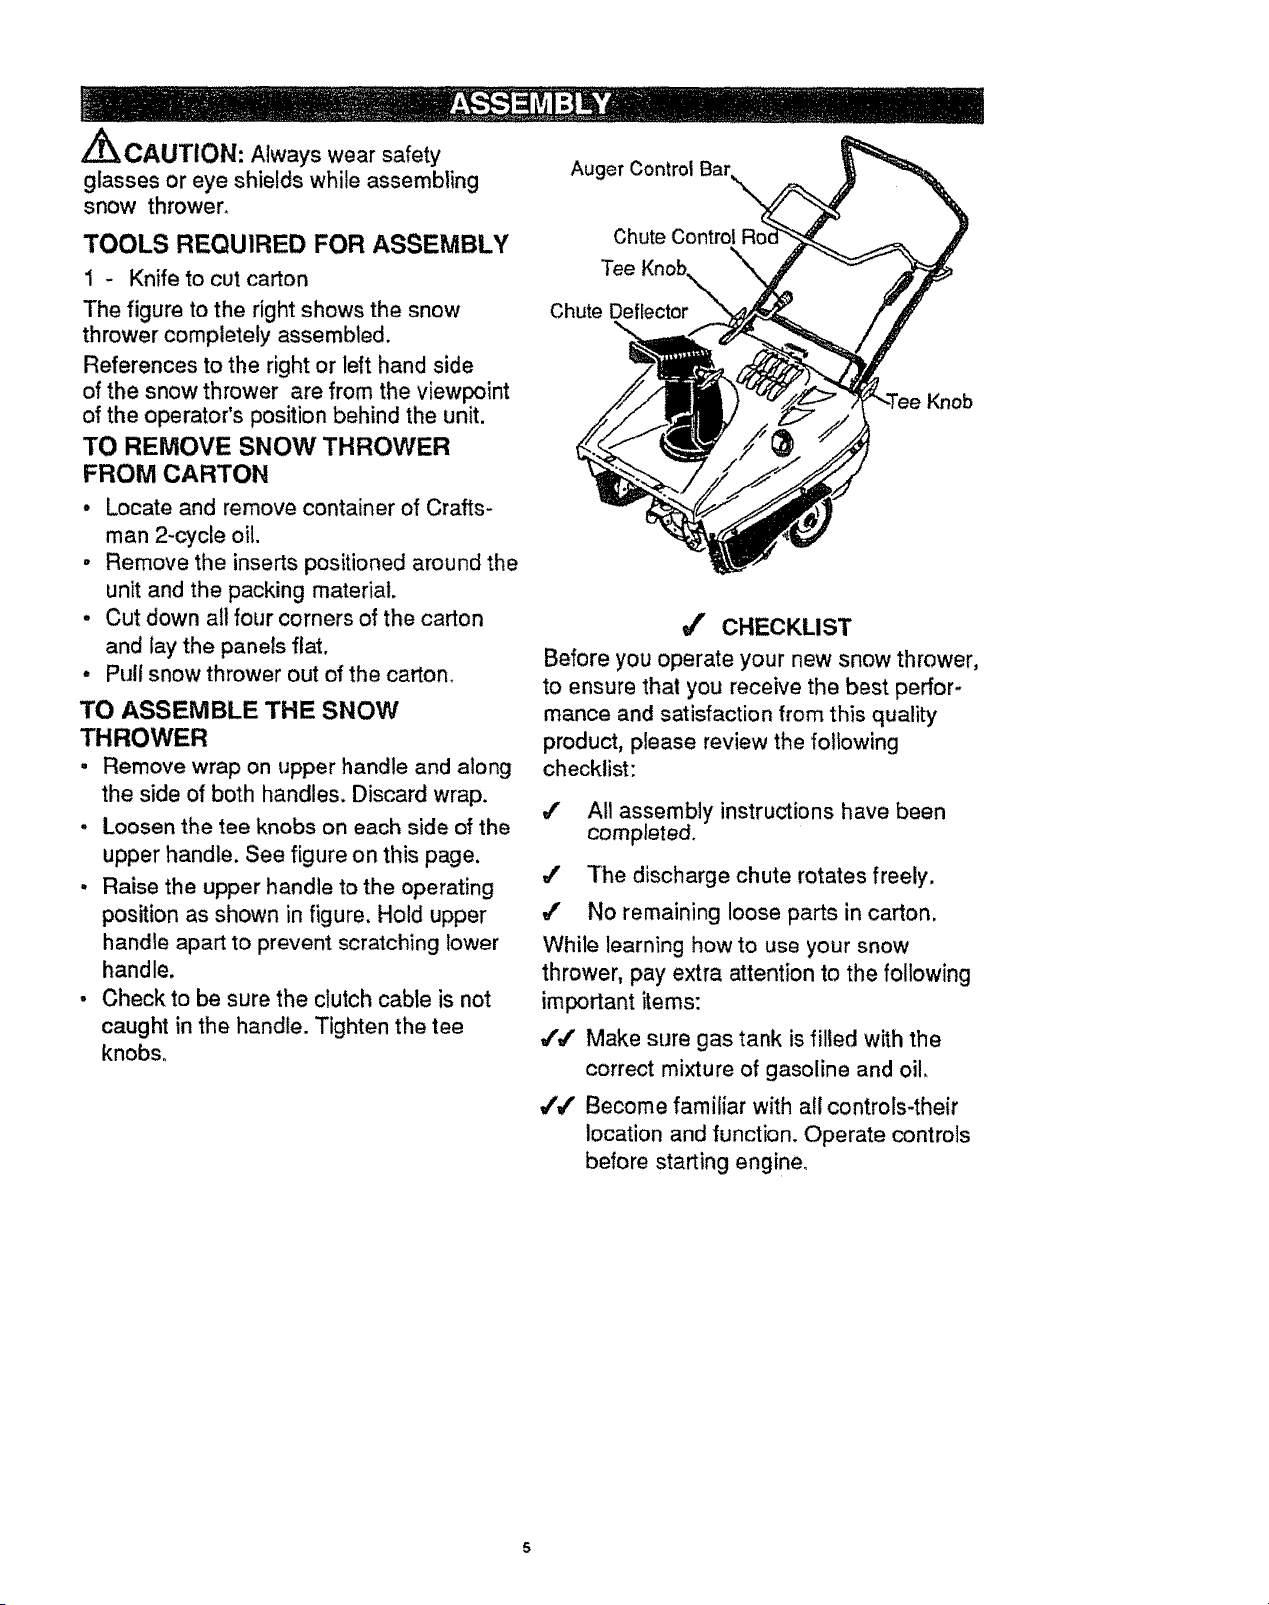
The figure to the right shows the snow
thrower completely assembled.
References to the right or left hand side
of the snow thrower are from the viewpoint
of the operator's position behind the unit.
TO REMOVE SNOW THROWER
FROM CARTON
• Locate and remove container of Crafts-
man 2-cycle oil.
• Remove the inserts positioned around the
unit and the packing material.
, Cut down all four corners of the carton
and lay the panels flat.
• Pull snow thrower out of the carton.
TO ASSEMBLE THE SNOW
THROWER
• Remove wrap on upper handle and along
the side of both handles. Discard wrap.
, Loosen the tee knobs on each side of the
upper handle. See figure on this page.
, Raise the upper handle to the operating
position as shown in figure. Hold upper
handle apart to prevent scratching lower
handle.
• Check to be sure the clutch cable is not
caught in the handle. Tighten the tee
knobs.
Auger Control Bar
Chute Control Roc
Knob
TeeKnob,
Chute Deflecto______
,/' CHECKLIST
Before you operate your new snow thrower,
to ensure that you receive the best perfor-
mance and satisfaction from this quality
product, please review the following
checklist:
4' All assembly instructions have been
completed.
,/' The discharge chute rotates freely.
#" No remaining loose parts in carton.
While learning how to use your snow
thrower, pay extra attention to the following
important items:
,(,/' Make sure gas tank is filled with the
correct mixture of gasoline and oil.
#'_ Become familiar with all controls-their
location and function. Operate controls
before starting engine°
Loading ...
Loading ...
Loading ...