model
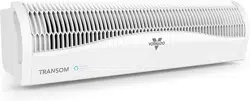
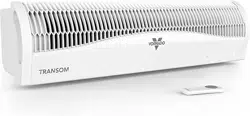
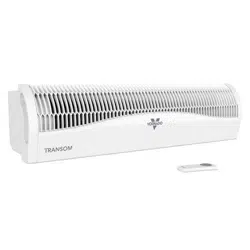
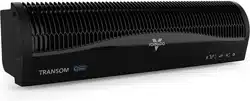
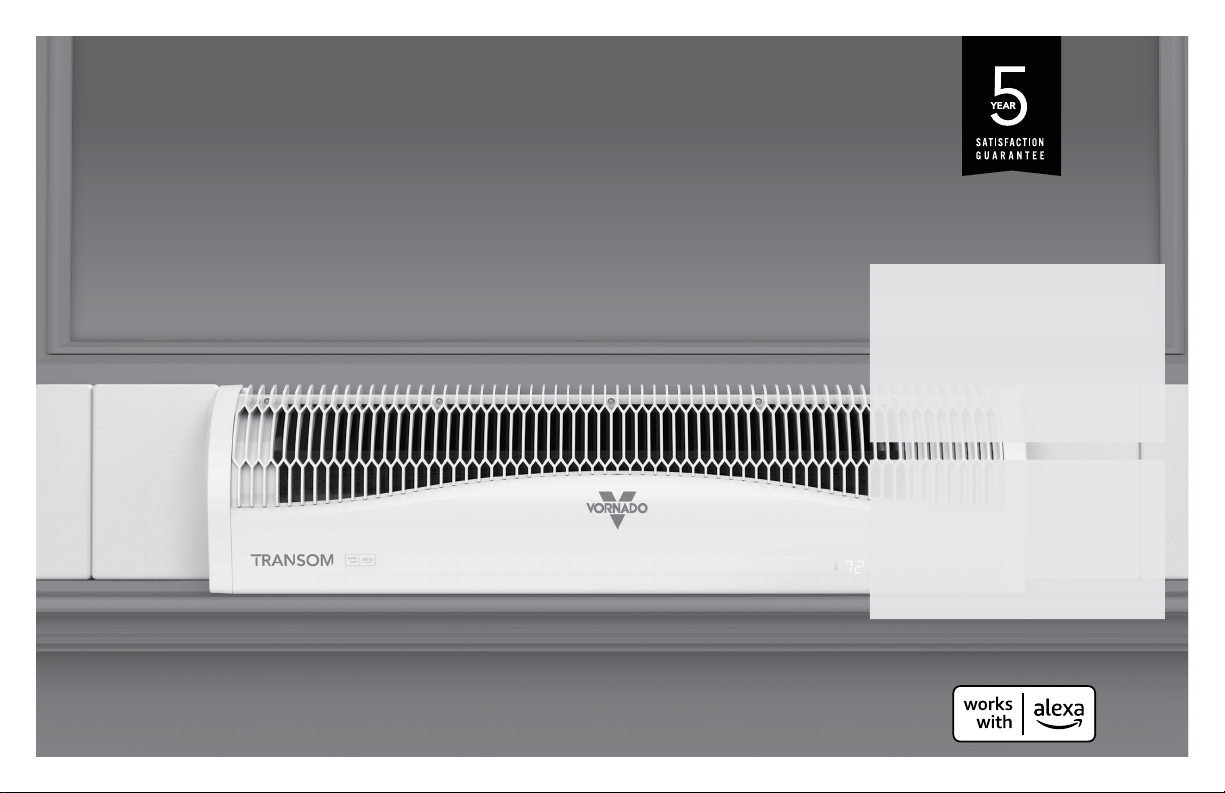
TRANSOM AE
vornado.com
WINDOW CIRCULATOR
OWNER’S GUIDE
READ AND SAVE
THESE INSTRUCTIONS

2 English
vor nado.com
800-234-0604
help@vor nado.com
We expect this
product to be
perfect.
If it is not, we
will make it
right.

3
English
Important Safety Instructions ............................................................. 4
Features ..............................................................................................7
Window Installation ............................................................................ 8
Controls ...............................................................................................9
How To Use ....................................................................................... 10
Getting Connected ........................................................................... 11
Using Alexa ....................................................................................... 12
Cleaning ............................................................................................ 13
Troubleshooting ............................................................................... 14
Warranty ............................................................................................ 15
CONTENTS

4 English
READ AND SAVE THESE INSTRUCTIONS
IMPORTANT SAFETY INSTRUCTIONS
This owner’s guide and any additional inserts are considered part of
the product. They contain important information about safety, use and
disposal. Before using the product, please familiarize yourself with all
operating and safety instructions. Please keep all documents for future
reference and pass these documents on, together with the product, to
any future owner. See www.vornado.com/circulators-manuals to view,
download and print the most current version of these instructions.
INTENDED USE: This product is intended to circulate indoor and
outdoor air only in a window installation in the United States and
Canada. This product is not intended for commercial or industrial use.
The manufacturer assumes no responsibility for damage or injury due
to unauthorized use or product modication. Failure to follow these
directions will void the product warranty.
WARNING: Risk to Children and Impaired Persons
Supervision is required during the installation, operation, cleaning and
maintenance of this product by children 12 years of age and younger
and anyone with reduced physical, sensory or mental capabilities.
Children should be supervised to ensure that they do not play with the
appliance, its parts and packaging material.
INSTALLATION WARNING—To reduce risk of re, electrical shock
and injury to persons, observe the following:
- This product is intended for window installation only. Only use
with product controls facing indoors (not exposed to elements).
Do not use this product in a manner other than indicated by the
manufacturer in the window installation instructions below.
- Pull back and secure all curtains and draperies and place this
product away from tablecloths, blankets, and other fabrics, since
they may be drawn into the fan, damage the motor and/or cause a
re.
- No part of this product (the appliance, power cord, plug, packaging,
etc.) should be placed near furnaces, replaces, stoves or other high
temperature heat sources. Do not use this product on an uneven or
unstable surface, or near water.
- The appliance, power supply, power cord and plug cannot come
into contact with water. Do not use this product on wet surfaces.
Do not use this product in a bathtub or shower or position product
where it may fall into a bathtub, laundry, swimming pool or other
water container. Do not use this product outdoors or expose it to
weather or elements.
- Do not run cord under carpeting. Do not cover cord with throw
rugs, runners, or similar coverings. Do not route cord under furniture
or appliances. Arrange cord away from trafc area and where it
will not be tripped over. The cord should not hang over edges of
counters or be placed where it can be crimped or closed in doors.
Place appliance near an easily accessible outlet so the product can
be unplugged quickly during an emergency.
SAFE USE WARNING—To reduce risk of re, electrical shock and
injury to persons, observe the following:
- WARNING: To reduce likelihood of circuit overload, re and electric
shock, do not operate with a solid state speed device, such as a
dimmer control switch.
- Do not operate any fan with a damaged cord or plug. Discard fan or
return to an authorized service facility for examination and/or repair.
- Do not operate unit if the unit has been dropped or damaged. Do
not use this product if it has a damaged power cord or plug. To
avoid risk of electrical shock, do not attempt to repair or replace
parts. Only original replacement parts may be used. If the power
cord is damaged, it must be replaced by the manufacturer, its
service agent, or similarly qualied persons in order to avoid a
hazard. Contact Vornado Consumer Service at 1-800-234-0604
(phone) or [email protected] (email) for further

5
English
instructions about replacement and repair.
- Before plugging power cord into electrical outlet, be sure that
all electrical information on the rating label, including voltage, is
compatible with your outlet’s power supply.
- Do not sit or stand on product.
- Never use the cord as a handle or otherwise yank, strain or stretch
the power cord.
- While the product is plugged in, do not insert or allow foreign
objects to enter any input or output opening as this may cause risk
of electric shock or re, or damage the product.
- A loose t between wall outlet (receptacle) and plug may cause
overheating and distortion of the plug. Discontinue use of the
product in this outlet. Contact a qualied electrician to replace
loose or worn outlets.
- This appliance has a polarized plug (one blade is wider than the
other.) To reduce the risk of electric shock, this plug is intended to
t in a polarized outlet only one way. If the plug does not t fully in
the outlet, reverse the plug. If it still does not t, contact a qualied
electrician. Do not attempt to defeat this safety feature.
- Before moving, repositioning, servicing, cleaning and when not in
use, use the product controls to turn off the power and then unplug.
Always unplug device to avoid possible injury due to remote
activation of the product. To disconnect from outlet, grasp
and pull only the plug. Also, power off and unplug if the product
will be left unattended for an extended period of time or during
electrical storms.
SERVICING WARNING—To reduce risk of re, electrical shock
and injury to persons, observe the following:
- Always unplug device before servicing or cleaning to avoid
possible injury due to remote activation of the product.
- Clean your product regularly, only as is instructed in this manual.
Prior to cleaning, turn off the power on your product and unplug. Do
not use gasoline, thinners, solvents, ammonias or other chemicals
for cleaning. Refer to the CLEANING instructions provided.
- Do not open appliance housing while product is plugged in. To
avoid risk of shock, all service and/or repairs must be done by a
Vornado Authorized service Center.
- This product employs overload protection (fuse). A blown fuse
indicates an overload or short-circuit situation. If the fuse blows,
unplug the product from the outlet. Replace the fuse as per the user
servicing instructions (follow product marking for proper fuse rating)
and check the product. If the replacement fuse blows, a short-circuit
may be present and the product should be discarded or returned to
an authorized service facility for examination and/or repair.
User Servicing Instructions
1. Using the product controls, turn off the appliance.
2. Grasp the plug (not the cord) and disconnect from the outlet.
3. Risk of Fire. Replace fuse only with 2.5 Amp, 125 Volt fuse as
approved by Vornado Consumer Service. For an authorized
replacement fuse, please contact Vornado Consumer Service.
4. Once the replacement is received, use a small at-head
screwdriver to slide open the fuse cover (located on the plug)
(See Fig. A, next page).
5. Remove fuse by using the screwdriver to gently lift each end of
the fuse (See Fig. B, next page).
6. Install the replacement fuse by using the screwdriver to gently
push each metal end of the fuse into the receptacle one at a
time. Do not push on the center of the fuse—it is fragile and
may break.
7. Slide the fuse cover closed using the screwdriver. When
closed, the cover should t completely in the plug. No part of
the cover should stick out (See Fig. C, next page).
8. Plug your appliance into the outlet and turn the power on.
9. If the replacement fuse blows, a short-circuit may be present
and the product should be discarded or returned to an
authorized service facility for examination and/or repair.

6 English
Risk of re. Do not replace attachment plug. Contains a safety device
(fuse, AFCI, LCDI) that should not be removed. Discard product if the
attachment plug is damaged.
FCC Compliance Statement
This device complies with Part 15 of the FCC Rules. Operation is
subject to the following two conditions: (1) This device may not cause
harmful interference, and (2) this device must accept any interference
received, including interference that may cause undesired operation.
NOTE: This equipment has been tested and found to comply with the
limits for a Class B digital device, pursuant to Part 15 of the FCC Rules.
These limits are designed to provide reasonable protection against
harmful interference in a residential installation. This equipment
generates, uses and can radiate radio frequency energy and, if not
installed and used in accordance with the instructions, may cause
harmful interference to radio communications. However, there is no
guarantee that interference will not occur in a particular installation. If
this equipment does cause harmful interference to radio or television
reception, which can be determined by turning the equipment off and
on, the user is encouraged to try to correct the interference by one or
more of the following measures:
- Reorient or relocate the receiving antenna.
- Increase the separation between the equipment and receiver.
- Connect the equipment into an outlet on a circuit different from that
to which the receiver is connected.
- Contact Vornado Customer Service or dealer or an experienced
radio/TV technician for help.
This Class B digital apparatus complies with Canadian ICES-003.
Changes or modications not expressly approved by the party
responsible for compliance could void the user’s authority to operate
the equipment.
This device contains license-exempt transmitter(s)/receiver(s) that
comply with Innovation, Science and Economic Development
Canada’s license-exempt RSS(s). Operation is subject to the following
two conditions:
(1) This device may not cause interference.
(2) This device must accept any interference, including interference
that may cause undesired operation of the device.
RF Exposure Statement: This equipment complies with FCC/ISED
radiation exposure limits set forth for an uncontrolled environment.
This equipment should be installed and operated with minimum
distance 20cm between the radiator and your body.
Supplier's FCC Declaration of Conformity
Unique Identier: Vornado Model TRANSOM AE
Responsible Party: Vornado Air LLC
Mailing Address: 415 E. 13th St., Andover, KS 67002
Contact: www.vornado.com
SAVE THESE INSTRUCTIONS
Fig. A Fig. B Fig. C
7
English
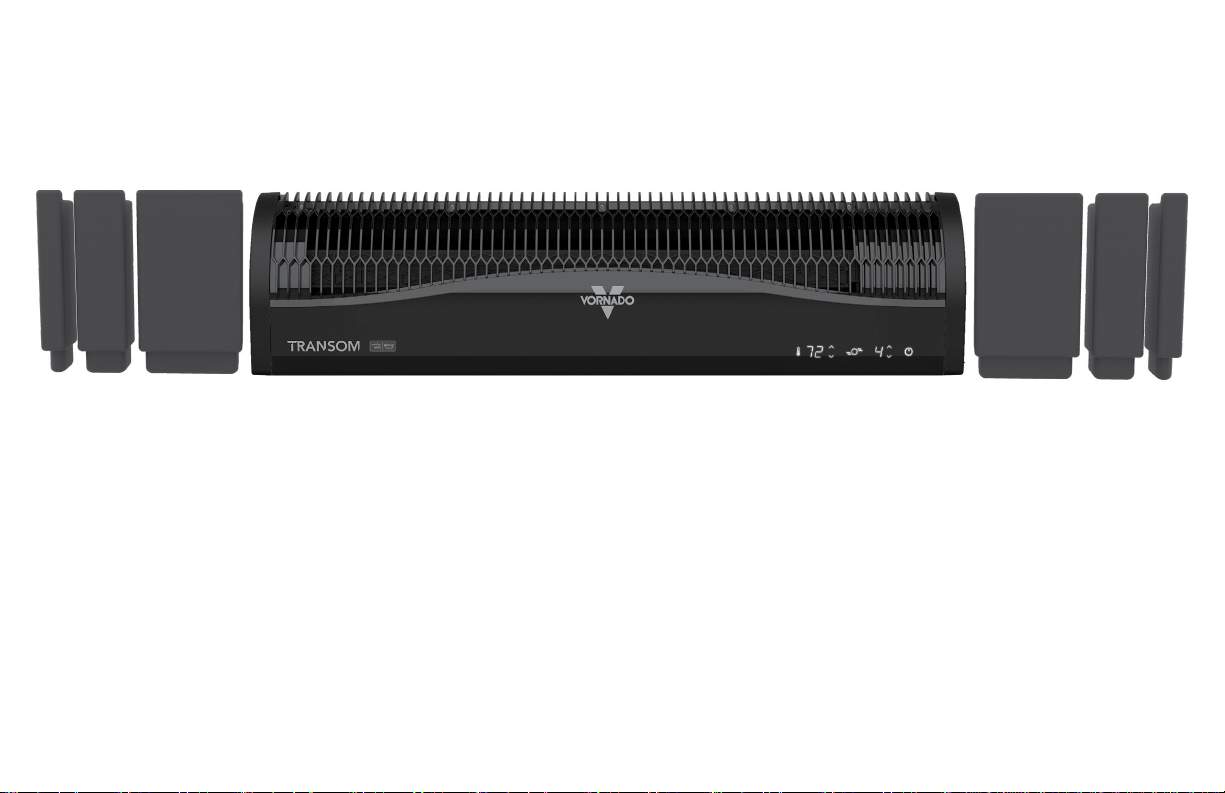
FEATURES
INTEGRATED CARRY HANDLE
Easy to carry, easy to install.
ELECTRONIC REVERSIBLE FAN/EXHAUST
One button, quick transition from fan to
exhaust.
SOFT-FIT MODULAR FOAM BLOCK SYSTEM
Easy installation creating barrier against
outside noises & temperatures.
WEATHER RESISTANT ENCLOSURE
LOW PROFILE SILHOUETTE
Allows for greater visibility through window.
AUTO MODE WITH THERMOSTAT
Automatically adjusts air ow as needed
based on temperature.
4 SPEED TOUCH CONTROLS
A setting for every comfort level.
EXTRA LONG 8’ POWER CORD
Ample cord length.
AUTO-DIMMING DISPLAY
All non-essential lights are turned off, cutting
out light pollution PLUS saving on energy.
8 English
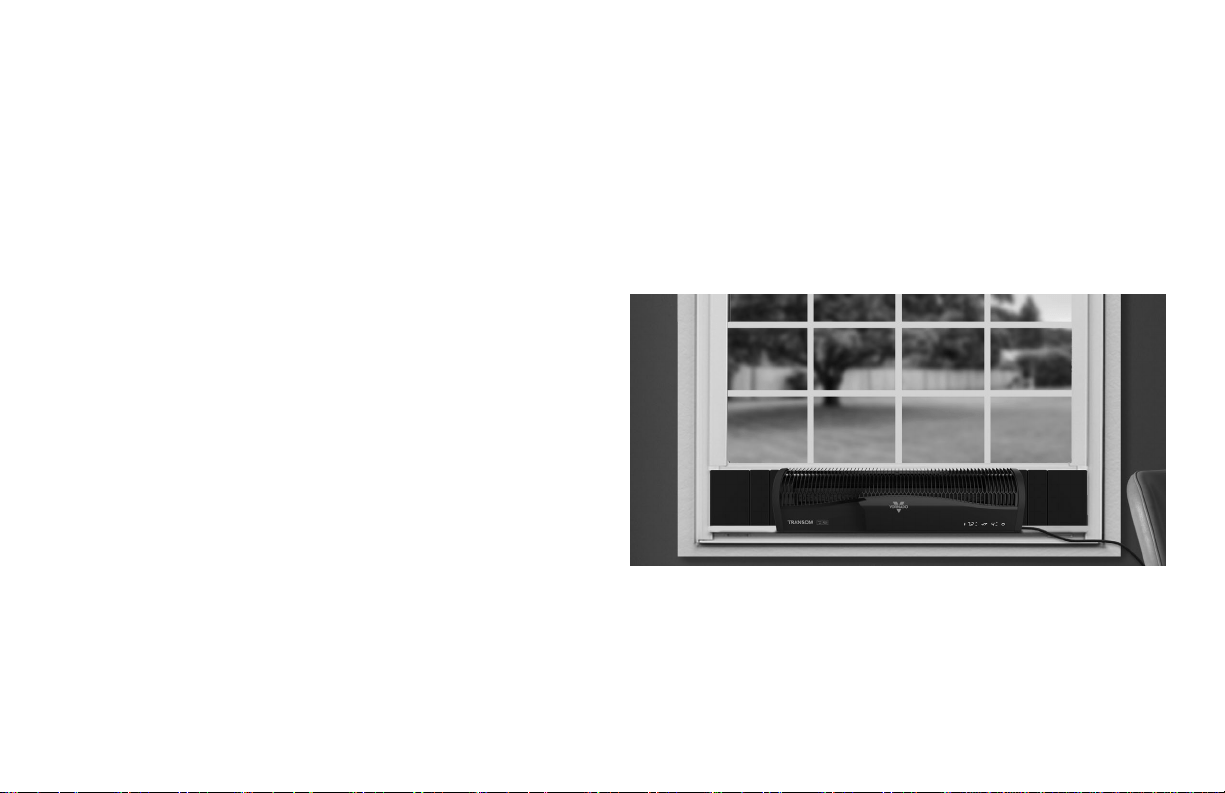
WINDOW INSTALLATION
1. We recommend keeping the window screen in place.
2. Center the TRANSOM AE in the window, ensuring that the foam on
the bottom of the product is snugly secured in the bottom of the
window casing.
3. Close the window to secure the product in place.
4. Tuck the optional Soft-Fit foam blocks on either side of the
product, tucking them securely into the window casing.
5. Optional: Route the powercord as needed, using the clips provided
to secure cord in place.
NOTE: the TRANSOM AE has been designed for use with single-hung and double-hung windows. It will accommodate windows 26 to 40 inches
wide and require a window opening of at least 8 inches tall.
FOR HORIZONTAL INSTALLATION ONLY. DO NOT ATTEMPT VERTICAL WINDOW INSTALLATION.
DURING PRODUCT AND FOAM BLOCK INSTALLATION, KEEP ONE HAND ON PRODUCT AT ALL TIMES.
ACCESSORIES
To order replacement foam blocks, please contact Vornado Consumer Service at 800-234-0604 or [email protected].
9
English
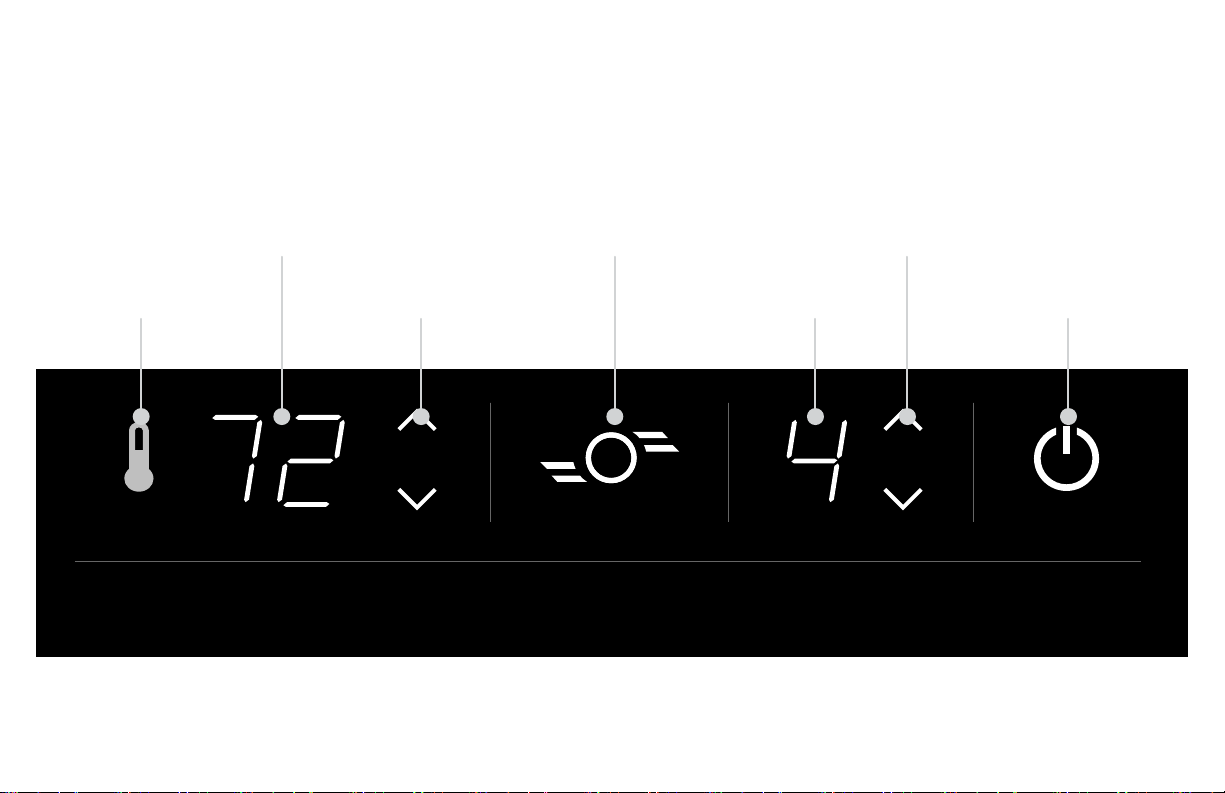
CONTROLS
AUTO MODE
BUTTON
TEMPERATURE
DISPLAY
TEMPERATURE
ADJUSTMENT BUTTONS
DIRECT MODE
BUTTON
SPEED CONTROL
BUTTONS
SPEED
DISPLAY
POWER
BUTTON
AUTO DIRECT SPEED POWER

10 English
1. Touch to power unit ON or OFF.
2. Select desired speed setting by pressing or . There are four
(4) speeds: 1- LOW, 2- MEDIUM, 3- HIGH & 4- TURBO. Speed is
indicated by number show on display.
3. Touch to change from direct airow to exhaust. Touch the
button again to change from exhaust to direct airow.
DIRECT MODE
EXHAUST MODE
4. The product includes an integrated thermostat and the indoor
room temperature will be illuminated on the display only when the
thermostat is activated (in AUTO MODE). Touch to activate AUTO
MODE.
• Touch or button to set your ideal temperature, between
60 - 90° F, holding either button for 3 seconds will allow for quick
temperature adjustment.
• While in this adjustment mode, the temperature display will
momentarily ash and then return to display the current indoor
room temperature.
• Touch the to deactivate AUTO MODE. The icon will turn white
to indicate AUTO MODE is deactivated.
Note: Temperature display is Fahrenheit only.
Note: Your TRANSOM AE is equipped with auto-dimming controls. All
non-essential lights will turn off after a few seconds of inactivity. Only
the power button will remain illuminated. The rst touch to the control
panel will wake up the unit, allow for setting adjustment and will go
dark again after a few seconds of inactivity.
HOW TO USE

11
English
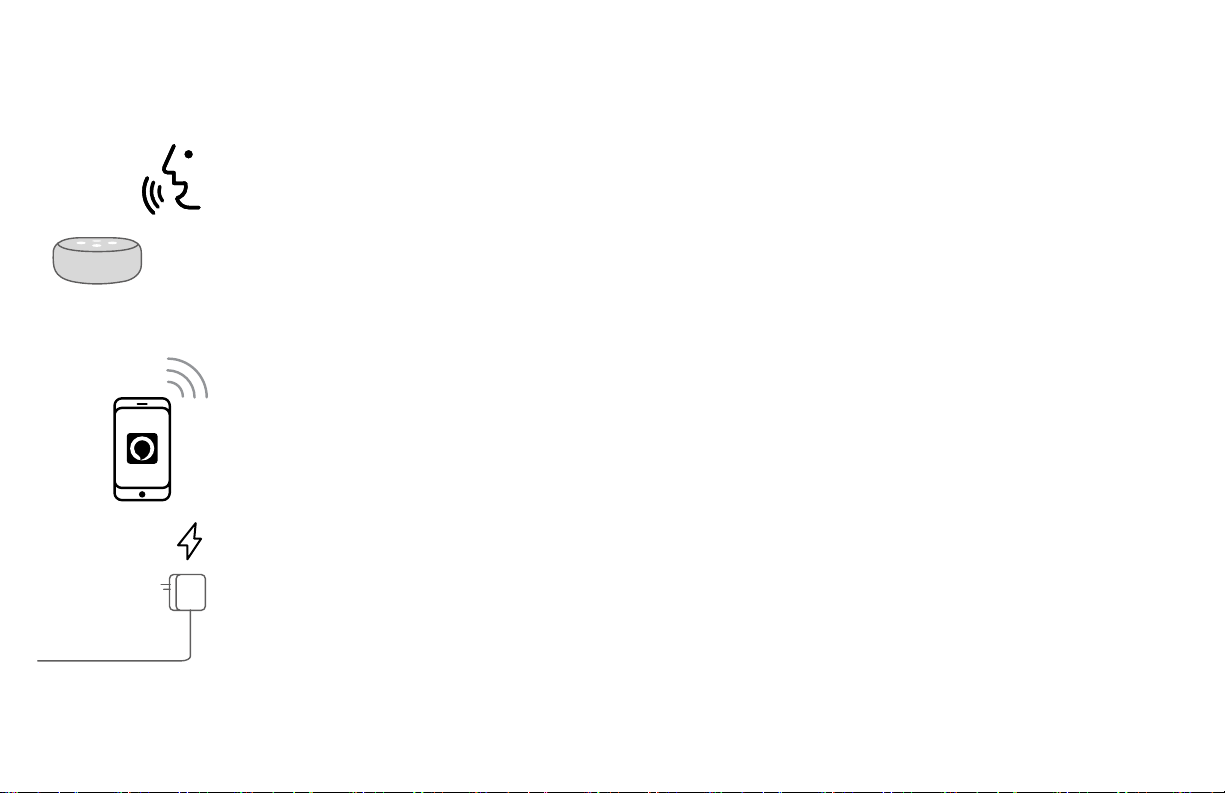
Before product setup, download or update the Amazon Alexa app from your mobile device's app store and ensure your phone is connected to
your 2.4 GHz WIFI network.
1. Plug in your TRANSOM AE.
2. Open the Alexa app and tap the MORE icon to add a device. Follow the on-screen instructions. If prompted by the app, scan the
2D barcode located on the product. If 2D barcode doesn’t work or you are unable to locate your 2D barcode, use the manual
setup in the app.
3. Once successfully connected, a message will appear in the Amazon Alexa app and the power button on your TRANSOM AE will
be illuminated blue. Your fan is ready to use.
FACTORY RESET: If for any reason, there is a problem with your product or you wish to disconnect the product from your network
you can reset it to factory settings. Simply press and hold the POWER and DIRECT MODE buttons for 6 seconds or until all LED lights
begin to ash. To reconnect your TRANSOM AE, follow steps above.
GETTING CONNECTED
12 English
USING ALEXA
Once connected to Amazon Alexa, your TRANSOM AE can be controlled via your voice with any Alexa Echo device or
the Alexa App on your phone. To control your product, use simple voice controls like:
"Alexa, turn ON / OFF the fan."
"Alexa, set speed on the fan to 1- LOW / 2- MEDIUM / 3- HIGH / 4- TURBO."
"Alexa, INCREASE / DECREASE the speed on the fan."
"Alexa, set direction to DIRECT / EXHAUST (OR INLET / OUTLET) mode on the fan."
"Alexa, enable AUTO MODE on the fan."
"Alexa, set TEMPERATURE to [between 60 and 90] on the fan."
You can also use the Amazon Alexa app as a remote control for your TRANSOM AE. See app for details.
You can unplug fan from wall to immediately disconnect from Alexa device control. Follow FACTORY RESET instructions
(page 11) to permanently disconnect device from network, if needed.

13
English
CLEANING
Because your product moves a substantial amount of air, it will need regular cleaning. If service is required, return your unit to Vornado (see
WARRANTY for instructions).
WARNING: Always unplug device before servicing or cleaning to avoid possible injury due to remote activation of the product.
REGULAR CLEANING
1. Unplug unit before cleaning.
2. Use the brush attachment on your household vacuum cleaner to vacuum any accumulated dust off the unit.
3. Wipe down the entire unit with a soft cloth.
Note: Do not use gasoline, thinners, solvents or other chemicals for cleaning. The motor is permanently lubricated and requires no oiling.

14 English
TROUBLESHOOTING
POSSIBLE CAUSE AND SOLUTIONPROBLEM
Unit is not plugged in. Plug Power Cord into electrical outlet.
Unit is damaged or in need of repair. Cease usage and unplug. Contact Consumer Service for assistance.
Fuse needs to be replaced. See IMPORTANT INSTRUCTIONS for how to replace the fuse or contact
Consumer Service.
Ensure unit is set to highest setting for maximum air circulation.
Allow the unit to fully circulate the air throughout the room, this may take several minutes.
Ensure all air inlets and outlet grille are unobstructed.
Switch the direction of the airow from DIRECT to EXHAUST (or EXHAUST to DIRECT). If problem
persists, turn unit OFF and ON and adjust settings as needed.
Preset temperature in AUTO might be set too high. Lower the set temperature or turn AUTO off.
You might be connected to a 5 GHz WiFi network. Disconnect and reconnect to a 2.4 GHz network and try
the setup again.
Your WiFi signal might not be strong enough. Move closer to your WiFi router and try the setup again.
Unit fails to
power on.
Unit is not producing
sufcient amount of air.
Air is not moving in the
desired direction.
Unit is on but there is no air
moving.
Cannot Connect Unit to my
Amazon Alexa Account

15
English
Vornado Air LLC (“Vornado”) warrants to the original consumer or purchaser this Vornado®
Whole Room Circulator (“Product”) is free from defects in material or workmanship for a
period of ve (5) years from the date of purchase. If any such defect is discovered within
the warranty period, Vornado, at its discretion, will repair or replace the Product at no cost.
For warranty or repair service: Call 1-800-234-0604 or email [email protected] to obtain
a Return Authorization (“RA”) form. Please have or include your Product’s model number
and serial number, as well as your name, address, city, state, zip code and phone number
when contacting Vornado for warranty service. To le a contactless warranty claim, visit
vornado.com/contact-us.
After receiving the RA form, ship your Product to: Vornado Air LLC Attn: Warranty & Repair
415 East 13th Street Andover, KS 67002. For your convenience, please have your model
number and serial number when contacting Vornado with service inquiries. To assure
proper handling, packages must be clearly marked with the RA number. Packages not
clearly marked with the RA number may be refused at the receiving dock. Please allow 1-2
weeks for repair and return of your Product after the Product is received.
Repairs not covered by the warranty or outside the warranty period will require a fee to
cover the cost of materials, labor, handling and shipping.
This warranty does not apply to defects resulting from abuse of the Product, modication,
alteration, mishandling, improper maintenance, commercial use or repair or service of the
Product by anyone other than Vornado; damages which occur in shipment or are attributed
to acts of God. Improper product use, which includes using an external device that
alters or converts the voltage or frequency of electricity, or shipping a Vornado product
to a country not intended for use will void all warranties. Any unauthorized product
modication, repair by unauthorized repair center, or use of non-approved replacement
parts is not recommended and any consequences will not be covered by support services
or product warranties. The product warranty will be honored only on models that are being
used in the country intended. REPAIR OR REPLACEMENT AS PROVIDED UNDER THIS
WARRANTY IS THE EXCLUSIVE REMEDY OF THE CONSUMER. VORNADO SHALL NOT
BE LIABLE FOR ANY INCIDENTAL OR CONSEQUENTIAL DAMAGES FOR BREACH OF
ANY EXPRESS OR IMPLIED WARRANTY ON THIS PRODUCT. EXCEPT TO THE EXTENT
PROHIBITED BY APPLICABLE LAW, ANY IMPLIED WARRANTY OF MERCHANTABILITY
OR FITNESS FOR A PARTICULAR PURPOSE ON THIS PRODUCT IS LIMITED IN
DURATION TO THE DURATION OF THIS WARRANTY. Some states do not allow the
exclusion or limitation of incidental or consequential damages, or allow limitations on how
long an implied warranty lasts, so the above limitations or exclusions may not apply to you.
This warranty gives you specic legal rights, and you may have other rights that vary from
state to state. The manufacturer assumes no responsibility for damage caused by failure
to follow these instructions or improper product use. Any such actions will invalidate the
product warranty.
All company names and product names are trademarks of their respective owners. ©
All rights reserved. All technical information, data, and instructions for the installation,
connection, and operation contained in these instructions for use correspond to the latest
available information at time of printing. The contents of this manual may differ slightly
from the actual product. Observe any additional supplements.
WARRANTY
We expect this product to be perfect. If you’re not satised with this product, let us know.
We’re Here To Help
800.234.0604
vornado.com
© 2023 Vornado Air LLC Andover, KS 67002 U.S. Specifications subject to change without notice.
Vornado® is a trademark owned by Vornado Air LLC.
Designed, engineered and supported in Andover, KS

CL3-0895 R-, V01
Vornado Air, LLC
415 East 13th Street, Andover, Kansas 67002
800.234.0604 | vornado.com