Loading ...
Loading ...
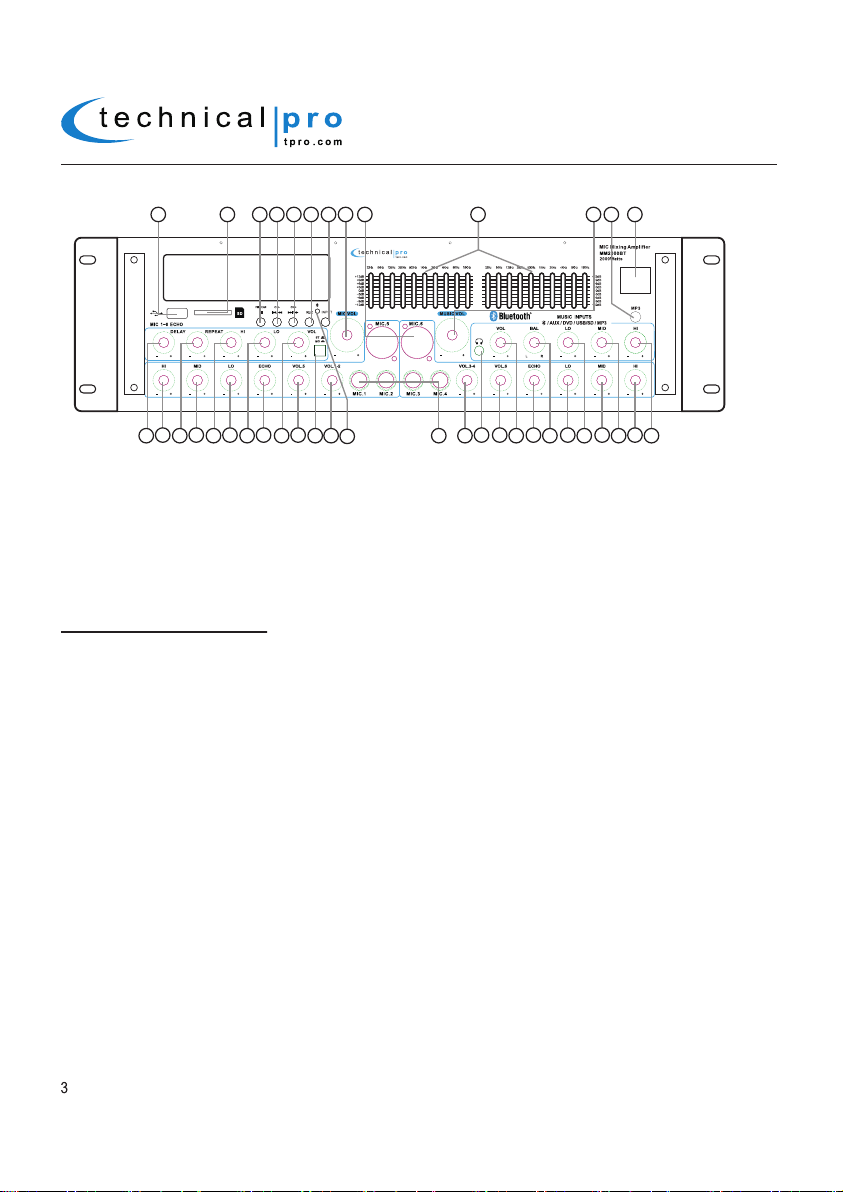
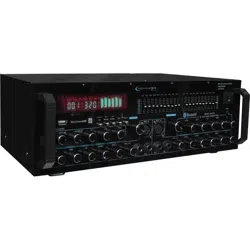
MM2000BT Front Panel
1.Power Button: Press this button to power the unit on and off.
2.MP3(1/8”) Input: Connect your MP3 player or computer here.Make sure to press the input selector button (7) until
“MP3” appears on the display screen to play the signal from the MP3 player or computer.
3.Line Volume: Turn this knob to adjust the volume of music.
4.Dual Ten Band Equalizers: Use the sliders to increase or decrease the signal strength of the respective frequencies.
The equalization points are 32Hz, 64Hz,125Hz, 250Hz, 500Hz,1KHz, 2KHz, 4KHz, 8KHz and 16KHz.
5.XLR Microphone Inputs (Balanced): Connect balanced microphone to these inputs.
6.Microphone Volume:Use this knob to adjust the volume of the microphones.
7.Input Selector: Use this button to switch between all the inputs.
8.Recording from the AUX / MP3 / DVD and Microphone Inputs:
HOW TO MAKE A RECORDING
When the input selected is MP3/AUX/DVD and there is an USB flash drive or SD card (with blank space on it)
inserted into their respective slot, pressing and holding this button will activate the recording function. Press this
button and hold for several seconds and the word “REC” will display on the screen. The unit will create a new file in
the connected USB flash drive or SD card and get ready to make a recording. At this point there is no actual
recording yet. Press the button again and the unit will start recording onto the USB flash drive or SD Card and the
elapsed time and “REC” will display on the screen. Press the button a third time to pause the recording and the
word “REC” and the elapsed time displayed on the screen will start flashing. Press again to continue the recording.
Press and hold this button for several seconds to save the file and end the recording and exit. If both USB flash
drive and SD card are connected, the unit will begin recording onto the USB flash drive. If the USB flash drive is full,
remove it and then press the record button again to start another recording. The unit will also be able to record the
signal from microphones onto the USB flash drive or SD Card. When the recording function is activated and there is
a microphone connected to the unit, the unit will mix the signal from MP3 or AUX inputs with the microphone into
one track. If two microphones are connected and turned on, both microphone signals will be recorded and mixed
into one track with the signal from MP3, AUX or DVD inputs.
THERE IS NO RECORDING FUNCTION WHEN INPUT SELECTED IS USB/SD, BLUETOOTH OR FM TUNER.
THE RECORDING FILE FORMAT IS .mp3.
9. Next Track / Fast Forward / Next Preset Station Button:
When playing from the USB/SD/Bluetooth inputs: Press this button to go to the beginning of the next track on either the
USB flash drive, SD Card or Bluetooth input. Press this button and hold for several seconds to fast forward. The unit will
keep fast forwarding until this button is released. This function only works for USB flash drive or SD Card signal.
When playing from the Tuner input: Press this button to go to the next station stored station.
10.Previous Track / Fast Rewind / Previous Preset Station Button:
When playing from the USB/SD/Bluetooth inputs: Press this button to go to the beginning of the previous track on either the USB
flash drive, SD Card or Bluetooth input. Press this button and hold for several seconds to fast rewind.
The unit will keep fast
rewinding until this button is released. This function only works for USB flash drive or SD Card signal.
When playing from the Tuner input: Press this button to go to the previous station stored station.
MM2000BT
29 30
25
26
24
2827 31
32
33
34
35
36
37
38
39
15
14
17
16
19
18
21
20
23
22
1
23
12
11
10
9
8
7 6 5
13
4
Loading ...
Loading ...
Loading ...