
Loading ...
Loading ...
Loading ...
11
Using the Nozzles
3 nozzle attachments are included with the heat gun to expand
its capabilities. Check the table below for details of each
attachment.
1. Make sure the trigger switch is in the o position and the
tool is disconnected from the battery pack. Ensure that
both the heat outlet and the desired nozzle are cooled
down.
2. Place the desired nozzle onto the heat outlet of the heat
gun. Push in to secure.
3. Before disconnecting a nozzle, turn o the heat gun and
remove the battery. Make sure both the nozzle and the
heat outlet is cooled down.
General Operation Process
mWARNING! Make sure the nozzle always points away
from you and any bystanders.
Do not direct hot tip or nozzle
toward clothing, hands, or other body parts. Intense heat from
the heat gun can cause serious burns or cause clothing to
ignite.
mWARNING! DO NOT insert anything into the heat outlet.
1. Assemble the desired nozzle, insert the battery, and turn
on the heat gun as instructed above.
2. Hold the heat gun with one hand.
mWARNING! Do not place second hand on top of tool or
near the heat outlet at any time. Holding the tool on or near the
heat outlet can cause serious personal injury.
3. Move the heat gun until the nozzle is close to the area
being heated.
NOTE: Experiment with scrap materials to determine the
proper amount of heat, distance and time for your project.
4. During heating, move the tool back-and-forth. Avoid
lingering or pausing in one spot as this could overheat or
potentially ignite the material being heated.
5. Turn o the heat gun and remove the battery pack. Allow
the heat gun, the nozzle and the heated surface to cool
thoroughly.
Remove Paint
mWARNING! Refer to Safety Warnings for Removing
Paint with the Heat Gun in the Warning section before using
the tool to remove paint.
mWARNING! Do not strip paint on metal window frames
as the heat may crack the glass. When stripping paint on other
window frames, use a glass protector.
1. Attach the at nozzle. Insert the battery and turn on the
heat gun.
2. Direct hot air onto the paint to be removed. Best results
will be achieved if the heat gun is moved slowly, but
CONSTANTLY, from side to side to evenly distribute heat.
DO NOT LINGER OR PAUSE IN ONE SPOT.
3. When the paint softens, scrape the paint away using a
hand scraper.
NOTE: Splinters and small particles of stripped paint can
be ignited and blown through holes and cracks in the
surface being stripped.
Cool Down
The heat outlet and nozzle become very hot during use. Turn
o the heat gun, remove the battery and let the tool cool down
for at least 30 minutes before moving or storing it.
Maintenance
mWARNING! Before inspecting, cleaning, or servicing the
unit, stop the heat gun and remove the battery pack, wait for
the heat gun to cool. Failure to follow these instructions can
result in serious personal injury or property damage.
mWARNING! When servicing, use only identical
replacement parts. Use of any other parts could create a
hazard or cause product damage.
General Cleaning Tips
The heat gun should be kept clean, dry, and free of oil or
grease. Only a mild soap and damp cloth should be used to
clean the heat gun. Do not allow liquid to enter the tool.
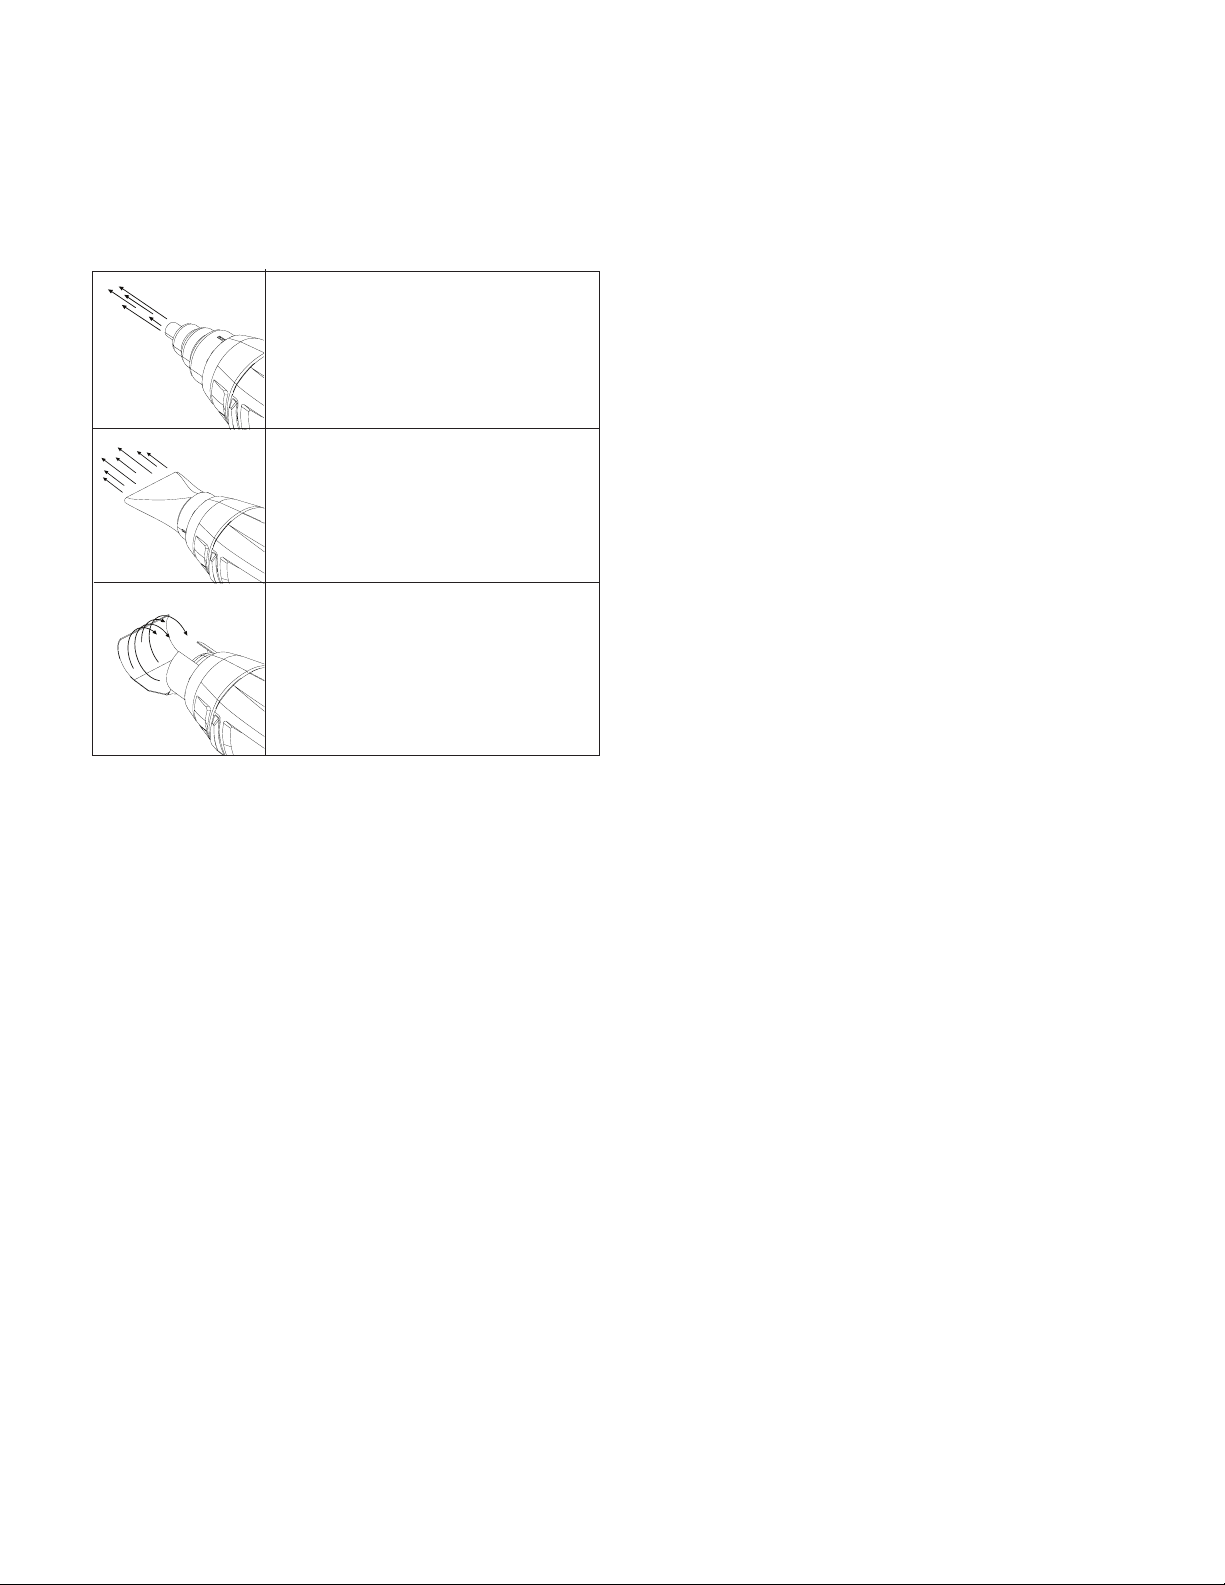
Concentrator nozzle.
The concentrator nozzle intensies
the application of heat in a specic
area. Uses for this nozzle include
bending acrylic plastic sheets and
directing heat into corners.
Flat nozzle.
The at nozzle spreads heat over
wide area. Use this nozzle for
drying, removing paint, removing
vinyl or linoleum, thawing.
Reector hook nozzle.
The reector hook nozzle reects
heat around item, avoiding excess
heat burning or hurting surface
behind item being heated. It's good
for applying heat to shrinkable tubing
and thawing pipes.
Loading ...
Loading ...
Loading ...