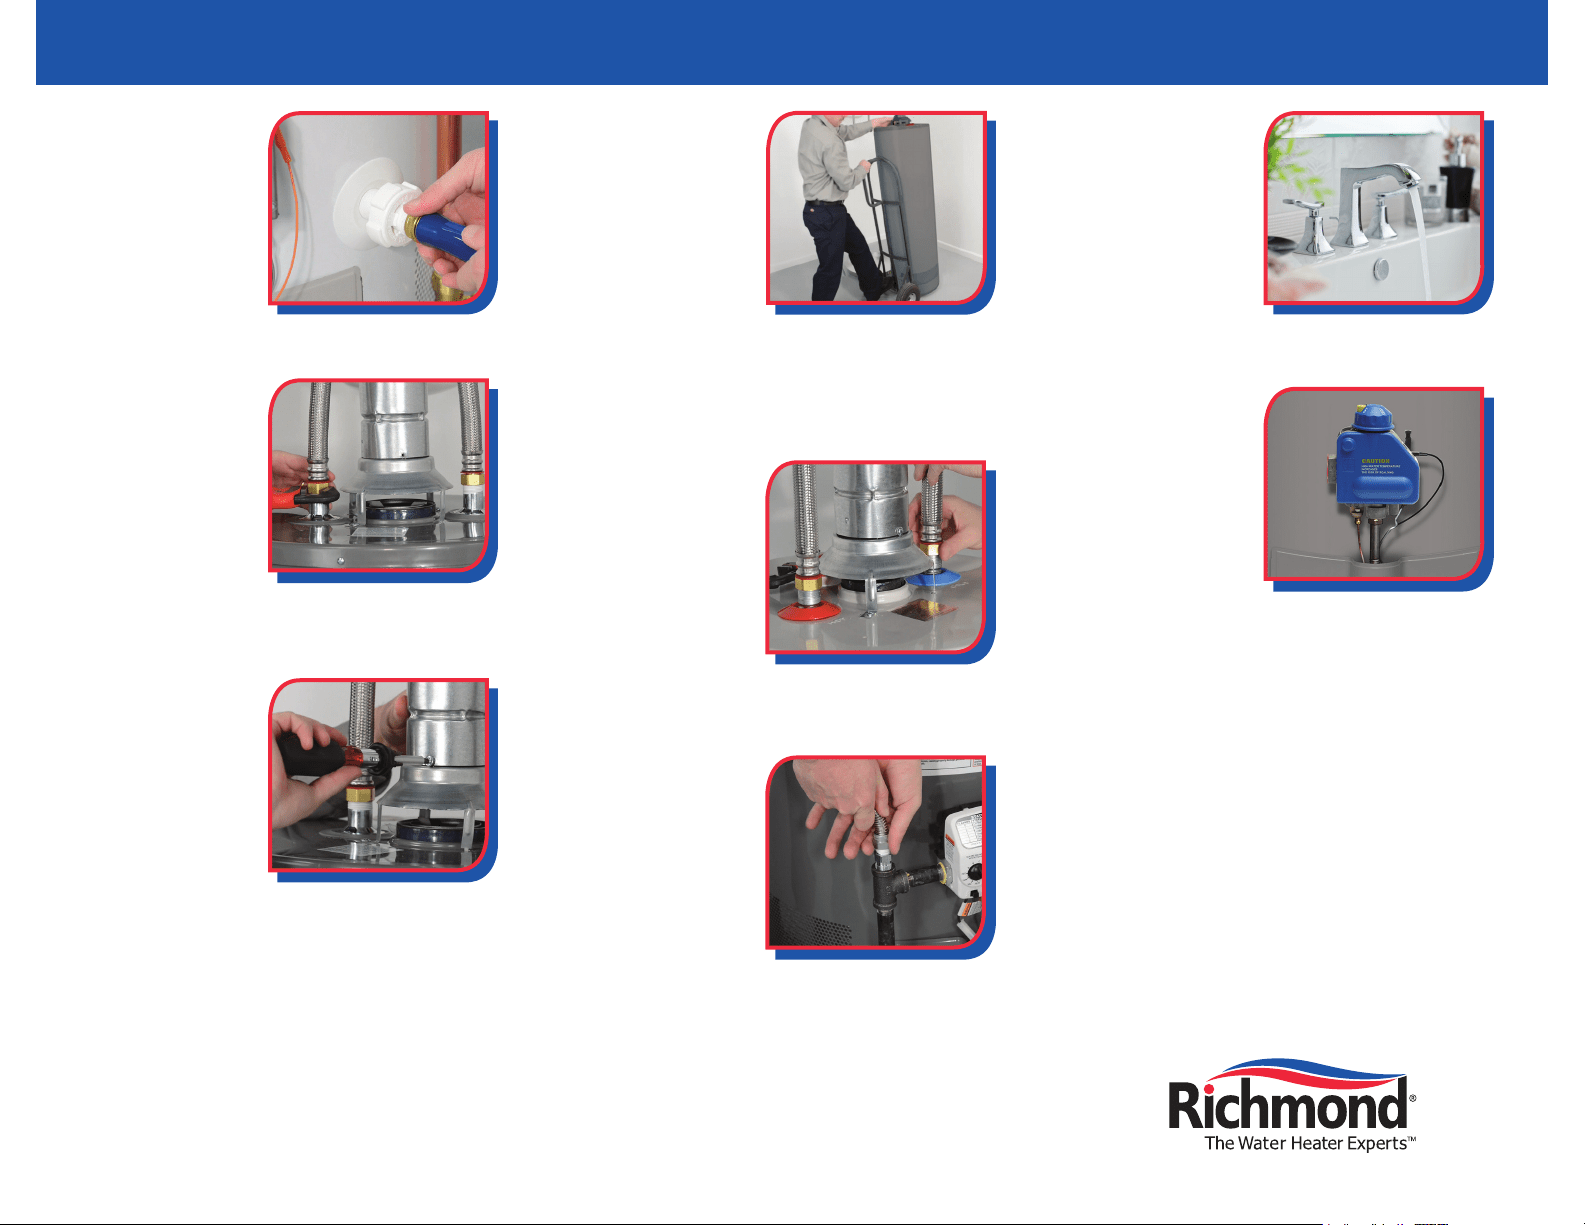
STEP 1:
Drain the tank
Turn off the water,
power and gas
supply. Attach a
garden hose to the
drain valve and
empty the tank.
Turn on a hot water
faucet to allow air into the system to help it drain.
STEP 2:
Disconnect
the gas and
water lines
Disconnect the gas
line. Disconnect the
water lines above
the tank using two
adjustable wrenches
or pipe wrenches. If the piping was soldered into
place, use a tubing cutter to cut the pipe.
STEP 3:
Detach the gas
exhaust from
XLIƥYILEX
Using a screwdriver,
remove the screws
connecting the vent
to the water heater.
Remove the old
[EXIVLIEXIV8LI[EXIVLIEXIVQE]FIƤPPIH[MXL
sediment, so it may be heavier than a new one.
STEP 4:
Set the new
water heater
in place
Install in an area with
at least 6 inches of
clearance on all
sides for ventilation.
Allow unobstructed
access to the burner and controls. Place a
carpenter’s level on the side of the water heater and
level it with plastic shims if necessary. Reconnect
XLIƥYILEXXSXLIKEWI\LEYWXZIRX
STEP 5:
Install
water line
connections
Measure and cut
the water line
connections to
length. Reconnect
the water line.
A variety of installation kits are available to make
this step easier.
STEP 6:
Connect the
gas supply line
Clean gas line
threads with a wire
brush or rag. Apply
piping compound to
the threads of the
black pipes as you
GSRRIGXXLIQ%WWIQFPIERHXMKLXIRIEGLƤXXMRK
[MXLX[STMTI[VIRGLIW-RWXEPPXLIYRMSRƤXXMRKPEWX
because it connects the new line to the existing line.
;LIRƤRMWLIHSTIRXLIKEWWYTTP]ZEPZI8IWXJSV
leaks by applying a wet, soapy sponge to the new
KEWƤXXMRKW'LIGOJSVFYFFPIW-JXLIVIMWEPIEO
bubbles will form on the surface and you will have
XSVIƤXXLINSMRX
STEP 7:
Test the water
lines for leaks
Turn on the water at
the tank, then turn on
one or more hot
water faucets to
bleed air out of the
system. Inspect the
water lines for leaks.
STEP 8:
Light the pilot
Rotate thermostat
knob to “pilot”
position. Press the
knob in and hold it
while pressing the
piezo spark
generator button
once every 10 seconds until pilot is lit. Continue to
hold the thermostat knob down until the LED
“STATUS” light begins to blink. Release the knob
and rotate it to the desired temperature setting. Set
to a comfortable temperature, usually between 118
and 123 degrees.
If you need additional installation information, visit
RichmondWaterHeaters.com
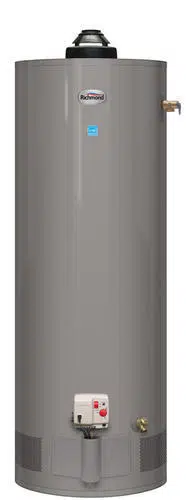
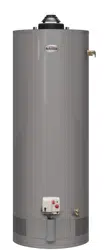
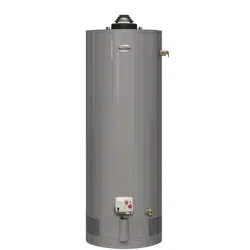
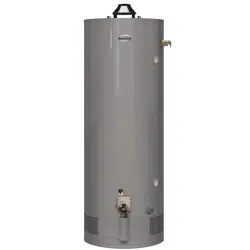
HOW TO INSTALL A GAS WATER HEATER