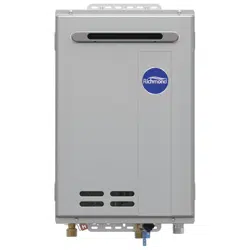

RICHMOND
®
WATER HEATERS
RichmondWaterHeaters.com
Richmond Water Heaters
1115 Northmeadow Parkway, Suite 100
Roswell, Georgia 30076
RichmondWaterHeaters.com
In keeping with its policy of continuous progress and product improvement,
Richmond reserves the right to make changes without notice.
T-????Printed in U.S.A. 08/18 WP
Follow the same basic steps as a gas installation.
However some steps that refer to gas lines or gas
specic parts will not apply, and there are a few
additional steps for an electric installation. See below.
Before STEP 1:
Turn off the circuit breaker that
supplies power to the water heater
Addition to STEP 2:
Disconnect electrical connections
Addition to STEP 6:
Reconnect electrical connections
Follow instructions in the Use and Care Manual to
connect wiring. Make sure all electrical connections
are secured at the top of the water heater.
Turn on the water at the tank, then turn on one or
more hot water faucets to bleed air out of the
system.
LAST STEP:
Turn circuit breaker back ON
Make sure the water heater is completely full of
water, then turn the circuit breaker back on.
HOW TO
INSTALL
GUIDE
HOW TO INSTALL AN
ELECTRIC WATER HEATER THINGS YOU MAY NEED
GAS & ELECTRIC
WATER HEATERS
TOOLS:
• Hack Saw
• Tube Cutter
• Wire Brush
• Carpenter’s Level
• Adjustable Wrenches
• Propane Torch
• Screwdriver
• Rags / Towels
MATERIALS:
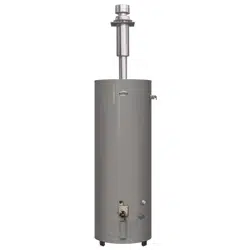
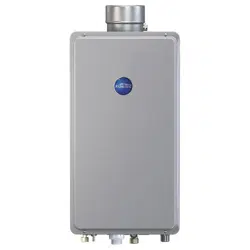
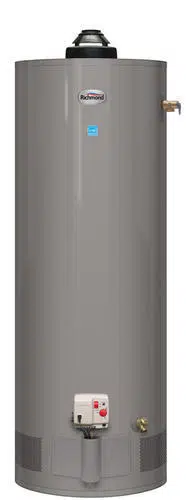
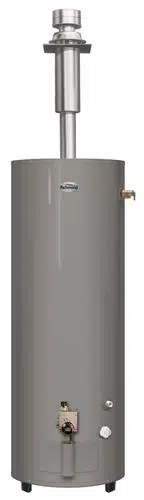
• Gas or Electric Water Heater
• Acid-free Flux
• Teon Tape / Pipe Compound
• Wire Nuts
• Water Heater Trap Fittings
• Masking Tape
• Wooden or Plastic shims

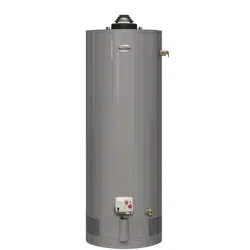
STEP 1:
Drain the tank
Turn off the water
and gas supply.
Attach a garden
hose to the drain
valve and empty the
tank. Turn on a hot
water faucet to
allow air into the system.
STEP 2:
Disconnect
the gas and
water lines
Disconnect the gas
line using two pipe
wrenches at the
union tting if the
pipe is galvanized
or at the are tting if the gas supply line is copper.
Disconnect the water lines above the tank using
two adjustable wrenches or pipe wrenches. If the
piping was soldered into place, use a hacksaw or
tubing cutter to cut the pipe. Make sure the cuts are
straight.
STEP 3:
Detach the gas
exhaust from
the ue hat
Using a screwdriver
or nut driver, remove
the screws
connecting the vent
to the water heater.
Remove the old water heater. The water heater may
be lled with sediment, so it may be heavier than a
new one.
STEP 4:
Set the new
water heater
in place
Install in an area with
at least 6 inches of
clearance on all
sides for ventilation.
Allow unobstructed
access to the burner and controls. Place a
carpenter’s level on the side of the water heater and
level it with plastic shims if necessary. Reconnect
the ue hat to the gas exhaust vent.
STEP 5:
Install
water line
connections
Measure and cut the
water line
connections to
length. Reconnect
the water line.
A variety of installation kits are available to make
this step easier.
STEP 6:
Connect the
gas supply line
Clean gas line
threads with a wire
bush or rag. Apply
piping compound to
the threads of the
black pipes as you
connect them. Assemble and tighten each tting
with two pipe wrenches. Install the union tting last
because it connects the new line to the existing
line. When nished, open the gas supply valve and
turn the water on. Turn on the water at the tank,
then turn on one or more hot water faucets to
bleed air out of the system.
STEP 7:
Test the water
and gas lines
for leaks
Fill a sponge with a
mixture of liquid
soap and water, then
apply it to the new
gas ttings and
check for bubbles. Test all connections. If there is a
leak, bubbles will form on the surface and you will
have to ret the joint. Inspect water lines for leaks.
STEP 8:
Light the pilot
Rotate thermostat
knob to “pilot”
position. Press the
knob in and hold it
while pressing the
piezo spark
generator button
once every 10 seconds until pilot is lit. Continue to
hold the thermostat knob down until the LED
“STATUS” light begins to blink. Release the knob
and rotate it to the desired temperature setting. Set
the control at a temperature between 118 and 123
degrees.
If you need additional installation information, visit
RichmondWaterHeaters.com
HOW TO INSTALL A GAS WATER HEATER