Loading ...
Loading ...
Loading ...
13
DRILLING – cont’d
2. Hold the drill firmly with both hands
whenever possible. Use one hand to grasp
the rear of the handle and switch and the
other to grasp the forward body of the drill.
NOTE: Make sure your hands do not cover
the air vents in the drill housing. Covering
these air vents will reduce the motor
cooling and possibly lead to overheating
the motor.
3. While holding the drill firmly, place the point
of the drill bit at the point to be drilled.
Squeeze the switch to start the drill.
NOTE: Always use a higher drill speed
when drilling small holes. Use a slower drill
speed when drilling large holes.
4. Move the drill bit into the workpiece
applying only enough pressure to keep the
bit cutting. Do not force the drill bit or apply
sideways pressure to elongate the hole.
WARNING: Be prepared for binding and
bit breakthrough. When these situations
occur, the drill bit has the tendency to grab
the workpiece. This action will kick the drill
opposite to the direction of the drill bit
rotation and could cause loss of control
when breaking through material as you
complete drilling the hole. If you are not
prepared, this loss of control can result in
possible serious injury.
When drilling metals, use a light oil on the drill
bit to keep it from overheating. The oil will
prolong the life of the drill bit and improve the
drill cutting action. If the bit jams in the
workpiece or if the drill stalls, release the switch
immediately. Remove the bit from the workpiece
and determine the reason for jamming.
DRIVING SCREWS
When driving screws, care must be taken to use
the bit that correctly fits the screw being driven.
Make sure you use the largest bit size that will
properly fit into the head of the screw.
1. Select the correct screwdriver bit for the
screw being driven.
2. Fasten the screwdriver bit into the chuck,
making sure the flats of the bit are gripped
by the chuck jaws.
NOTES:
a) If material is particularly soft or porous,
run the drill at slower speeds to avoid over-
driving the screw.
b) Hold the drill firmly with both hands while
driving screws to avoid loss of control.
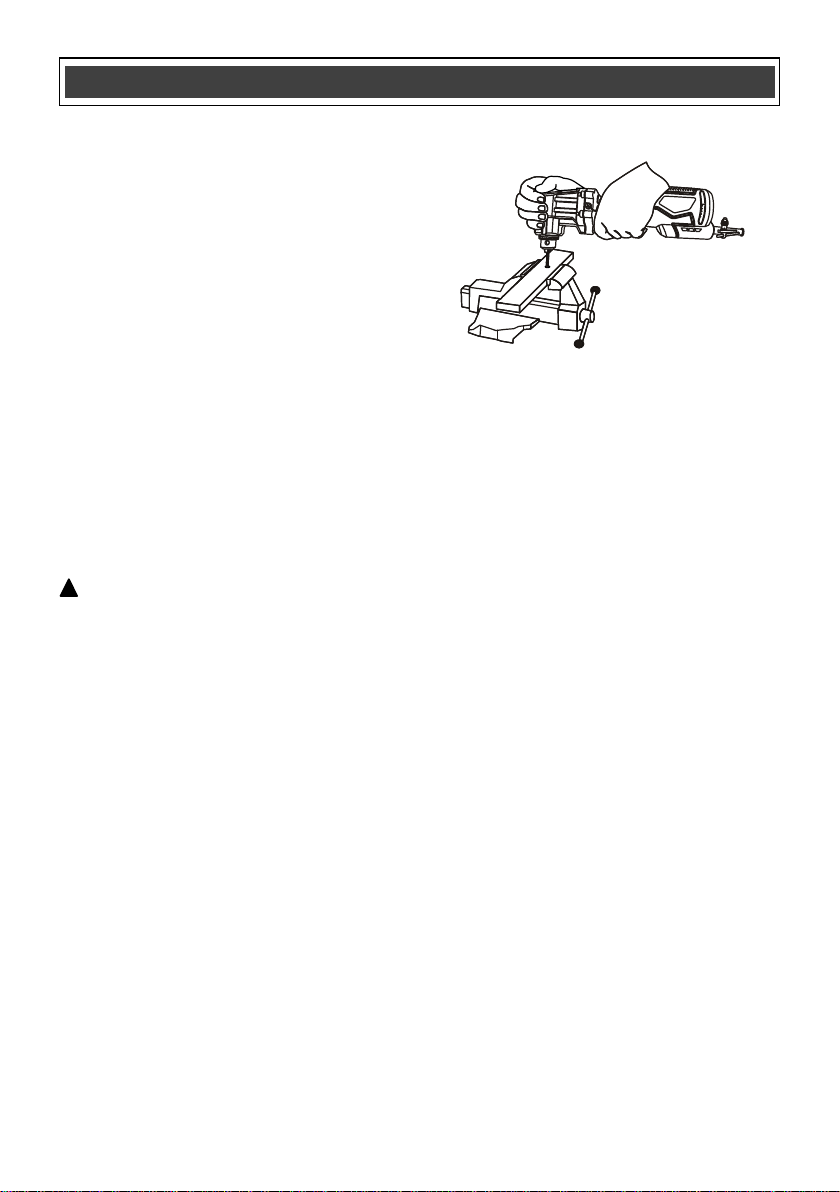
CHUCK REMOVAL
To remove the chuck:
1. Remove the drill plug from the power
source.
2. Insert a 5/16" or larger hex key (1) into the
chuck (2) and tighten the chuck jaws
securely. Make sure each of the three
chuck jaws (3) is seated on the flat
surfaces of the hex key (Fig. 7).
ASSEMBLY AND OPERATING
!
Fig. 6
Loading ...
Loading ...
Loading ...