Loading ...
Loading ...
Loading ...
Shure Incorporated
16/18
1.
2.
◦
◦
◦
◦
3.
4.
5.
6.
7.
MV7 Yoke Assembly
TheMV7yokeallowsapodcastertobeflexiblewithmicplacement.Loosentheyokeknobsandyoucanadjustthemicro-
phoneinavarietyangles.Ifthemicrophonebecomesdetachedfromtheyoke,thesearethestepstoputittogetherinthecor-
rectordertoensurethatyourmicrophoneissecure.Eachsideusesonethingrayspringwasher,oneshinysilverbrasswash-
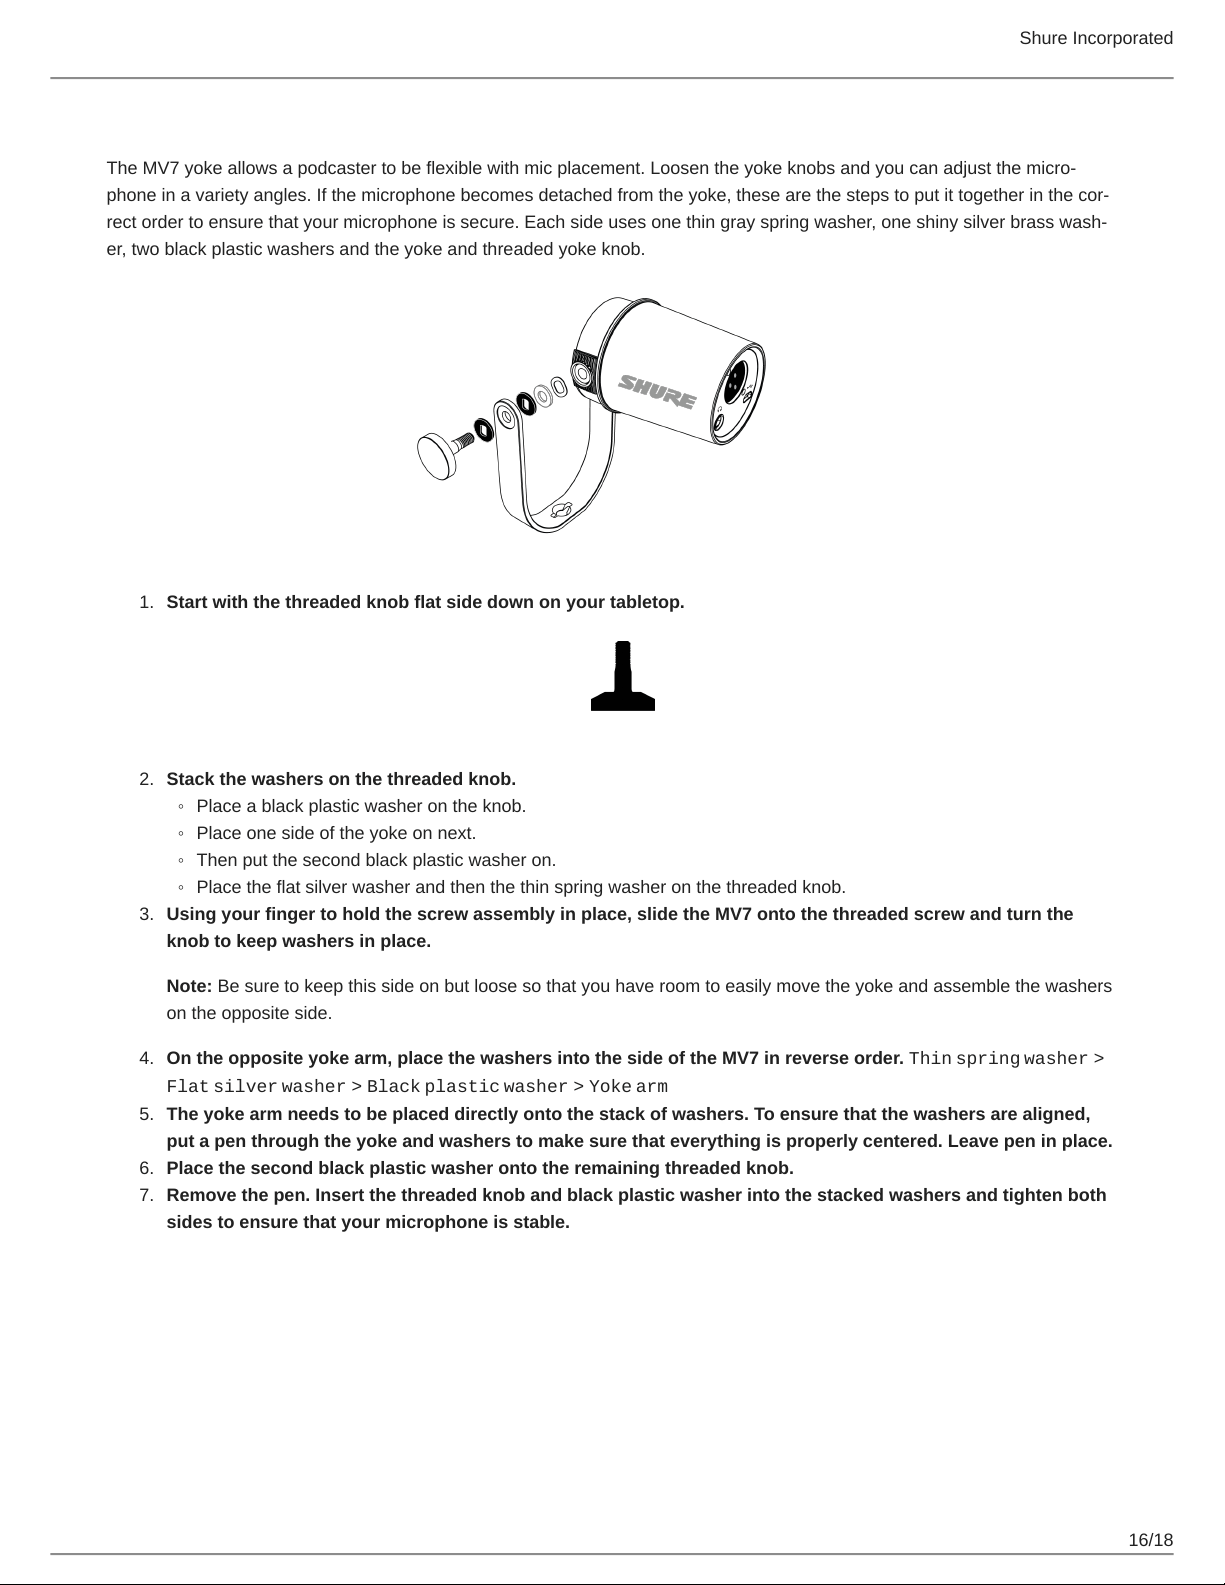
er, two black plastic washers and the yoke and threaded yoke knob.
Start with the threaded knob flat side down on your tabletop.
Stack the washers on the threaded knob.
Place a black plastic washer on the knob.
Place one side of the yoke on next.
Then put the second black plastic washer on.
Place the flat silver washer and then the thin spring washer on the threaded knob.
Using your finger to hold the screw assembly in place, slide the MV7 onto the threaded screw and turn the
knob to keep washers in place.
Note: Be sure to keep this side on but loose so that you have room to easily move the yoke and assemble the washers
on the opposite side.
On the opposite yoke arm, place the washers into the side of the MV7 in reverse order. Thin spring washer >
Flat silver washer > Black plastic washer > Yoke arm
The yoke arm needs to be placed directly onto the stack of washers. To ensure that the washers are aligned,
put a pen through the yoke and washers to make sure that everything is properly centered. Leave pen in place.
Place the second black plastic washer onto the remaining threaded knob.
Remove the pen. Insert the threaded knob and black plastic washer into the stacked washers and tighten both
sides to ensure that your microphone is stable.
Loading ...
Loading ...