
Loading ...
Loading ...
Loading ...
11
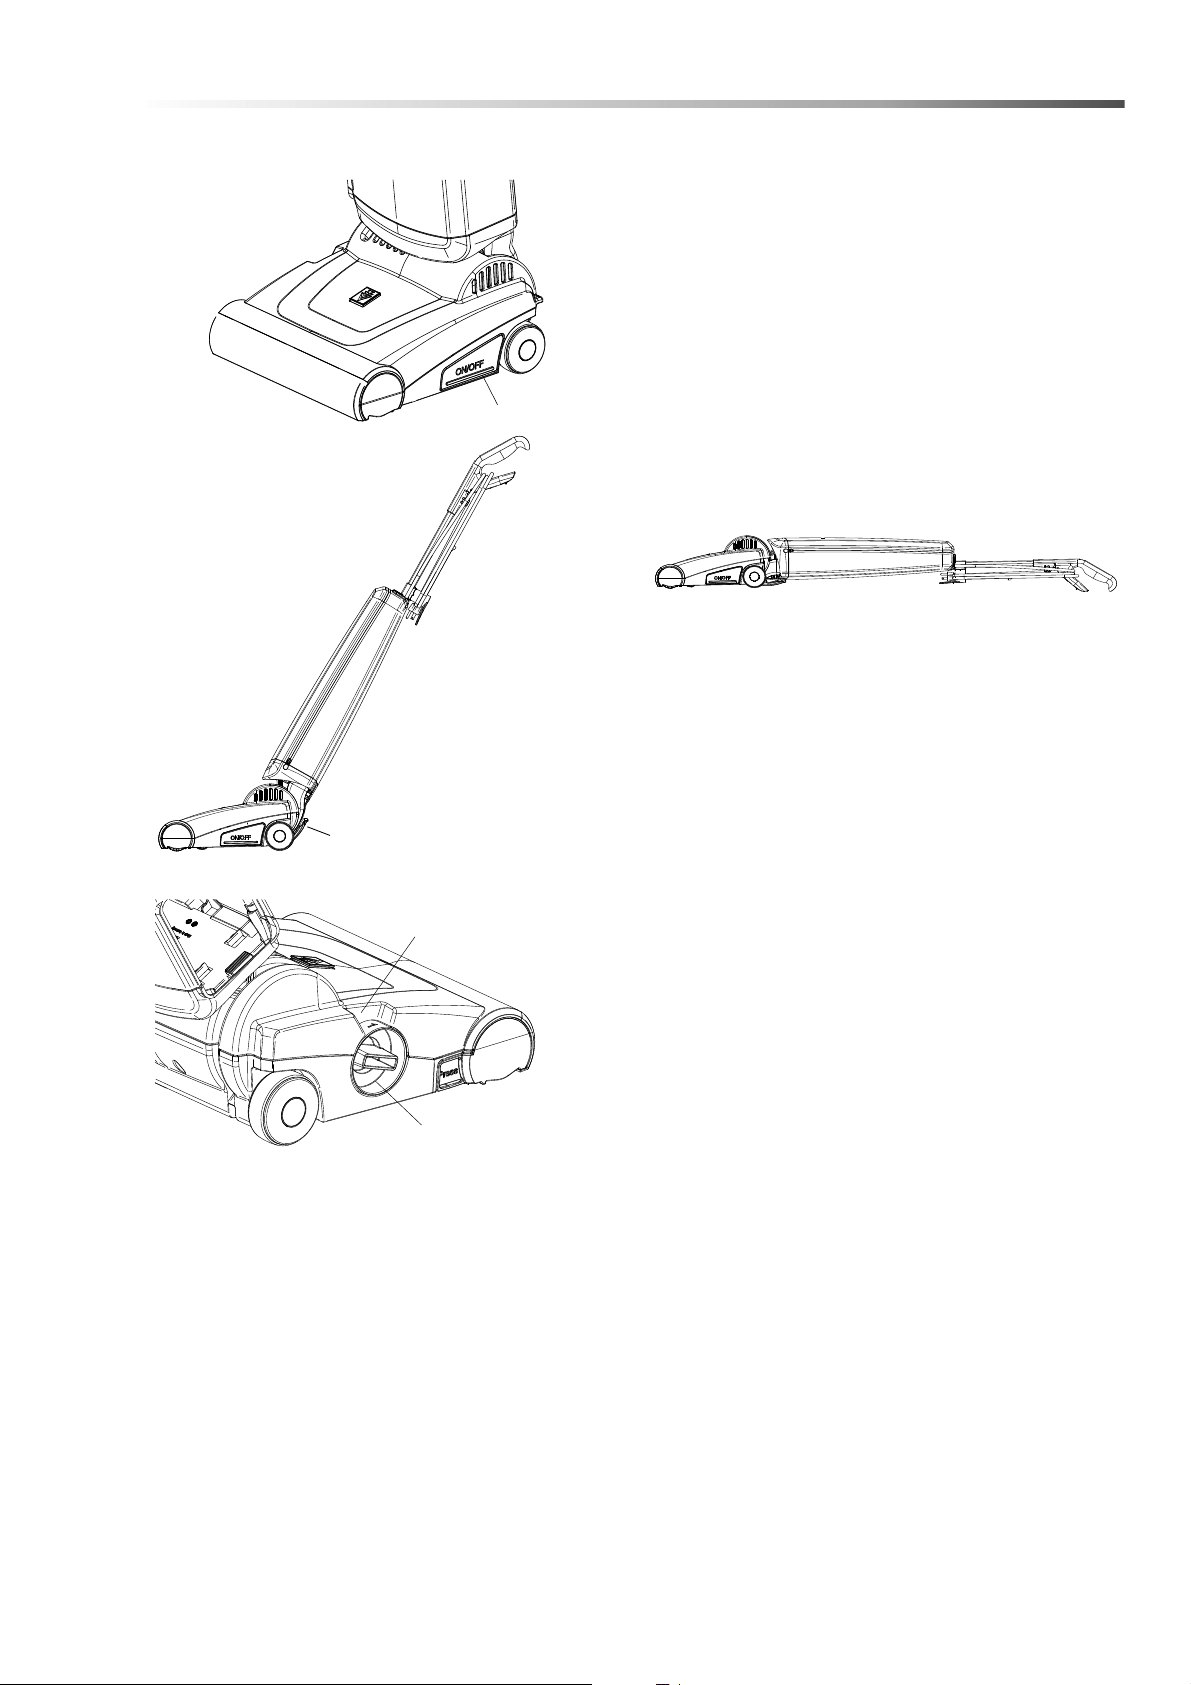
Operation
Working with RANGER
RANGER is also equipped with many of the well known
features of KARCHER upright vacuums.
The On / Off-Switch (20) is located on the left hand side of
the power head and is designed to be operated by foot. A
slight push will be sufficient for starting the motor, another
push will stop it again.
Before bringing the vacuum in working position, please hold
the handle firmly, otherwise the upper part may fall back-
wards! Push down the foot pedal (23) first. Afterwards, the
machine can be tilted into a comfortable working position.
For cleaning under furniture or upholstery, the top part can
be tilted far back (up to 180°). Working space will only be
limited by the height of the machine.
In breaks or after finishing work, it is mandatory to push the
filter bag housing upwards until the foot pedal snaps in
tactilely and audibly.
Only then the device can be safely placed on a solid
surface.
After finishing your work, the mains power cord should be
removed from the wall outlet and rolled up in order to
prevent accidents.
The lower cable hook can be rotated for easy unwinding of
the cord.
Height Adjustment of Brush
In order to get an optimal cleaning result, the brush of your
RANGER can be height adjusted in four steps. The adjust-
ment wheel (21) on the right hand side of the power head is
intended for this purpose. These settings are possible:
1. Largest engagement in the carpet, also carpets with
low pile height.
2. High sweeping performance, but perhaps faster wear
of the brush roller. Also, for carpets with middle pile
height.
3. Lower sweeping performance. Also, for carpets with
more pile height.
4. Lowest engagement in the carpet, also, for long pile
carpets.
The numbers listed above will also be shown on top of the
adjuster (21a) according to the setting of the height adjust-
ment.
With these setting options, the optimal balance between
material protection required pushing force and brush roller
wear can be achieved. If the cleaning performance is not
sufficient, even in position 1, the brush roller is worn and
needs to be replaced.
Please refer to “Maintenance and Care“ for details on page
12.
It has been proven that it makes sense to start in position
“2“ and change to diverting settings depending on personal
feeling or conditions on site.
20
23
21a
21
86452440 Manual Ranger 12 120V 60Hz
Loading ...
Loading ...
Loading ...