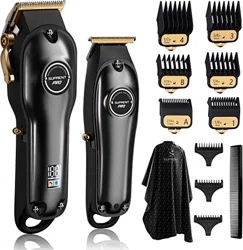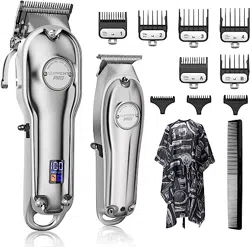

HC596 | SUPRENT Beard Trimmer
Components Parameters
Use the Rechargeable Mode
1.Insert the charger into the tail of the clipper, connect to the power
to start charging.
2.The liquid crystal indicator lights up, indicating that it start charging.
Note: when the power is switched on after charging, the indicator
lights up to indicate that the charging head is reversed or drawn to
be replaced immediately.
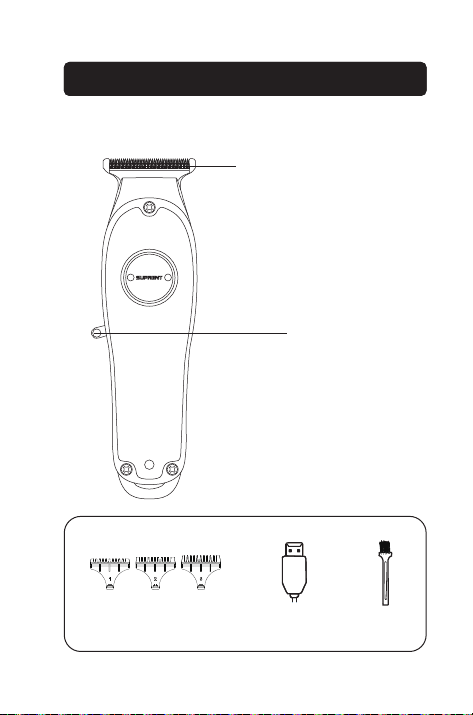
Sharp Stainless Steel Blade
ON/OFF
Combs BrushStandard 5V/US
charging port
Professional
Hair Clipper
Motor Operating voltage: 3V
Battery type: 1400mAh
Charge time: 2h
Operating time: 3h
USB connect with adapter5V 1000mA
Power: 5W
Battery
Charge
Components 1 2
Components Parameters
Use the Rechargeable Mode
1.Insert the charger into the tail of the clipper, connect to the power
to start charging.
2.The liquid crystal indicator lights up, indicating that it start charging.
Note: when the power is switched on after charging, the indicator
lights up to indicate that the charging head is reversed or drawn to
be replaced immediately.
Sharp Stainless Steel Blade
ON/OFF
Combs BrushStandard 5V/US
charging port
Professional
Hair Clipper
Motor Operating voltage: 3V
Battery type: 1400mAh
Charge time: 2h
Operating time: 3h
USB connect with adapter5V 1000mA
Power: 5W
Battery
Charge
Components 1 2
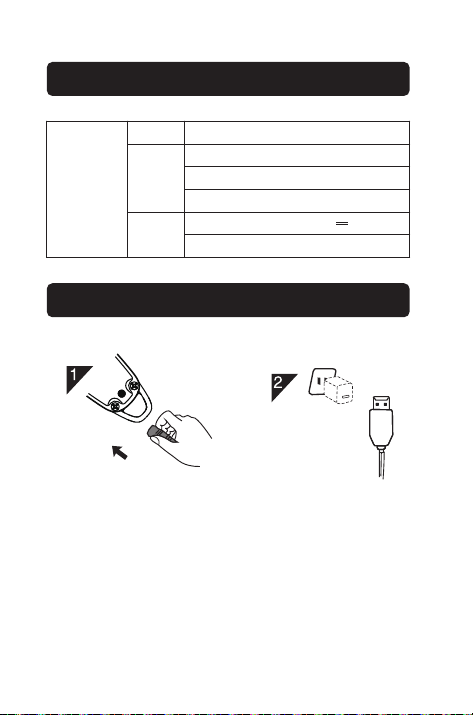
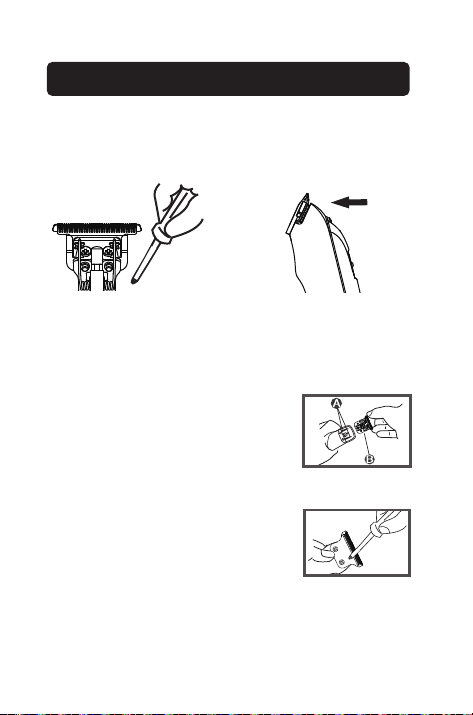
Fixed-length Function Blade Removal & Installation
A: Features( 2、3、4mm ) 3 lengths adjustment to controlhair
length.
1.To determine the length of haircut
2.To select the appropriate limit comb
Mount the limit comb:
1.Align the limit comb with the blade
edge
2.Slightly forward push to mount it.
Disassemble the limit comb: Just pull
hard the limit comb.
Blade Removal
Such as a screwdriver with the
rotary cutter head under part,
remove the cutter head
To prevent the knife from falling,
use another hand to hold it
The blade spring is aligned with the spring
A on the knife head B.
Then, put in two fixed screws, and hold down.
Tighten the screw with a screwdriver to ensure
the head of the knife will not fall off.
Warm tip: do not disassemble the knife head without any skill.
2mm 3mm 4mm
1
2
3 4
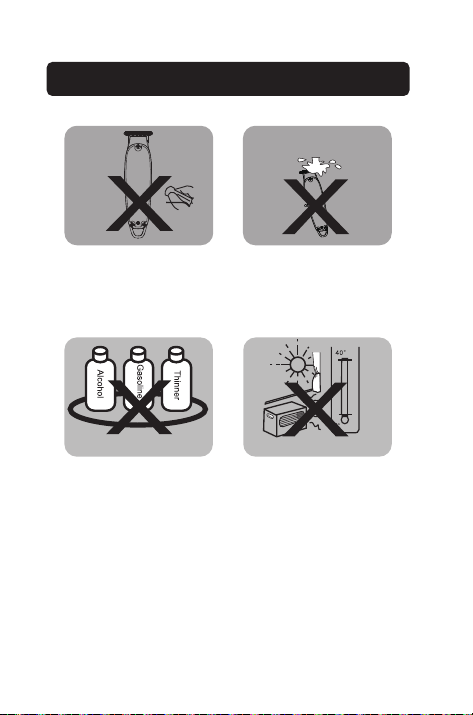
Cutter Cleaning and Maintenance Note
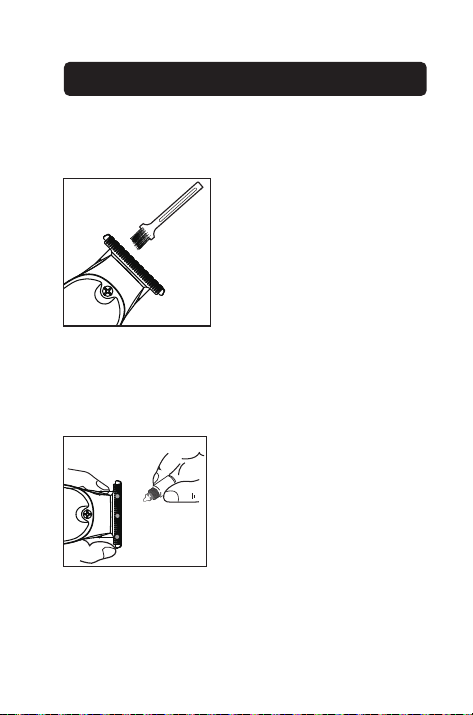
Taper Blade Cleaning
1.Please do not disassemble the product.
2.Water must not be used to wash the clipper, keep away from the
dampness while operating.
3.Only use a little wet cloth or neutral liquid soap to clean the product.
4.Never charge the product above 40-heat source or below oRc
environment.
*Slight heating during the operating or charging is the normal case
*After the battery life expires, take off and throw the battery in a
safe manner into the designated recycling site. Never dump it
randomly.
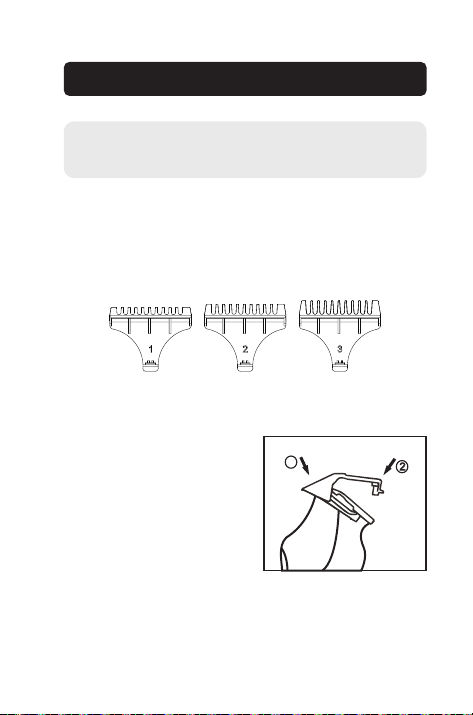
Clear up the blade with cleaning
brush.
Taper Blade Maintenance
Before or after use,maintain the
blade by dripping some oil on the
red point places like the left picture.
5 6
Cutter Cleaning and Maintenance Note
Taper Blade Cleaning
1.Please do not disassemble the product.
2.Water must not be used to wash the clipper, keep away from the
dampness while operating.
3.Only use a little wet cloth or neutral liquid soap to clean the product.
4.Never charge the product above 40-heat source or below oRc
environment.
*Slight heating during the operating or charging is the normal case
*After the battery life expires, take off and throw the battery in a
safe manner into the designated recycling site. Never dump it
randomly.
Clear up the blade with cleaning
brush.
Taper Blade Maintenance
Before or after use,maintain the
blade by dripping some oil on the
red point places like the left picture.
5 6

Product Assurances:
1.This product has been manufactured through the precise quality
management and inspection process.
2.In case of any failure during the normal operating, customer may
send to the retailer or maintenance center for free-of-charge
maintenance.
(Battery and blade are quick-wear parts excluding from the
warranty,which shall only be provided upon the payment
3.Free service shall not be provided in either case below:
A.Any damage caused by the maintenance and transformation that is
not recognized by the manufacturer.
B.Any damage caused by mistake, inadvertent use or accident.
C.Any damage caused by natural disaster and abnormal voltage.
D.Any damage caused by non-compliance with the notes as stated in
this operating manual.
4.This Warranty Card shall be the only proof of warranty, while the
product maintenance against invoice shall not be allowed.
Warranty Card
Product Name Professional Hair Clipper
Month Date Year
Warranty Period
To Month Date Year
One year from the
purchasing date
Product Model
Purchasing Date
Customer Address
Address
Name
Name
Name
Phone
Number
Phone
Number
Point of
Sale
7

HC596 | SUPRENT Beard Trimmer