Loading ...
Loading ...
Loading ...
OPERATING INSTRUCTIONS
JUMP STARTING
For box units equipped with installed vehicle harness, leave vehicle running for best performance.
WARNING: DO NOT JUMP START WITH AC POWER CORD CONNECTED TO 120VAC POWER
SOURCE. NEVER JUMP START A FROZEN BATTERY. A SPARK NEAR BATTERY MAY
CAUSE BATTERY EXPLOSION. TO REDUCE RISK OF A SPARK NEAR BATTERY:
1. If vehicle has 12 Volt system with dual batteries, place cable on battery closest to starter.
2. Position DC jumper cables to reduce risk of damage by hood, door, or moving engine part.
3. Stay clear of fan belts, pulleys, and other parts that can cause injury to persons.
4. Connect POSITIVE (RED) clamp from unit to POSITIVE (POS, P, +) ungrounded post of battery. Connect
NEGATIVE (BLACK) clamp to vehicle chassis or engine block away from battery last.
Note: Do not connect clamp to carburetor, fuel lines, or sheet-metal body parts.
Connect to a heavy gauge metal part of the frame or engine block.
5. Start the vehicle (turn on the vehicle ignition).
Note: If the vehicle doesn’t start within 6 seconds, let the unit cool for 3 minutes before attempting to start
the vehicle again or you may damage the unit.
6. When disconnecting unit, ALWAYS disconnect the negative clamp from vehicle chassis first. Remove positive
clamp from battery terminal second.
OPERATING THE UNIT AS AN AIR COMPRESSOR (Model No. 3001 Only)
Warning: DO NOT INFLATE TIRES OR FLIP AIR COMPRESSOR “ON/OFF” SWITCH WHILE THE UNIT
IS PLUGGED INTO 110 AC POWER SOURCE!
1. Snap air chuck on tire valve stem (some wheel covers may require use of valve stem extension).
2. Flip “ON/OFF” air switch on front panel to “ON” position.
3. Tire will inflate to preset pressure and compressor will shut off.
4. Disconnect air chuck from tire valve stem (compressor will come on again).
5. Flip “On/Off” air switch on front panel to “Off” position.
6. See Compressor section below to adjust shut off pressure.
Adjusting the Compressor Shut Off Pressure
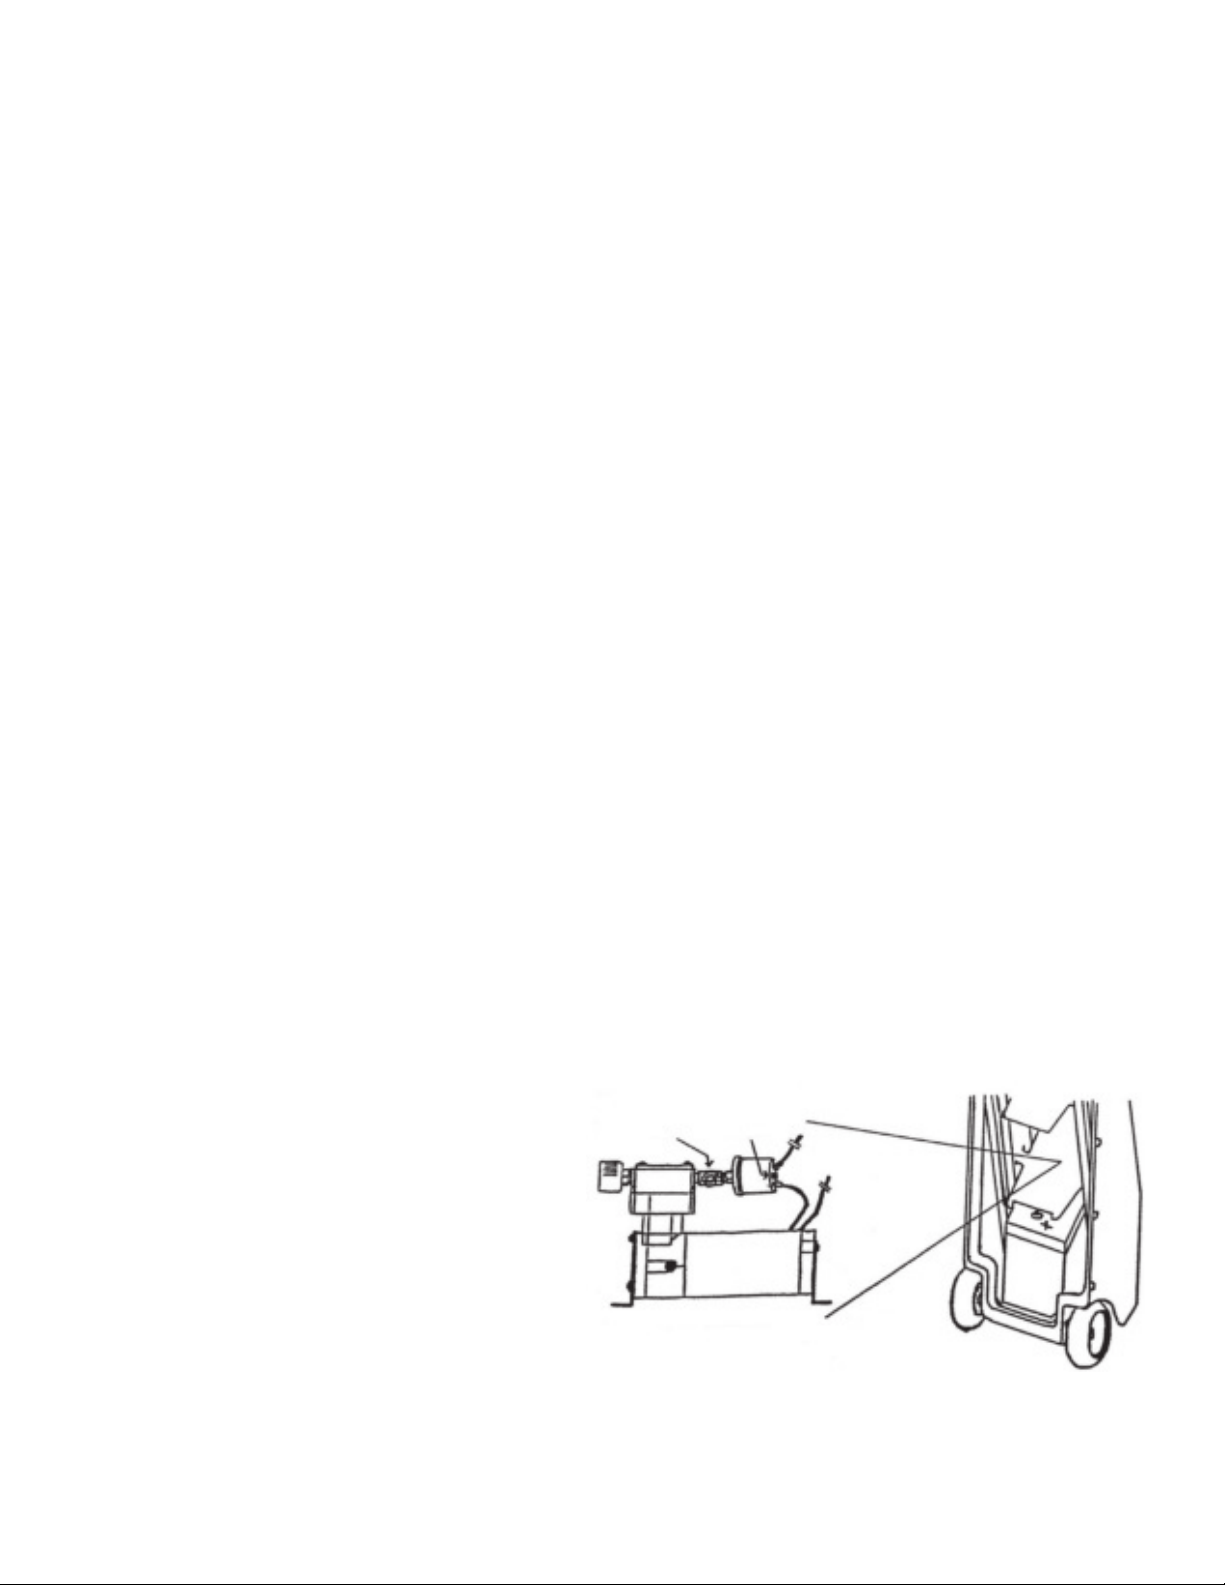
1. Remove back panel by removing
(2) 1/4” – 20 bolts securing panel.
2. Locate the pressure switch
and set screw (center of switch).
3. When adjusting shut-off pressure,
turn no more than 1/2 turn between settings.
4. To increase pressure setting, turn
clockwise (1/4 turn = approximately 4 lb.).
5. To decrease pressure setting, turn counter-
clockwise (1/4 turn = approximately 4 lb.).
6. Check pressure setting by inflating a tire and
checking tire pressure with an air gauge.
If more adjustment is necessary, return to step 4 or 5.
7. Secure back panel with (2) 1/4” – 20 bolts bolts.
Air
Hose
Connector
Pressure
Set
Screw
Compressor
Loading ...
Loading ...
Loading ...