Loading ...
Loading ...
Loading ...

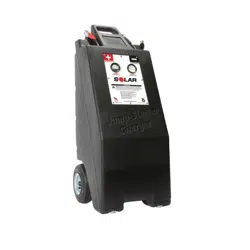
SELECTING AND INSTALLING THE BATTERY
BATTERY SELECTION
1. Battery Size (Group) to Use:
Model No. 2001 – Group 31 1000 CCA and up, Standard Flooded or AGM.
Model No. 3001 – Group 31 1000 CCA and up, Standard Flooded or AGM.
2. A high quality battery will last longer and perform better than a marginal quality battery.
3. Use a battery with a sealed top or with screw type flush fill caps. This will help prevent acid leakage
should unit be inadvertently laid flat or turned over.
4. Use battery with 3/8” threaded studs.
5. A high quality battery emits less gases as it recharges. Using this type of battery will extend charger
and wiring life. Battery acid and petroleum resistant wiring is used in this unit.
6. Check battery water level every 90-120 days to extend battery life.
BATTERY INSTALLATION – ALL MODELS
1. Remove back panel by removing (2) 1/4” – 20 bolts securing panel.
2. Place battery on back edge of unit with negative facing inward.
3. Connect Negative (–) jumper cable with Black (NEG – ) wire to Negative (N, –) stud of battery with
3/8” nut provided. (See Figure 1a.)
4. Slide battery under internal ladder structure to front of unit moving Negative (–) jumper cable to left
of bottom platform. Battery will slightly drop down when fully inserted.
5. Connect Positive (+) jumper cable with Red (POS +) wire to Positive (P, +) stud of battery with
3/8” nut provided. (See Figures 1b and 1c.)
6. Replace back panel and secure with (2) 1/4” – 20 bolts.
7. Volt gauge should read between 12.5 and 14 volts.
8. Plug in unit to charge battery. Amp gauge will take 3 seconds to register battery and apply
proper charge rate.
9. When amp gauge approaches “2” or less and flickers, battery is fully charged and unit is ready to use.
10. All units ship with the charging mode set to the Standard Flooded Battery charging setting. This setting
should be changed if you choose to install an AGM battery in your unit. To change this setting, locate the
control switch on the charging board inside the unit and change the setting to AGM mode.
Figure 1a Figure 1b Figure 1c
Loading ...
Loading ...
Loading ...