Loading ...
Loading ...
Loading ...
8
NOTE:
ALL GAS FITTING MUST ONLY BE CARRIED OUT BY A
QUALIFIED SERVICE PERSON.
1. Cobra Series Gas Griddle Toasters do not require
an electrical connection, they function totally
on the gas supply only.
2. It is essential that the gas supply is correct for the
appliance to be installed and that adequate
supply pressure and volume are available. The
following checks should be made before
installation:-
a. The Gas Type the appliance has been
supplied for is shown on coloured stickers
located above the gas entry point and next
to the rating plate. Check that this is correct
for the gas supply the appliance is being
installed for. The gas conversion procedure is
detailed in the Gas Conversion Instruction
Sheet for this appliance.
b. Supply Pressure required for this appliance is
shown in the ‘Specifications’ section of this
manual. Check the gas supply to ensure that
adequate supply pressure exists.
c. Input Rate of this appliance is also stated on
the Rating Plate fitted to the inside of the
right hand side panel, below the middle shelf
and in the ‘Specifications’ section of this
manual. The input rate should be checked
against the available gas supply line
capacity. Particular note should be taken if
the appliance is being added to an existing
installation.
NOTE:
It is important that adequately sized piping runs
directly to the connection joint on the appliance,
with as few tees and elbows as possible to give
maximum supply volume.
3. Fit the gas regulator supplied, into the gas supply
line as close to the appliance as possible.
NOTE:
The gas pressure regulator provided with this
appliance is convertible between Natural Gas and
LPG as per the ‘Gas Conversion Section’ in this
manual.
Ensure the regulator is converted to the correct gas
type that the appliance will operate on.
The regulator outlet pressure is fixed ex-factory for
the gas type that the regulator is converted to and it
is NOT to be adjusted.
The regulator connections are
1
/
2
" BSPT female.
The connection to the appliance is
1
/
2
" BSPT male.
(Refer to the ‘Specifications’ section for the gas
supply location dimensions).
1. Installation must allow for a sufficient flow of fresh
air for the combustion air supply.
2. Installation must include adequate ventilation
means, to prevent dangerous build up of
combustion products.
3. Position the appliance in its approximate
working position.
4. All air for burner combustion is supplied from
underneath the appliance. The legs must
always be fitted and no obstructions placed on
the underside or around the base of the
appliance, as obstructions will cause incorrect
operation and / or failure of the appliance.
5. Components having adjustments protected
(e.g. paint sealed) by manufacturer are only to
be adjusted by a qualified service agent. They
are not to be adjusted by the installation person.
NOTE:
Do not obstruct or block the appliances flue. Never
directly connect a ventilation system to the
appliance flue outlet.
NOTE:
Only non-combustible materials can be used in
close proximity to this appliance.
Any gas burning appliance requires adequate
clearance and ventilation for optimum and trouble-
free operation. The following minimum installation
clearances are to be adhered to:
* Side clearances can be 50mm when adjacent
surface is at least 100mm below cooking sur-
face.
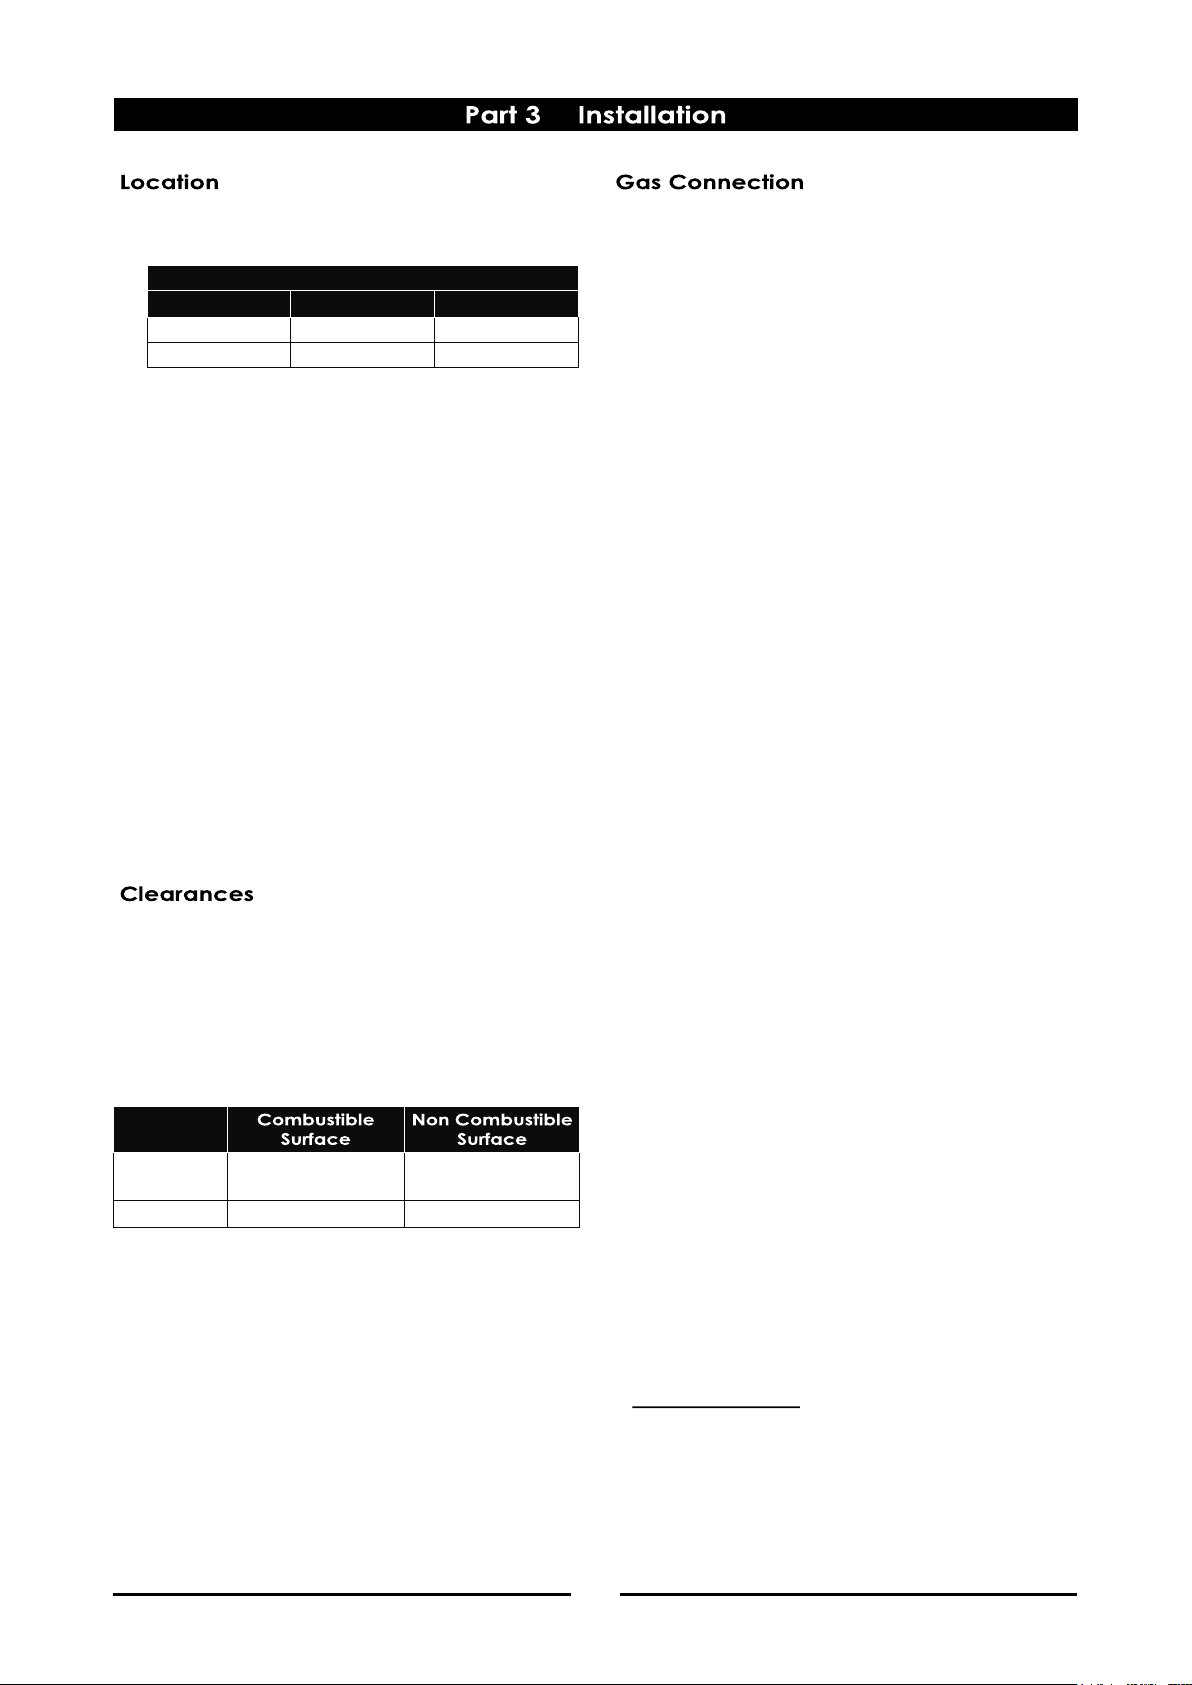
Combustion Air Requirements (Minimum)
CT6 CT9
Natural Gas
10 m³/hr 15 m³/hr
LPG / Propane
9 m³/hr 14 m³/hr
LH / RH
Side
50mm 0mm
Rear 50mm 0mm
Loading ...
Loading ...
Loading ...