
Loading ...
Loading ...
Loading ...
Page dimensions: A5 (8.2677 x 5.8268 inches)
12
English
5. Insert the rod electrode into the electrode holder (F).
6. Press the On/Off button for at least 2 seconds to turn the
welder on.
WELDING (FIG. 1)
1. Use the welding process button to select (illuminate) one of
the following processes from the process indicator (H) section
of the control panel:
MMA welding
MMA welding with cellulose electrode
2. Press the setting value button until the welding current
indicator( ) lights up.
3. Select the current using the adjusting dial (P).
4. Carry out welding.
SOFTSTART/HOTSTART FUNCTION (FIG. 1)
The SoftStart/HotStart function is used to set the starting current.
At the start of the welding process, the welding current is reduced
(SoftStart) or increased (HotStart) for 0.5 seconds, depending on
the setting (Range: 0–200%).
1. Press the setting value button (O) until the SoftStart/HotStart
indicator ( ) lights up.
2. Turn the adjusting dial (P) until the desired value is reached on
the LCD setting value display (M).
3. Carry out welding.
NOTE: The duration of the starting current can be changed in
the setup menu using the Hti parameter. The maximum HotStart
current is limited to the maximum current of the power source.
Example:
The change in the welding current is shown as a percentage of the
main current. e.g. main current setting = 90 A
- 100 % starting current = 90 A (function deactivated)
- 80 % starting current = 72 A (SoftStart)
- 135 % starting current = 121 A (HotStart)
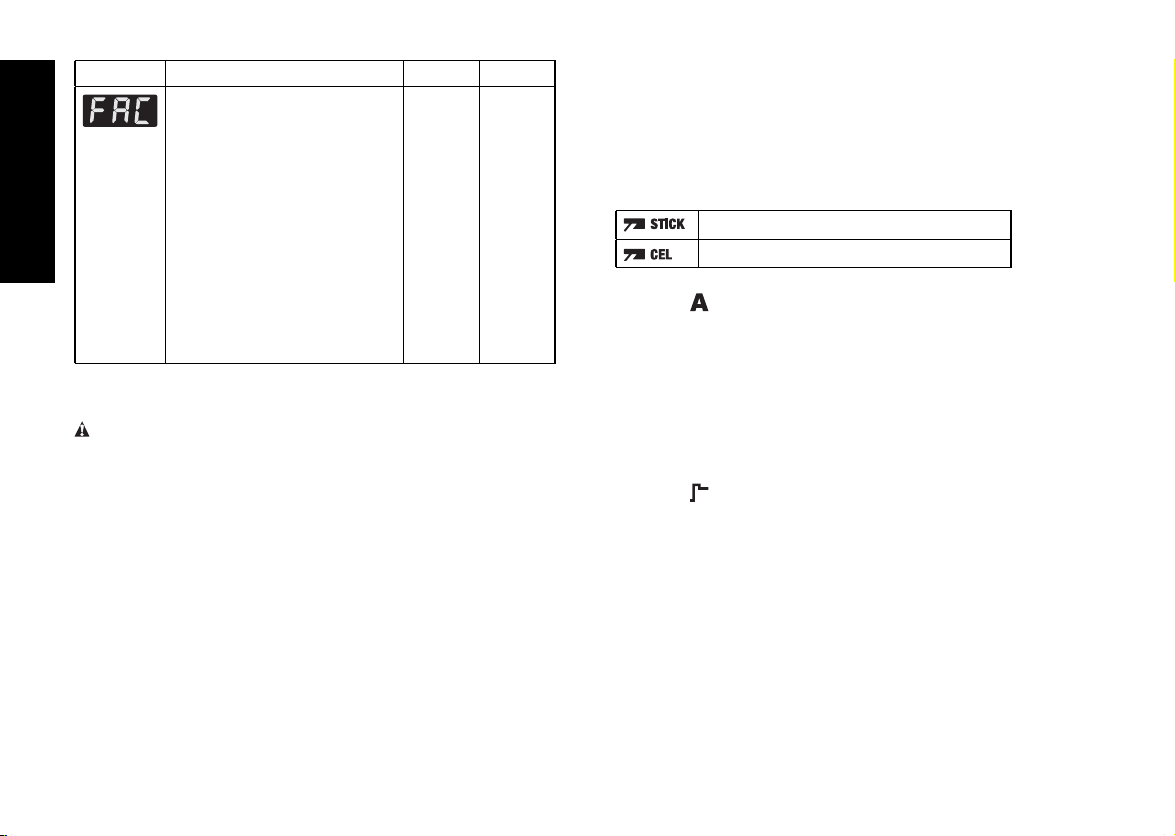
Parameter Description Range Unit
Factory setting (FAC)
This can be used to reset the
device to its factory settings.
- Cancel reset
- Reset the parameters for the
selected welding process to
their factory settings
- Reset the parameters for all
welding processes to their
factory settings
Resetting of the selected value
to its factory setting must be
confirmed by pressing the
adjusting dial.
no
YES
ALL
MMA Stick Welding
PREPARATION (FIG. 1)
WARNING: Risk of injury and damage from electric shock. As
soon as the power source is switched on, the electrode in the
welding torch is live. Make sure the electrode does not touch
any persons or electrically conducting or earthed parts (e.g. the
housing, etc.).
1. Press the On/Off button (Q) for at least 2 seconds to turn off
the welder. The indicators will go off.
2. Plug the grounding (earthing) cable (G) into the − (A) or + (B)
current socket, depending on the type of electrode, and latch
it in place.
3. Clamp the other end of the grounding (earthing) cable to
establish a connection to the workpiece.
4. Plug the electrode holder (F) cable into the − (A) or + (B)
current socket, depending on the type of electrode, and latch
it in place.
Loading ...
Loading ...
Loading ...