Celestron, 2835 Columbia Street, Torrance, CA 90503 • Phone (310) 328-9560 • Fax (310) 212-5835 #93969-INST 09-10
#93969 - SkySync GPS Accessory
The SkySync GPS accessory gives your Celestron Computerized telescope (except GPS Models) fully automated GPS
satellite assisted alignment capability. The SkySync will link-up with orbiting satellites and download accurate
time/date and location information and input them directly into the telescope's hand control.
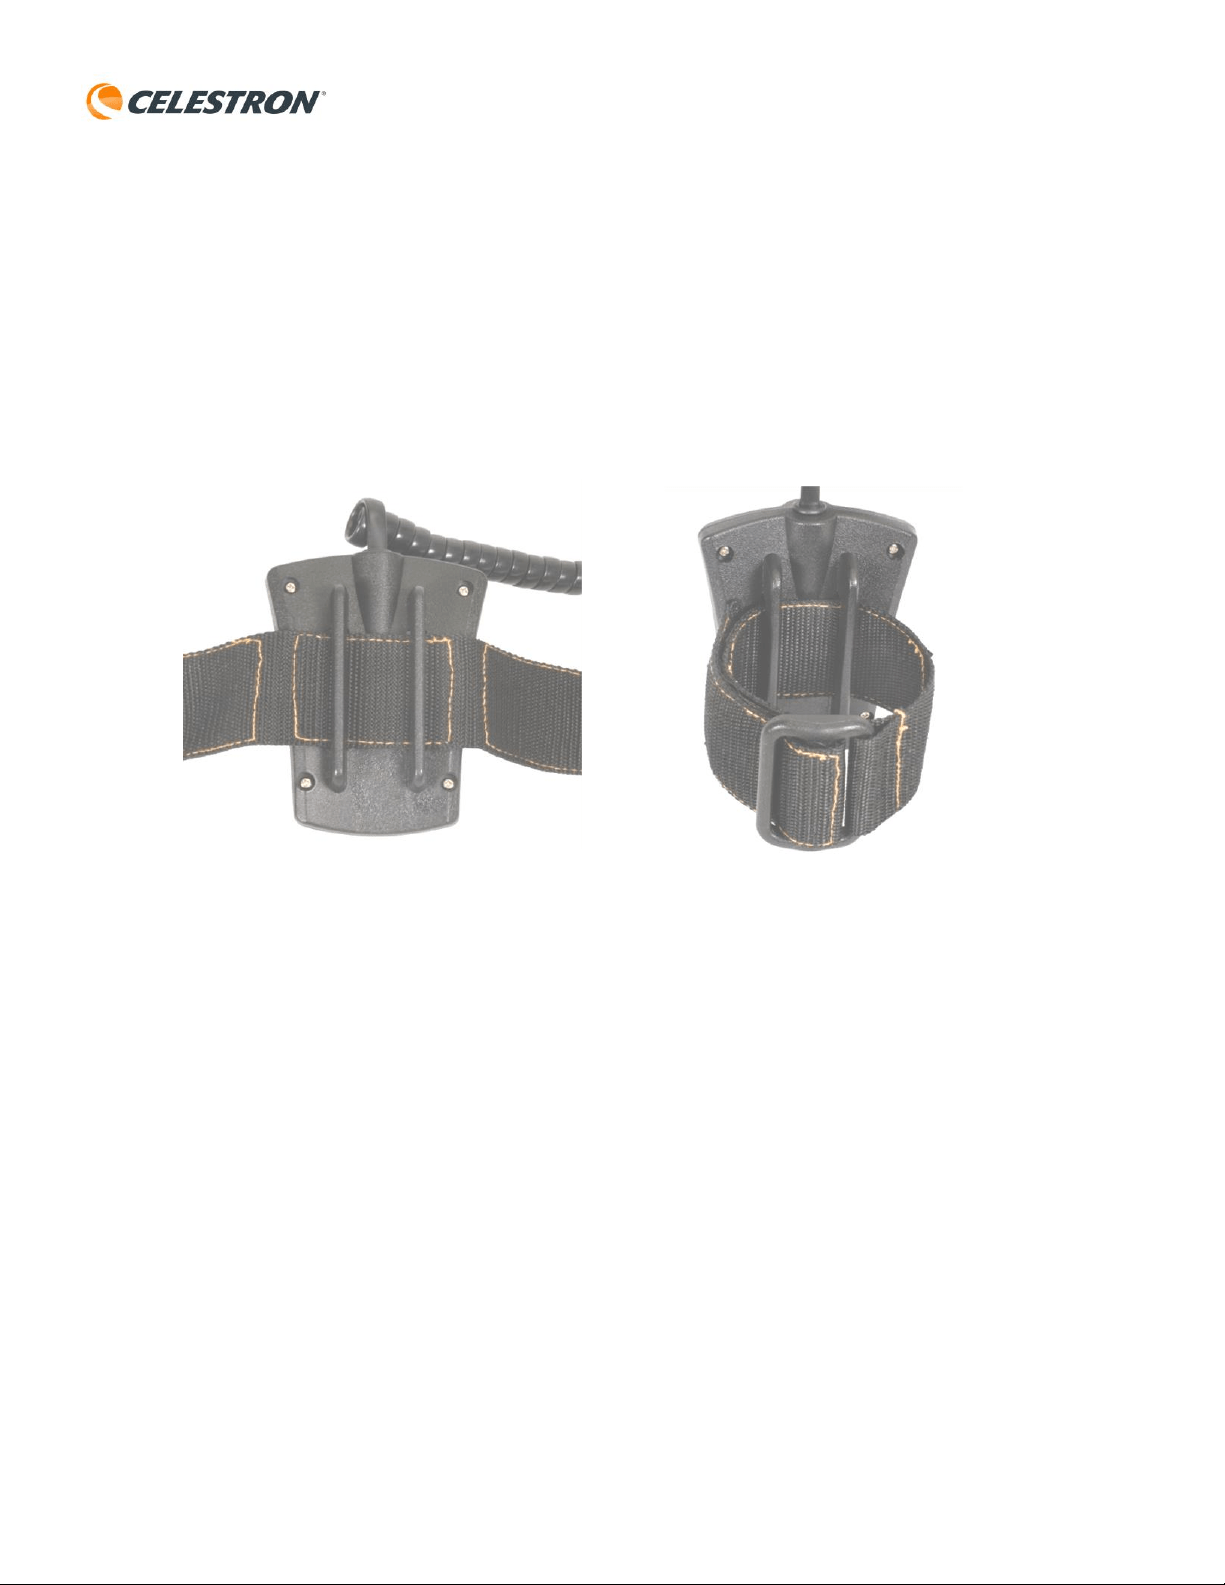
Before you can attach the SkySync to your telescope, you must first attach the Nylon strap to the SkySync GPS unit.
The SkySync comes with two mounting straps; a 13 inch strap for the CGE Pro mount and a ten inch strap for all other
mounts.
1. Select the correct strap for the tripod leg on your mount.
2. Slide the end of the strap (with Velcro facing down) through the two slots on the back of the GPS unit. (Fig
1a)
3. Wrap the strap around the upper portion of one of the tripod legs and loop the end through the plastic
buckle. (Fig 1b)
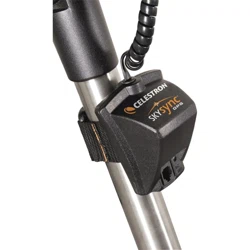
4. Plug the SkySync cord into the Auxiliary (Aux) port on the telescope’s electronic panel. The red light on the
GPS unit will be lit when the telescope is powered. (Fig 2)
NOTE: If your telescope does not come with an Aux port, plug the SkySync into the telescope's hand control outlet
instead. Then plug the hand control into the available port on the SkySync unit itself. (see Fig 2).
Figure 1a
Figure 1b

Celestron, 2835 Columbia Street, Torrance, CA 90503 • Phone (310) 328-9560 • Fax (310) 212-5835 #93969-INST 09-10
Before performing a star alignment, you must first make sure that your telescope is GPS enabled. To activate the GPS,
press the MENU button on the hand control and scroll down to the Utility menu. Select GPS ON/OFF from the utility
menu and choose “ON”, then press “ENTER”. Now go back and select a star alignment method and press “ENTER”.
With the GPS activated, the hand control will display "GPS Linking" while it downloads the correct time/site
information. Once linked, continue the alignment process as described in your telescope owner's manual.
Warranty: Two year limited warranty. See the Celestron Accessory Catalog (#93685) for complete warranty details or contact Celestron at www.celestron.com
Figure 2
Additional
HC/AUX Port
Power Indicator Light
