Loading ...
Loading ...
Loading ...
16
Unpacking the 48” Range
1) Remove the outer carton and packing materials but leave the adhesive-backed foam layer over
brushed-metal surfaces, to protect finish from scratches, until the range is installed in its final position.
It is recommended that the grates, griddle plate, burner caps and oven racks be removed to facilitate handling.
CAUTION: Stand clear. The ends of the cut banding may snap toward you.
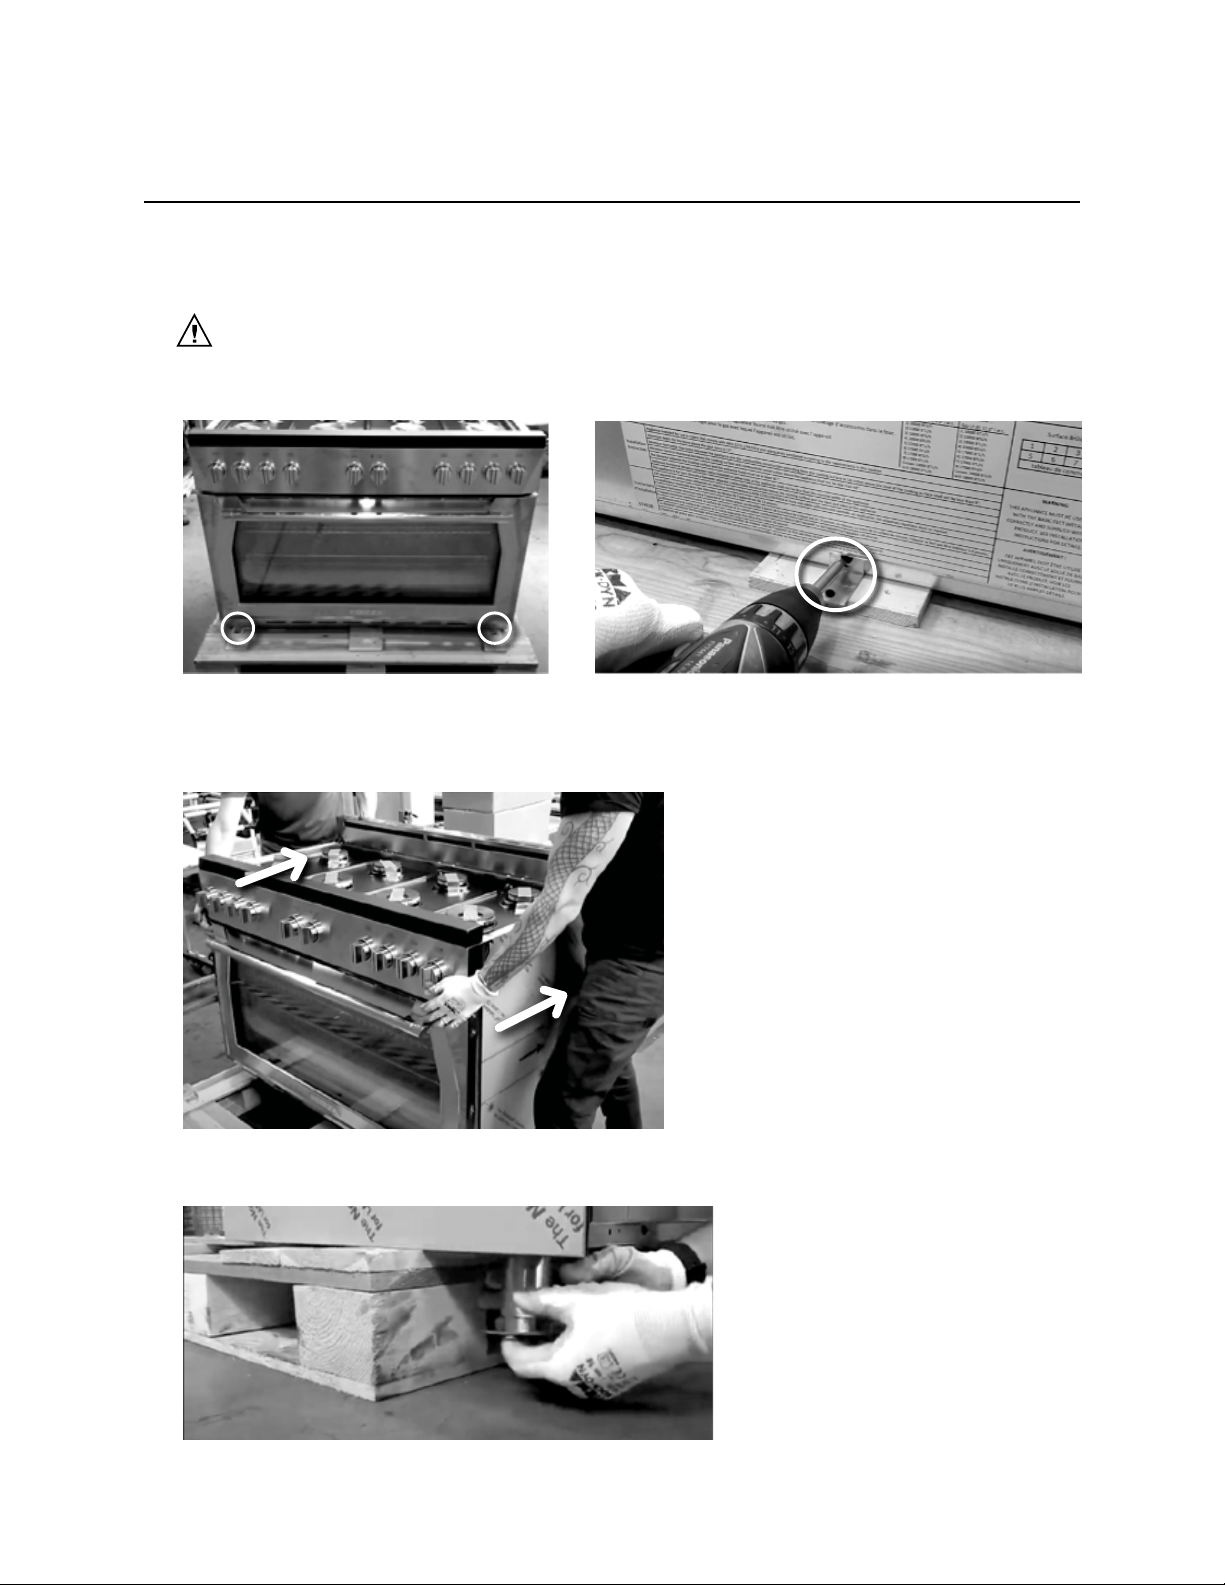
2) Unscrew the four screws assembled on three brackets (circled);
3) Slide the range on the pallet in order to have enough space to assemble the rear feet;
4) Assemble the rear feet;
Back part of the rangeFront part of the range
Loading ...
Loading ...
Loading ...