Loading ...
Loading ...
Loading ...
www.hyundaipowerproducts.co.uk
30
Assembly
2
3
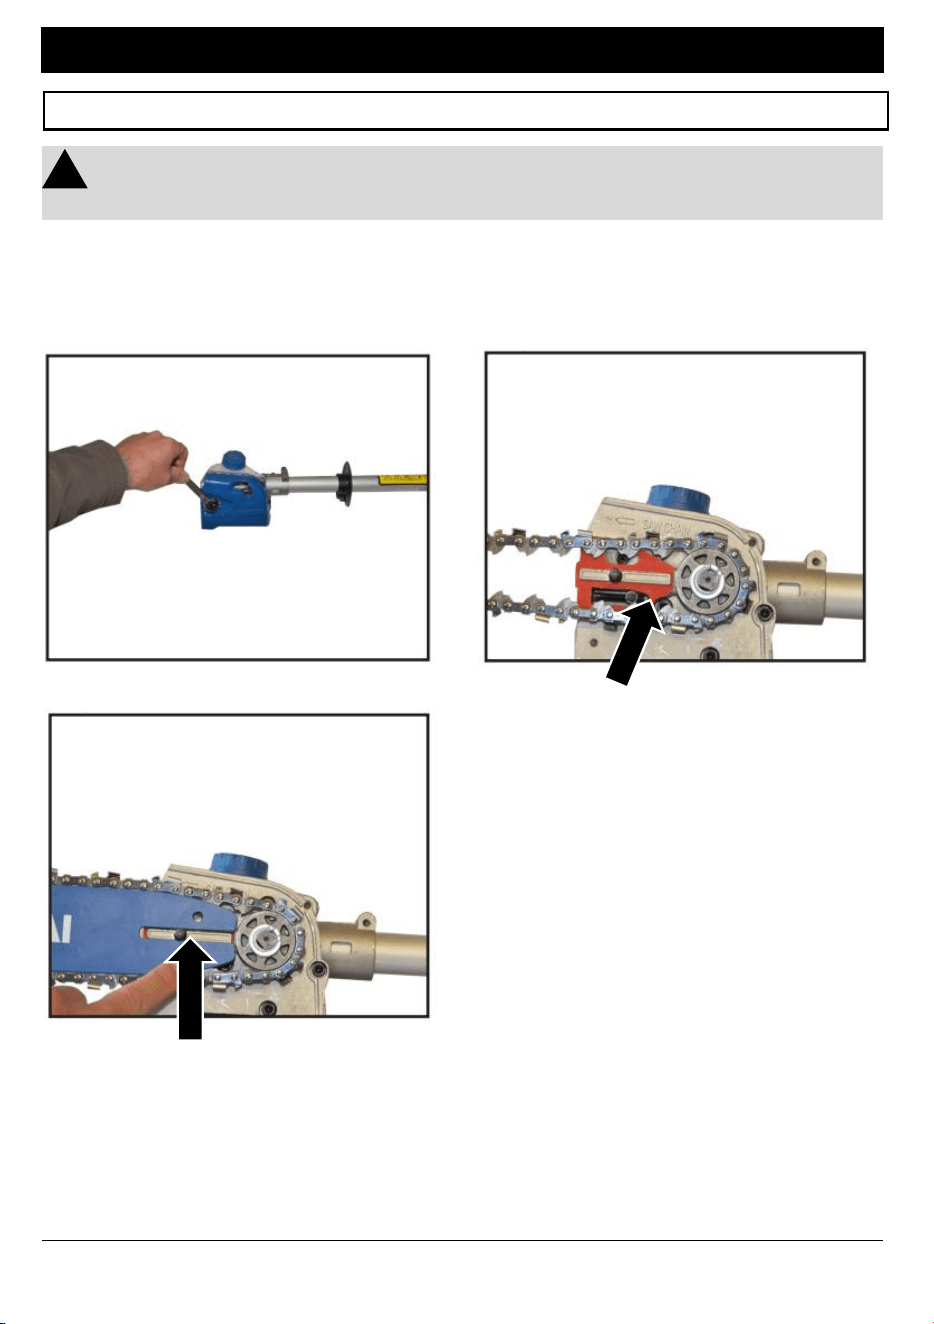
1. Remove the two bolts that are already in place in the guard.
2. Fit the chain around the sprocket. Above the chain links, ensure
the small tooth is on the left and the large tooth is on the right. This
indicates the chain has been placed in the correct orientation.
STEP 5 : Pole Saw Attachment Assembly
WARNING: The teeth on the chain are very sharp. It is strongly
advised that thick gloves are worn when handling the chain.
!
The picture above illustrates the small
tooth on the left, and the large tooth
on the right. This is the correct
orientation.
3. Attach the bar to the chain.
Begin by placing the nose of
the bar into the end of chain
(left-side) before moving the
opposite end of the bar over
the pin to the left-hand-side of
the sprocket.
The pin will slot into the gap of the
chain bar..
Loading ...
Loading ...
Loading ...