Loading ...
Loading ...
Loading ...
14
English
Rotation speed
selector switch
Display lamp
Fig. 12
Pressing the rotation speed selector switch switches
rotation speeds as shown in Table 4.
Table 4
Display lamp
sequence
Full-load
speed
260 340 410 590
Impacts per
Minute
1,420 1,850 2,240 2,860
NOTE
○
Rotation speed cannot be adjusted until a battery is
installed to the power tool and the switch has been
triggered once.
○
The rotation speed cannot be changed by pressing
the rotation speed selector switch while the motor is
rotating. To change speeds, switch off the tool fi rst.
5. About the protection function
This product features functions that are designed to
protect the tool itself as well as the battery. While the
switch is pulled, if any of the safeguard functions are
triggered during operation, the display lamp will blink
as described in Table 5. When any of the safeguard
functions are triggered, immediately remove your
fi nger from the switch and follow the instructions
described under corrective action.
Table 5
Display
lamp
fl ashing
Cause Solution
Flash
Internal temperature
has risen beyond
the unit’s specifi ed
temperature.
(Temperature
increase protection
function)
Turn off the unit
and allow it to cool
down for about 15
minutes. When the
temperature goes
down, the unit is
ready for use.
Flash
Excessive pressure
applied to the tool
has resulted in an
overload.
(Overload
protection function)
Remove the cause of
the overburdening.
Flash
Sensor signal read
error.
(Control monitoring
function)
Repair may be
required.
NOTE
Repair may be required if the display lamp continues
to fl ash after taking all necessary steps to correct the
problem. If the problem persists, please arrange for
repairs.
HOW TO USE
CAUTION
To prevent accidents, make sure to turn the
switch off and disconnect the battery when the
drill bits and other various parts are installed
or removed. The power switch should also be
turned off during a work break and after work.
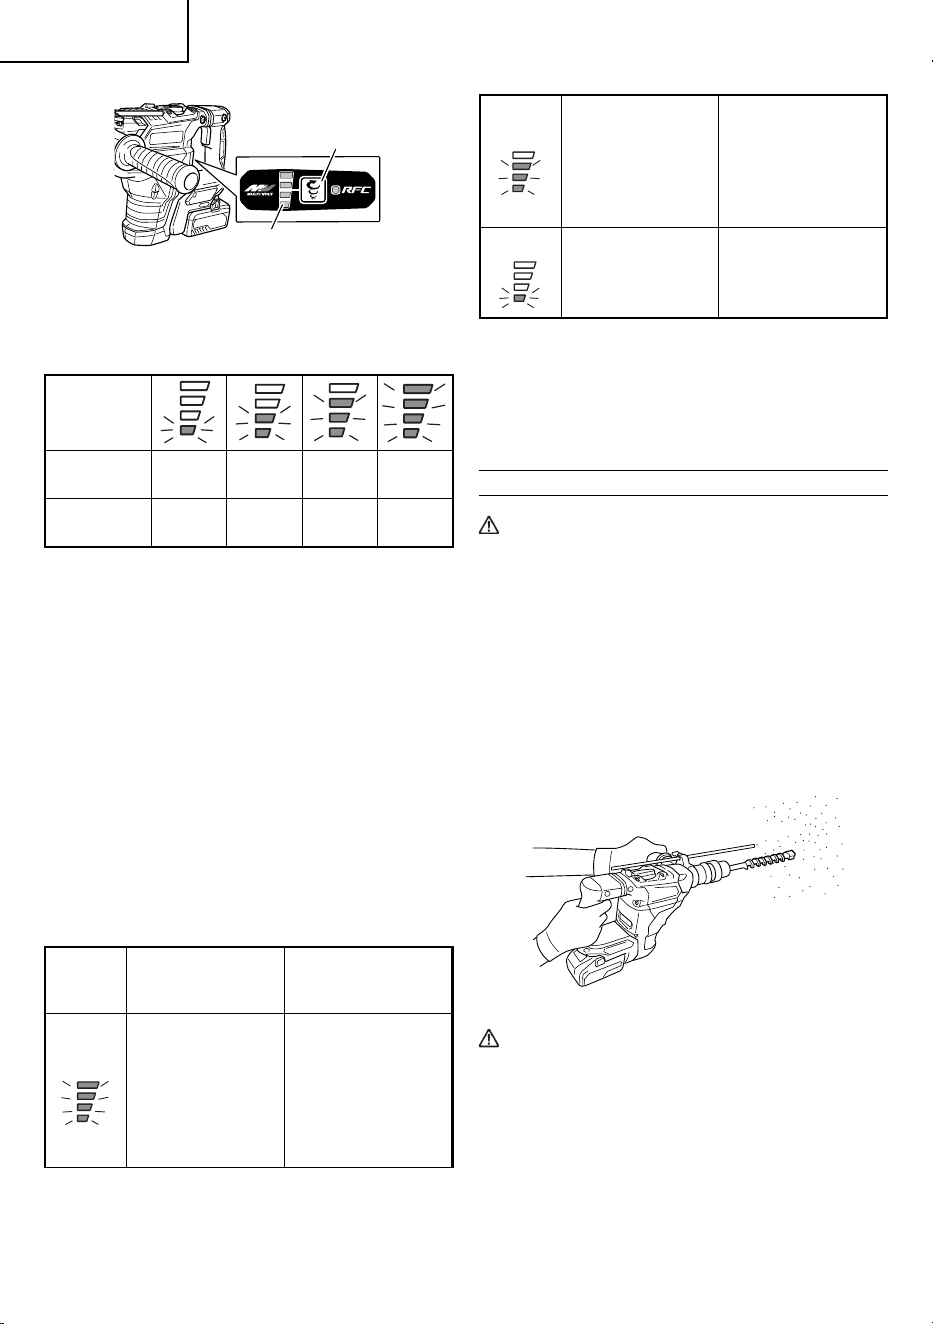
1. How to drill holes (Fig. 13)
(1) Pull the switch trigger after applying the drill bit tip to
the drilling position.
(2) It is unnecessary to forcibly press the Rotary Hammer
main body. It is suffi cient to slightly press the rotary
hammer to an extent that clips are freely discharged.
Fig. 13
CAUTION
Although this machine is equipped with a slip
clutch, if the drill bit becomes bound in concrete
or other material, the resultant stoppage of the
drill bit could cause the machine body to turn in
reaction. Ensure that the main handle and side
handle are gripped fi rmly during operation.
2. How to chisel or demolish (Fig. 14)
By applying the tool tip to the chiseling or demolishing
position, operate the rotary hammer by utilizing its own
weight. Forcible pressing or thrusting is unnecessary.
000BookDH36DMANA.indb14000BookDH36DMANA.indb14 2018/05/1410:40:092018/05/1410:40:09
Loading ...
Loading ...
Loading ...