Loading ...
Loading ...
Loading ...

USE AND CARE
SWITCHES
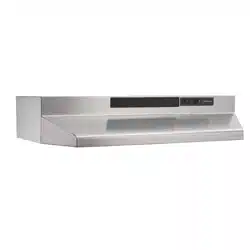
The fan and light are each controlled by a rocker switch. The light switch
has two positions, “ON” and “OFF”. The fan switch has three positions -
“HIGH”, “LOW” and “OFF” (“OFF” is the middle position).
CLEANING
Keep your range hood clean using a mild detergent suitable for painted
surfaces.
The aluminum filter should be cleaned frequently. Use a warm
dishwashing detergent solution.
Clean all-metal filter using a non-phosphate detergent. Discoloration of the
filter may occur if using phosphate detergents, or as a result of local water
conditions - but this will not affect filter performance. This discoloration is
not covered by the warranty. To minimize or prevent discoloration, hand
wash filter using a mild detergent.
FILTER REMOVAL
Remove filter by turning filter clip to the side and lifting filter out. In ducted
version, turn filter retaining clip to one side and place aluminum filter over
embossed retaining tabs on back of fan housing. Turn filter clip so that the
low end of clip holds single filter firmly in place. (FIG. 13)
In non-ducted version, place non-ducted filter (non-ducted filter to be
purchase separately, model 41F) over tabs on back of fan housing. Turn
filter retaining clip so that high end holds filter firmly in place. Make sure
blue side of non-ducted filter is next to fan blade.
NOTE: Make sure that arrows on filter retaining clip point toward back and
front of hood.
LIGHT BULB REPLACEMENT
Light bulb (not supplied with hood) should be A19 type, E26 base,
75 watts maximum. The lens covering bulb is removed by pressing the
two extending tabs together until they release from the retaining slots.
(FIG. 14)
FAN ASSEMBLY REMOVAL
Be sure power is disconnected. Remove filter. Remove both screws holding
the motor bracket to the range hood and unplug the fan assembly. Be
careful not to allow fan assembly to drop when the screws are removed.
(FIG. 15).
FIG. 13
FIG. 14
FIG. 15
NON-DUCTED FILTER
(SOLD SEPARATELY)
ALUMINUM FILTER
FILTER RETAINING CLIP
LIGHT LENS
SOCKET
SCREWS
- 5 -
Loading ...
Loading ...