Loading ...
Loading ...
Loading ...
9
MAKING COFFEE
WITH PODS
Follow instructions in “Before Brewing
Your First Cup of Coffee,” page 7.
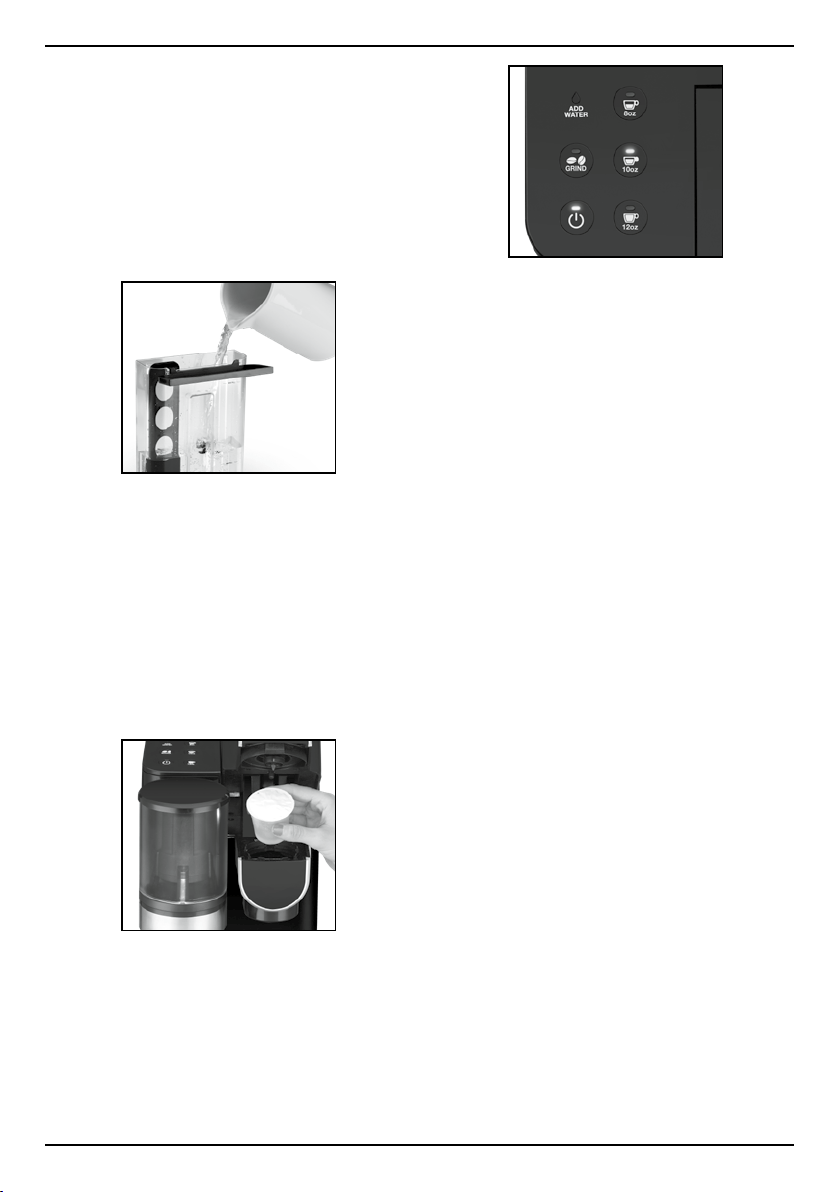
1. Remove the water reservoir and fill to
max fill line. Replace back into the unit.
If water is lower than minimum fill, the
Add Water indicator light will illuminate.
2. Press the Power button to turn on the
unit. The Power and Grind indicators
will illuminate.
3. Place mug on the drip tray.
NOTE: Adjust positioning of the mug
depending on size and the selected
brew amount. Drip tray can be
removed to accommodate travel mugs.
4. Open brew head lever and add single-
cup pod of your choice.
5. When brew head lever is closed, the
Brew Size buttons will illuminate solid.
Press the desired cup size to begin
brewing.
NOTE: Brewing process can be
stopped during brewing. Simply press
selected Brew Size button again to
stop brewing.
Caution: The water in the capsule
chamber is very hot during the brewing
process. To avoid risk of injury, do not
lift the handle or open the capsule
chamber during the brewing process.
7. When the brewing process is
complete, all Brew Size buttons will
go off. The grind button will remain
on for use until the brew head lever
is opened to begin brewing process.
8. Lift the handle, then remove and
dispose of the used pod. Close the
brew head and your brewer is ready
to use again!
Caution: Pod will be hot.
9. Enjoy your cup of coffee!
NOTE: This coffeemaker is compatible
with most reusable coffee pods.
TIPS AND HINTS
• If you buy large portions of beans,
separate them into one-week portions
and store them in airtight containers
in the freezer. Preserve freshness by
minimizing exposure to air, light, and
moisture. Once beans are removed from
the freezer, keep them in a sealed
container at room temperature.
• Some experts feel freezing dark-roast
beans can cause oils to coagulate;
others disagree. You’ll need to decide
for yourself!
Loading ...
Loading ...
Loading ...