Loading ...
Loading ...
Loading ...
ENGLISH
CLEANING THE OUTER SURFACES
Use a window washing product applied to a soft
cloth. Do not use abrasive creams or scouring
sponges.
5
Cleaning
REMOVAL
Open the door fully and block it with the plastic
wedge provided in your appliance’s plastic pouch.
Remove the first clipped glass panel:
Use a tool (screwdriver) to press the slots A in order
to unclip the glass panel.
Remove the glass panel.
Depending on the model, the door consists of two
additional glass panels, with a black rubber spacer
at each corner. If necessary, remove them to
clean. Do not soak the glass panels in water.
Rinse with clean water and dry off with a lint-free
cloth.
CLEANING INSIDE THE OVEN
Clean the still-warm oven with a cloth dipped in
hot, soapy water and wipe with a lint-free cloth.
5.2 CLEANING THE INSIDE GLASS
To clean the inside glass, remove the door.
Before doing this, remove any excess grease
with a soft cloth and washing up liquid.
Settings
6
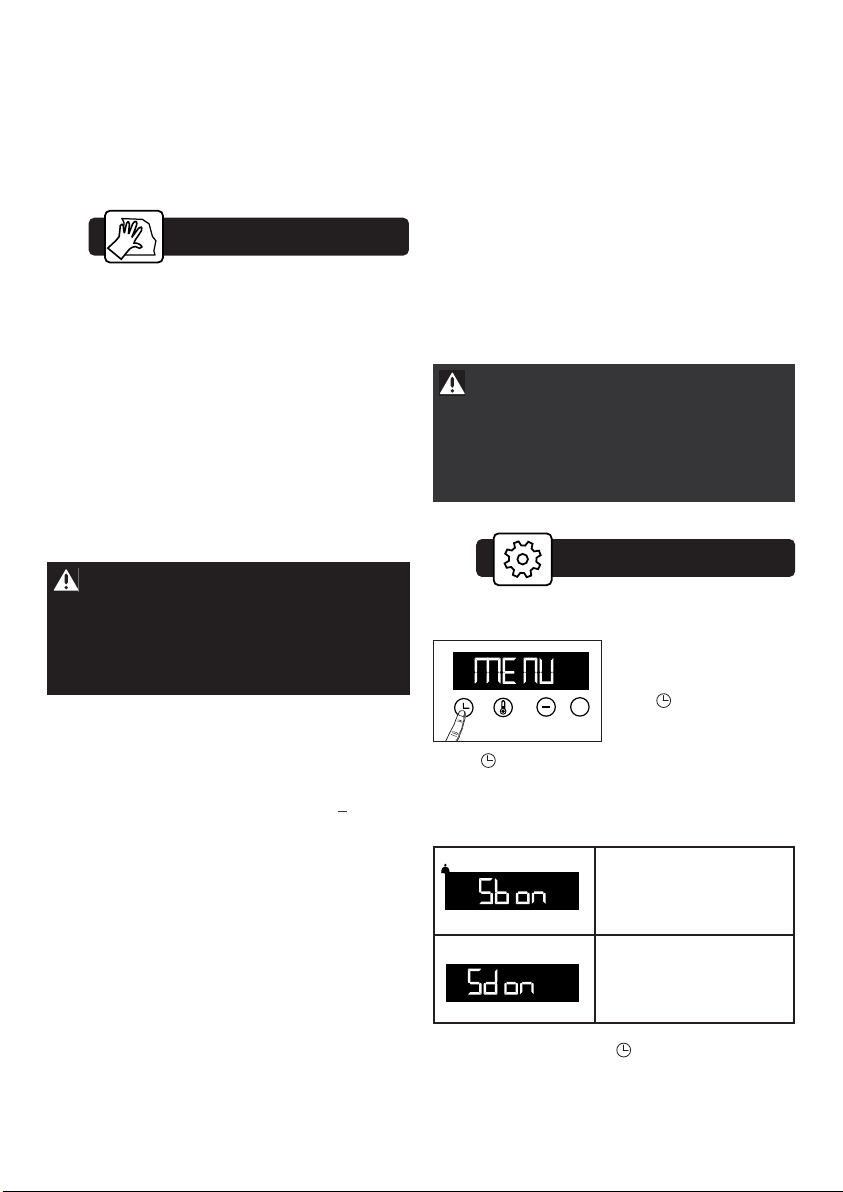
6.1 MENU
You can adjust different
settings on your oven. To
do so:
Press until you get to
the “MENU” display to
access the settings mode.
Press again to scroll through the different set-
tings.
Activate or de-activate the different parameters
with + and -; see table below:
+
Activate/de-activate the
beeping sound of the
buttons
Activate/de-activate
demonstration mode
To exit the “MENU”, press again.
flashes.
The display flashes. Set the cooking end time
with
+ and - .
The cooking end time is automatically saved after
a few seconds. The cooking end time display
stops flashing.
Warning
Do not use scouring cleaning products,
abrasive sponges or metal scrapers to clean
the oven's class door, which may scratch the
surface and lead to the glass breaking.
RE-ASSEMBLING THE DOOR
After cleaning, reposition the four rubber stops
with the arr
ow upwards.
Reposition
all
of the glass
panels.
Slip
the last glass panel into the metal stops,
then clip it in with the shiny side facing outwards.
Remove the plastic wedge.
Your appliance is now ready for use again.
5.3 REPLACING THE OVEN LAMP
Bulb specification:
15 W, 220-240 V~, 300°C, E14 cap.
To unscrew the view port and the light, use
a rubber glove, which will make disassembly
easier.
Warning:
Make sure the appliance is disconnected
from the power before replacing the lamp
in order to avoid the risk of electric
shock. Change the lamp only when the
appliance has cooled down.
Loading ...
Loading ...
Loading ...