Loading ...
Loading ...
Loading ...
9ninjakitchen.co.ukninjakitchen . co.uk8 9
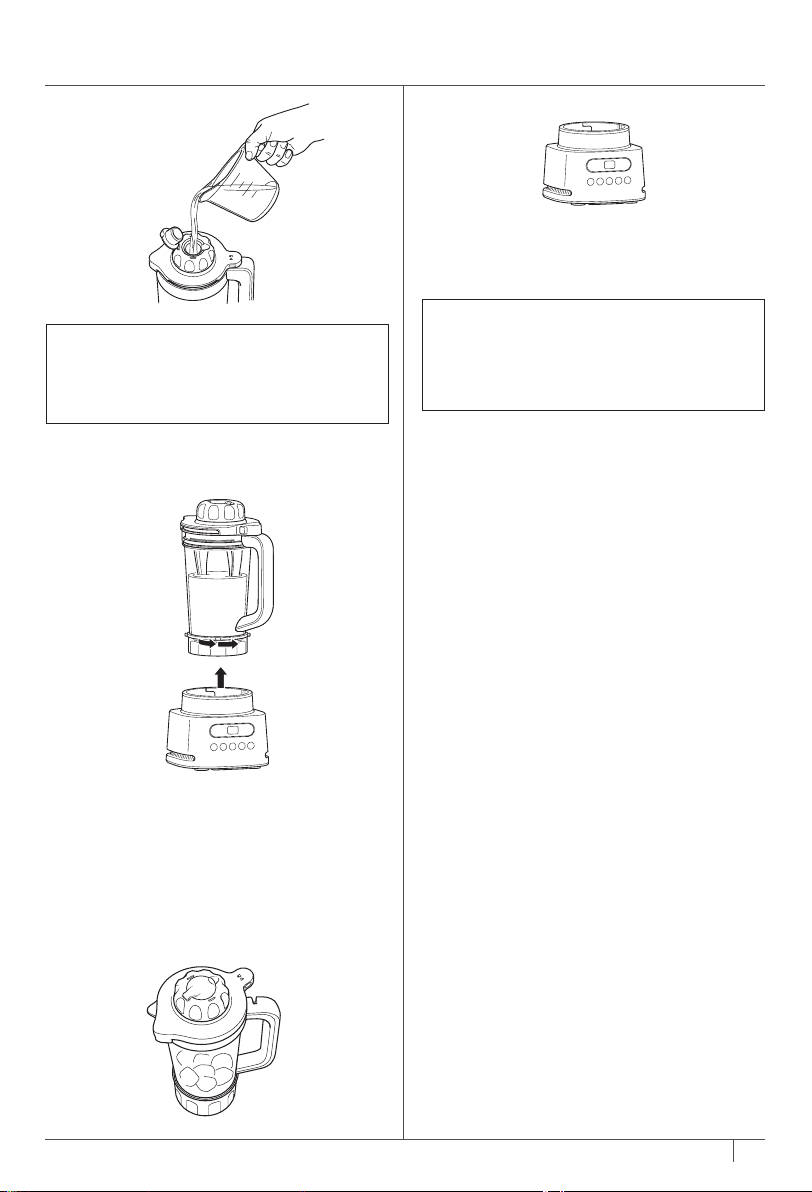
USING THE POWER NUTRI JUG
3 Install the lid by aligning the red tab to
the right of the jug handle. Rotate the tab
clockwise into the jug handle to align and
lock into place.
5a If using an Auto-iQ program, select the
program that best suits your desired
output. During the blending process,
twist the Power Paddle anti-clockwise
continuously. The preset feature will
automatically stop at the end of the
program. To stop the unit at any time,
press the currently active program again.
5b If using START/STOP, once the
ingredients have reached your desired
consistency, press START/STOP again
and wait for the unit to come to a
complete stop. During the blending
process, make sure to twist the Power
Paddle anti-clockwise continuously.
4 Install the jug onto the base. Rotate
jug clockwise until it clicks into place.
Programs will illuminate when unit is
ready to use.
7 When blending is complete, remove
the jug from the base. Remove lid and
empty contents. When jug is empty,
remove blade assembly. DO NOT
store blended contents with the blade
assembly attached. Exercise care when
handling the blade assembly, as the
blades are sharp.
6 Remove the jug from the motor base by
turning it anti-clockwise and then lifting
up.
IMPORTANT: Review all warnings on
pages 4–5 before proceeding.
1 Plug in motor base and place on a clean,
dry, level surface such as a worktop
or table.
2 Screw on the blade assembly until you
have a tight seal and add liquid then
ingredients to the Power Nutri Jug. DO
NOT add liquid past the LIQUID FILL line
or ingredients past the MAX FILL line.
8 Unplug the unit when finished. Refer
to the Care & Maintenance section for
cleaning and storage instructions.
NOTE: While processing, twist the Power
Paddle anti-clockwise continuously.
NOTE: If results are too thick, open the
drizzle hole cap and add more liquid.
Close the cap and continue twisting the
tamper anti-clockwise during blending.
NOTE: If the motor base is dicult to
remove from the worktop or table, slide
it across the surface, then lift. It shouldn’t
be forced as the suction cups will grip
more tightly to the surface.
NOTE: Keep the drizzle cap closed when
processing liquids.
NOTE: If the unit is plugged in but the
jug or cup and blade assembly is not
properly installed, the timer will display
- -” and the motor will be disabled.
NOTE: Auto-iQ programs have pauses
and changes in speed throughout the
cycle.
Loading ...
Loading ...
Loading ...