Loading ...
Loading ...
Loading ...
INSTALLATION INSTRUCTIONS
5
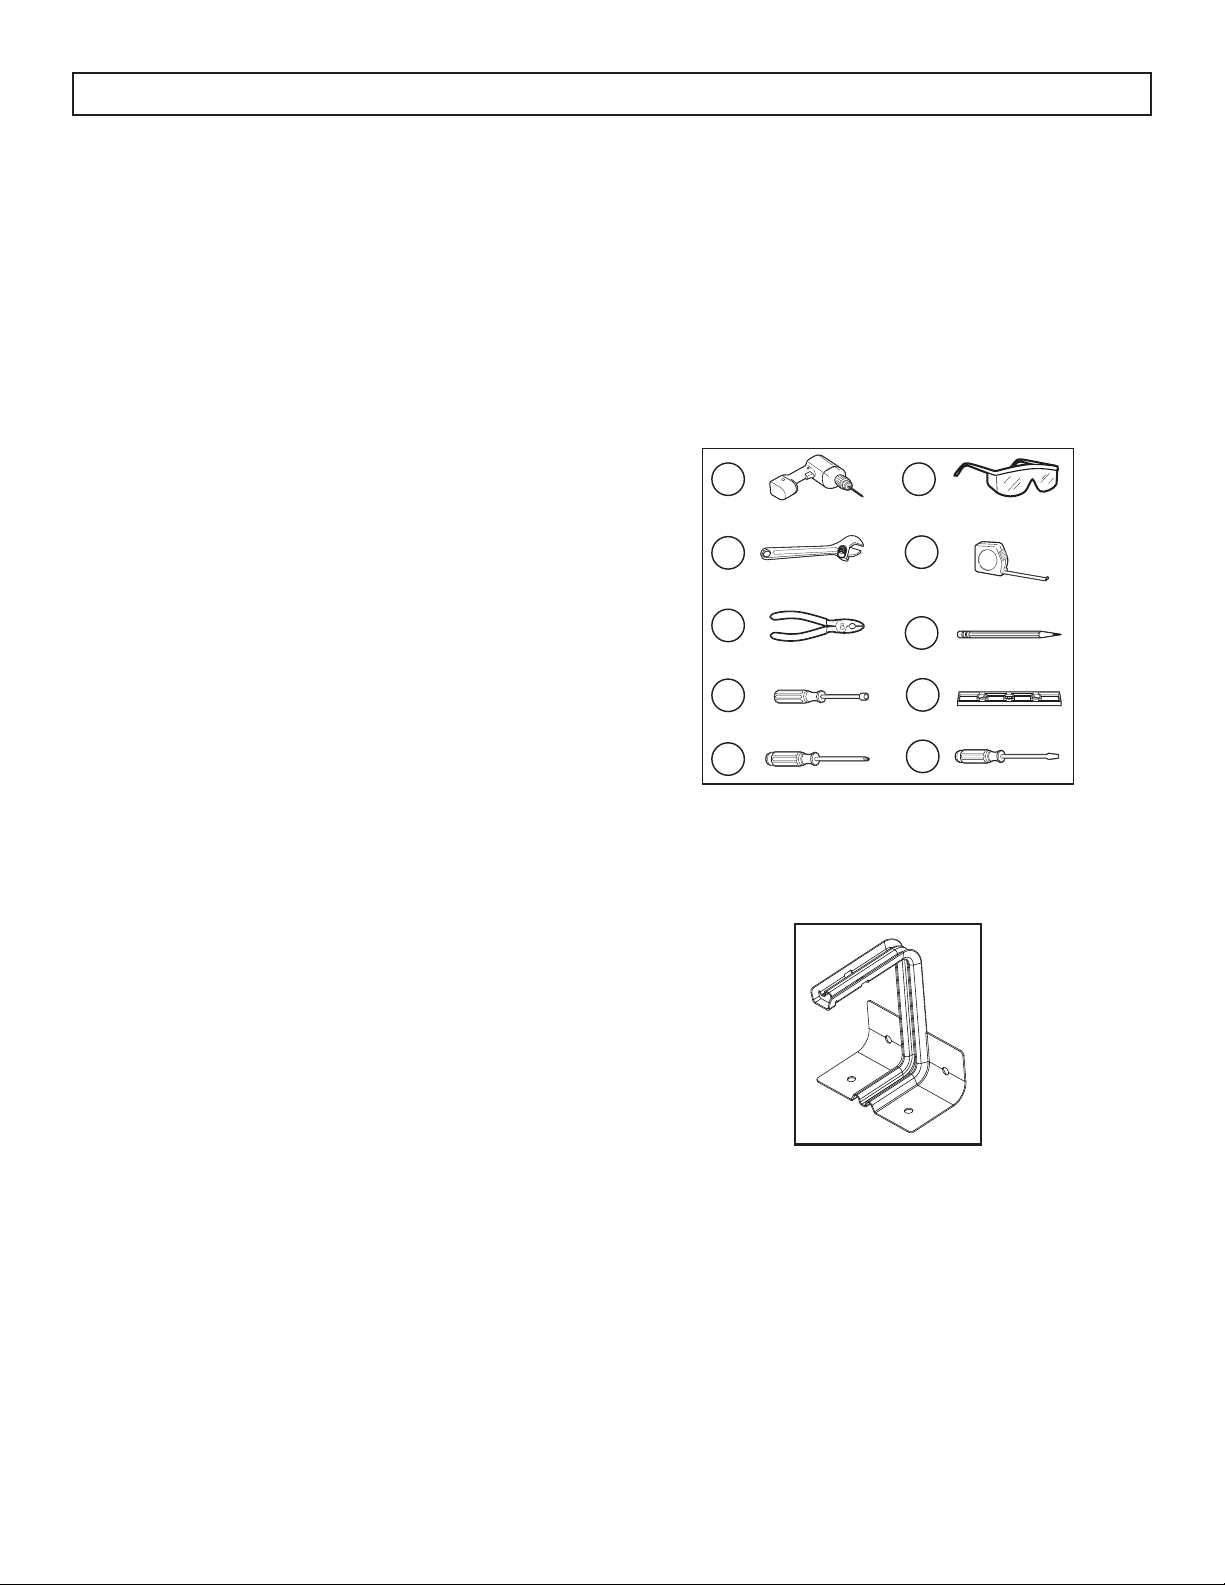
REQUIRED TOOLS
1. Drill with a 1/8” bit
2. Adjustable wrench
3. Pliers
4. 1/4” nut driver
5. Phillips screwdriver
6. Safety glasses
7. Tape measure
8. Pencil
9. Level
10. Flat blade screwdriver
1
2
3
4
5
6
7
8
9
10
PARTS INCLUDED
1. Anti-tip bracket
LEVEL THE APPLIANCE
Make sure that the appliance is properly leveled to
ensure even cooking. Leveling legs are located at
each corner of the appliance.
1. Turn the legs counterclockwise as far as they
will go until they are touching the bottom of the
cabinet.
2. Slowly turn the legs clockwise until the appliance
is level.
3. Use a spirit level or a measuring cup half fi lled
with water to check if the appliance is level.
BEFORE BEGINNING
Keep these instructions for future reference.
Installation of this appliance requires basic
mechanical skills and roughly 1 to 3 hours of time.
Proper installation is the responsibility of the
installer. Product failure due to improper installation
is nor covered under the warranty.
Before beginning the installation, switch power
off at the service panel and lock the service
disconnecting means to prevent power from being
switched on accidentally. If the service disconnecting
means cannot be locked, securely fasten a warning
device such as a tag to the service panel.
Make sure the appliance and the outlet it will use
is properly installed and grounded by a qualifi ed
technician.
WARNING - Improper use of the grounding
plug can result in a risk of electric shock.
Consult a qualifi ed electrician or service agent
if the grounding instructions are not completely
understood, or if doubt exists as to whether the
appliance is properly grounded.
Do not connect your appliance to extension
cords or together with another appliance in the
same wall outlet. Do not splice the power cord.
Do not under any circumstances cut or remove the
third ground prong from the power cord. Do not
use extension cords or ungrounded (two prongs)
adapters.
If the power supply cord is damaged, it must be
replaced by the manufacturer, its service agent or
similar qualifi ed person in order to avoid hazard.
Remove all packing materials before installation.
Loading ...
Loading ...
Loading ...