Loading ...
Loading ...
Loading ...
12
www.bromicheating.com
INSTALLATION INSTRUCTIONS CONTINUED...
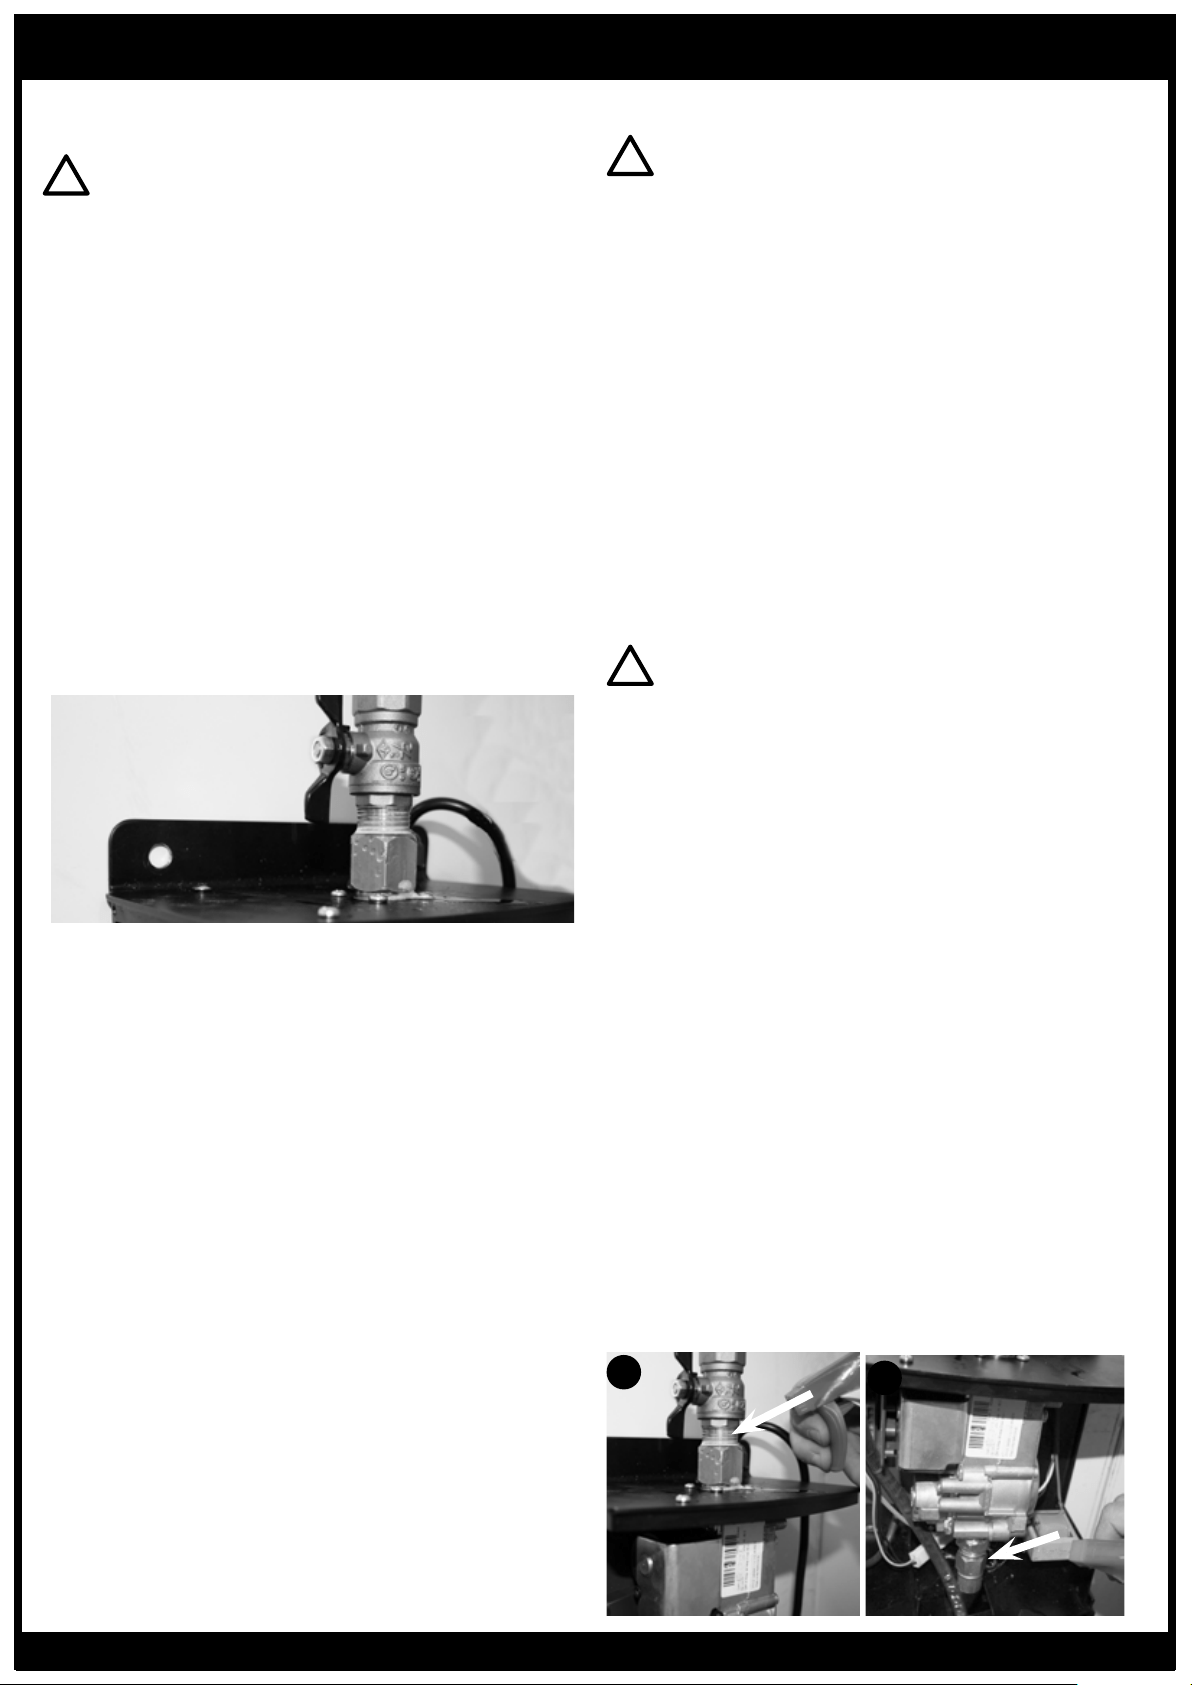
GAS SUPPLY INSTALLATION
Verify the type of gas supply complies with the appliance
rating plate, located at the back of the heater.
The inlet connection to the heater control box is a 1/2” NPT
Female.
The Control box has been fitted at the factory with an
approved manual isolating valve in accordance with local
Gas Installation Codes.
Tighten all the connections and then turn on the gas supply.
Check for gas leakage with a soapy water solution. (See
section titled “Leakage Test”).
Do not use an open flame to check for leaks.
When the heater is operating, check gas pressure at the test
point and ensure the manifold pressure to the heater is:
NG: 5” W.C.
PROPANE / LPG: 10” W.C
Gas supply pressure must be limited to 14” W.C. If gas line
pressure exceeds this level, a separate pressure reducing
regulator must be installed.
The appliance and its individual shutoff valve must be
disconnected from the gas supply piping system during any
pressure testing of that system at test pressures in excess of
1/2 psi.
The appliance must be isolated from the gas supply piping
system by closing its individual manual shutoff valve during
any pressure testing of the gas supply piping system at test
pressures equal to or less than 1/2 psig.
IMPORTANT
•All gas supply installation work must be performed by
trained and authorized person(s) and comply with the
requirements of local Gas Installation Codes.
•All Piping Joints should be tested for leaks with a
soapy water solution before use.
•Gas hose must be located out of pathway where
people may trip over it, or in areas where the hose
may be subject to accidental damage.
!
POWER SUPPLY INSTALLATION
!
WARNING
This heater is equipped with a three-prong (grounding)
plug for your protection against shock hazard and should
be plugged directly into a properly grounded three-prong
receptacle. Do not cut or remove the grounding prong from
this plug.
The Tungsten Smart-Heat Heater comes standard with 36” of
power cord in addition to the Approved 3 pin power plug.
If an appropriate power socket is available, the heater can be
plugged into this power socket and operated using the on/
off switch supplied on the power socket. Alternatively, the
power installation can be tailored to suit the site requirements
by an Authorized Electrician.
Keep electrical supply cord away from any heated surface
and flue gasses.
Please Note:
Tungsten Smart-Heat Heaters do not have their own on/off
switch. Operation should be controlled via the main power
supply.
LEAKAGE TEST
Gas connections on the heater are leak tested at the factory
prior to shipment. A complete gas tightness check must be
performed at the installation site due to possible mishandling
in shipment or excessive pressure being applied to the
heater. Check ALL connections.
•The heater must be checked with the gas supply turned
on.
•Make sure the safety control valve is in the OFF position.
•Make a soap solution of one part liquid detergent and
one part water. The soap solution can be applied with a
spray bottle, brush or rag. Soap bubbles will appear in
case of a leak.
•Turn the gas supply ON.
•In case of a leak, turn off the gas supply. Tighten any
leaking fittings, then turn the gas supply on and recheck.
•Never leak test while smoking.
•The following points MUST be leak checked before
operation.
WARNING
Ensure that power socket is switched off before plugging
in power cord.
!
1
2
Loading ...
Loading ...
Loading ...