Loading ...
Loading ...
Loading ...
Aboutthe shelves and bins (cont.).
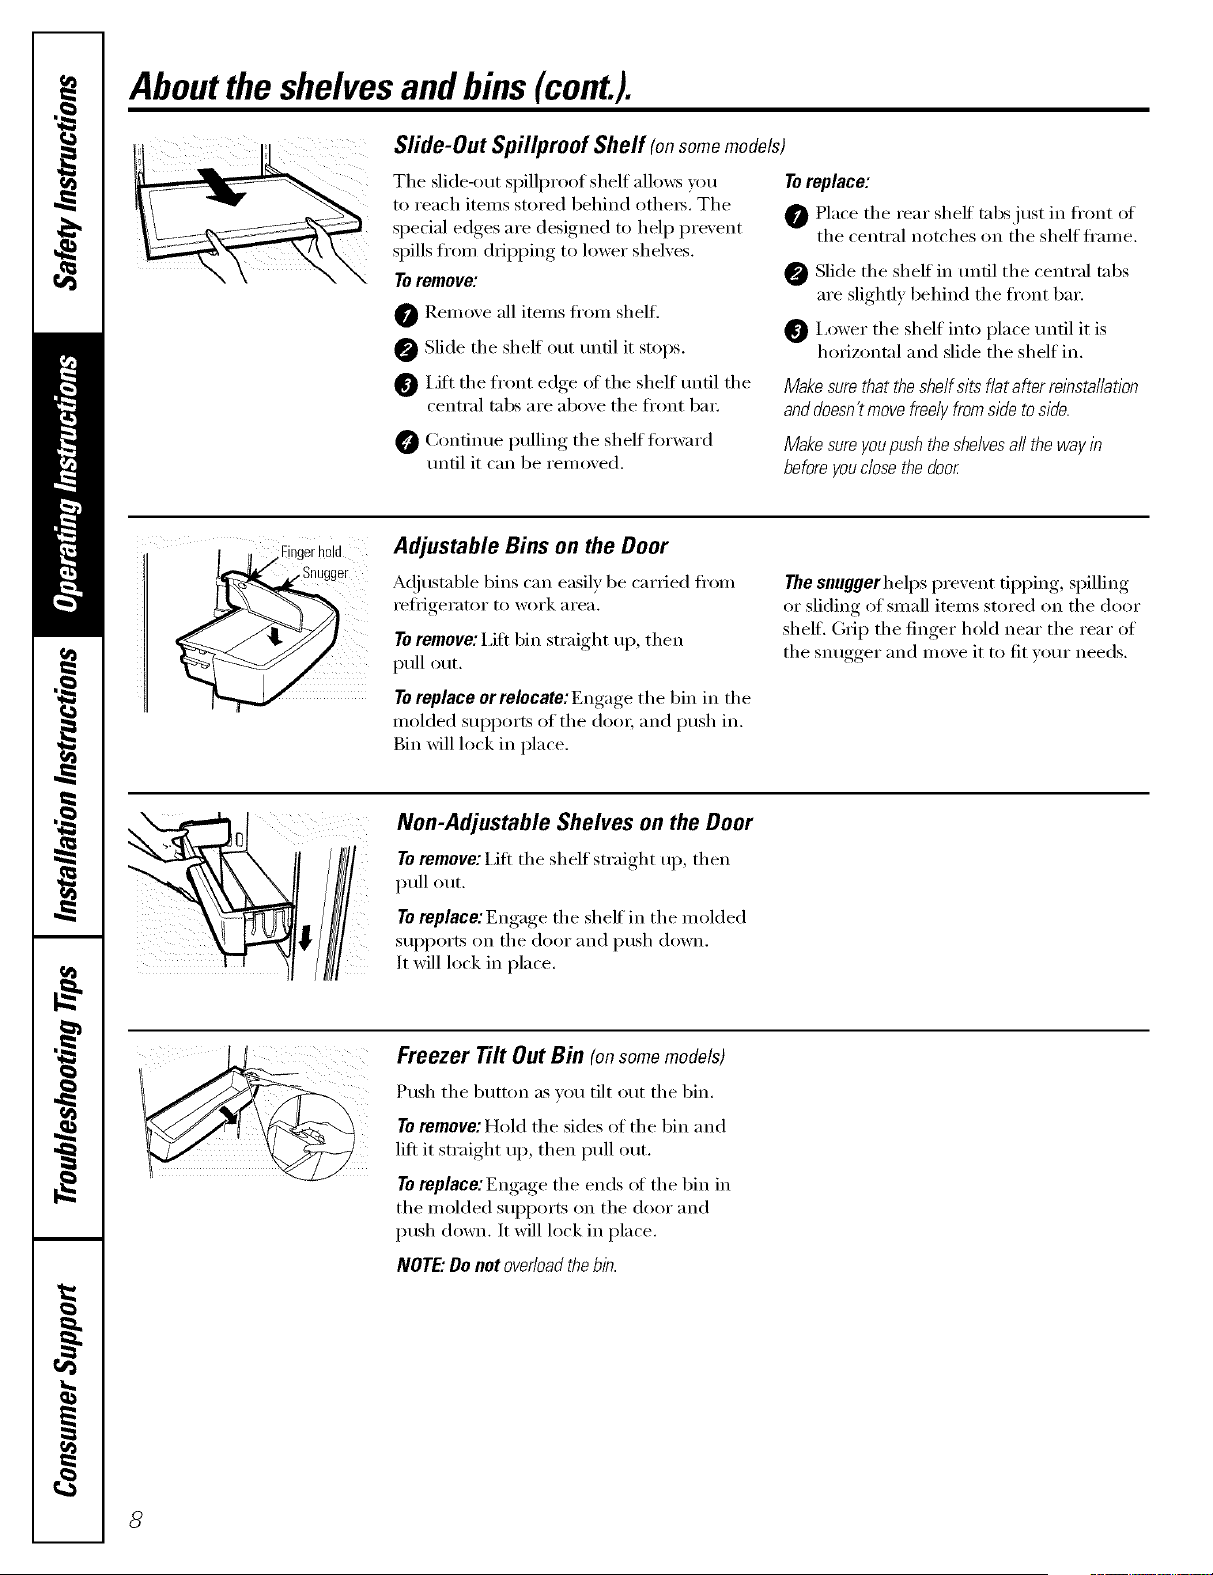
Sfide-Out Spil/proof Shelf (on somemodels)
The slide-out si_illproof shelf allows )ou To replace:
to reach items stored behind othe_. The
special edges are designed to help prexent _ Place the rear shelf tnbsjust in fl'ont of
' ' the central notches on the shelf fl'ame.
spills from dripping to lower shelxes.
To remove: 0 Slide the shelf in until the central tnbs
are slightly behind the front bar.
Remove all items from sheltl
Slide the sheff out tmfil it stops.
0 I,ifi the fl'ont edge of the shelf tmtil the
central tnbs are above the fl'ont bin;
0 Continue pulling the shelf fiwward
tmtil it can be removed,
I,ower the shelf into place tmtil it is
horizontnl and slide the shelf in.
Make sure that the shelf sits fiat after relbsta//at/on
and doesn't move freely fromside to side.
Make sure you push the shelves all the way in
before youclose the door
,Fingerhold
,,Snugger
Adjustable Bins on the Door
A(!iustnble bins can easily be carried ti'om
i'etiJg-ei'ator 1o work aI'ea,
To remove: i,ifi bin straight up, then
pull out,
To replace or relocate: Engage the bin in the
molded supports of the dora; and push in.
Bin will lock in place.
The snuggerhelps prevent tipping, spilling
or sliding of small items stored on the door
shelf. (h_ip the finger hold near the rear of
the snugger and move it to fit w)ur needs.
Non-Adjustable Shelves on the Door
To remove: Lift the shelf straight up, then
pull out.
To replace:Engage the shelf in the molded
supports on the door and push down.
It will lock in place.
Freezer Tilt Out Bin (onsomemodels)
Push the button as you tilt out the bin.
To remove: Hold the sides of the bin and
lift it straight up, then pull out.
Toreplace:Engage the ends of the bin in
the molded supports on the door and
push down. It will lock in place.
NOTE." Do not overload the bin
Loading ...
Loading ...
Loading ...