Loading ...
Loading ...
Loading ...
6
IMPORTANT
Remove all protective lms and shipping
material from the robot and charge base.
If they are not removed, your Neato robot
will not operate correctly.
Place the rounded side of your Neato robot
against the metal charging contacts on the
charge base until the contacts are pushed
all of the way in. For best results, charge the
robot fully before your rst cleaning cycle to
experience a full high performance cleaning.
NOTE During bootup, the robot will
alternately blink green and blue.
NOTE Your robot is only compatible with the
included charge base.
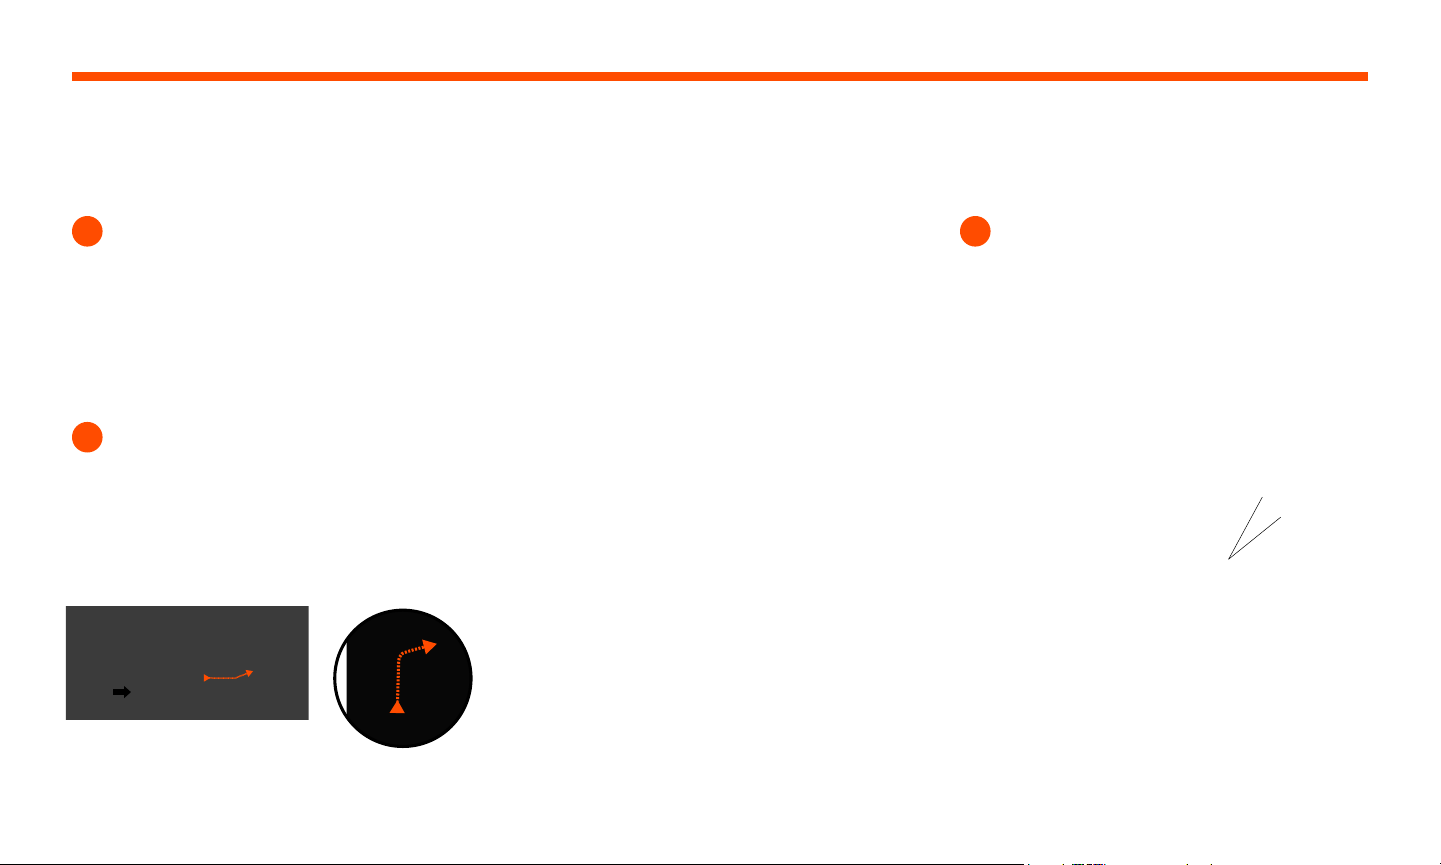
Plug the power cord securely into the
charge base.
Adjust the length of the cord by wrapping
it as shown.
REMOVE FILMS AND STICKERS INITIAL ROBOT CHARGING
SET UP CHARGE BASE
1 3
2
Choose a wall outlet that has a 3’ (1 m)
clearance on both sides and in front of the
charge base. This helps your robot nd the
charge base.
Plug in the power cord and push the charge
base against the wall.
TIP Locate the charge base on a hard oor
surface.
TIP Make sure the power outlet is not
controlled by a switch.
Charging
Contacts
Preparation and Set Up
Loading ...
Loading ...
Loading ...