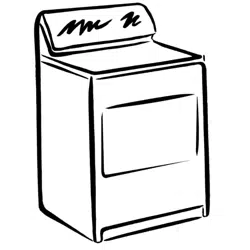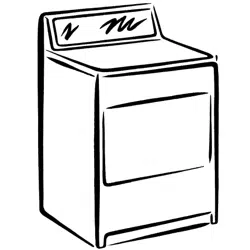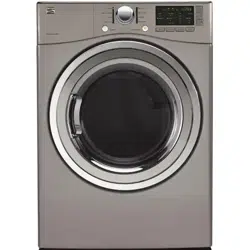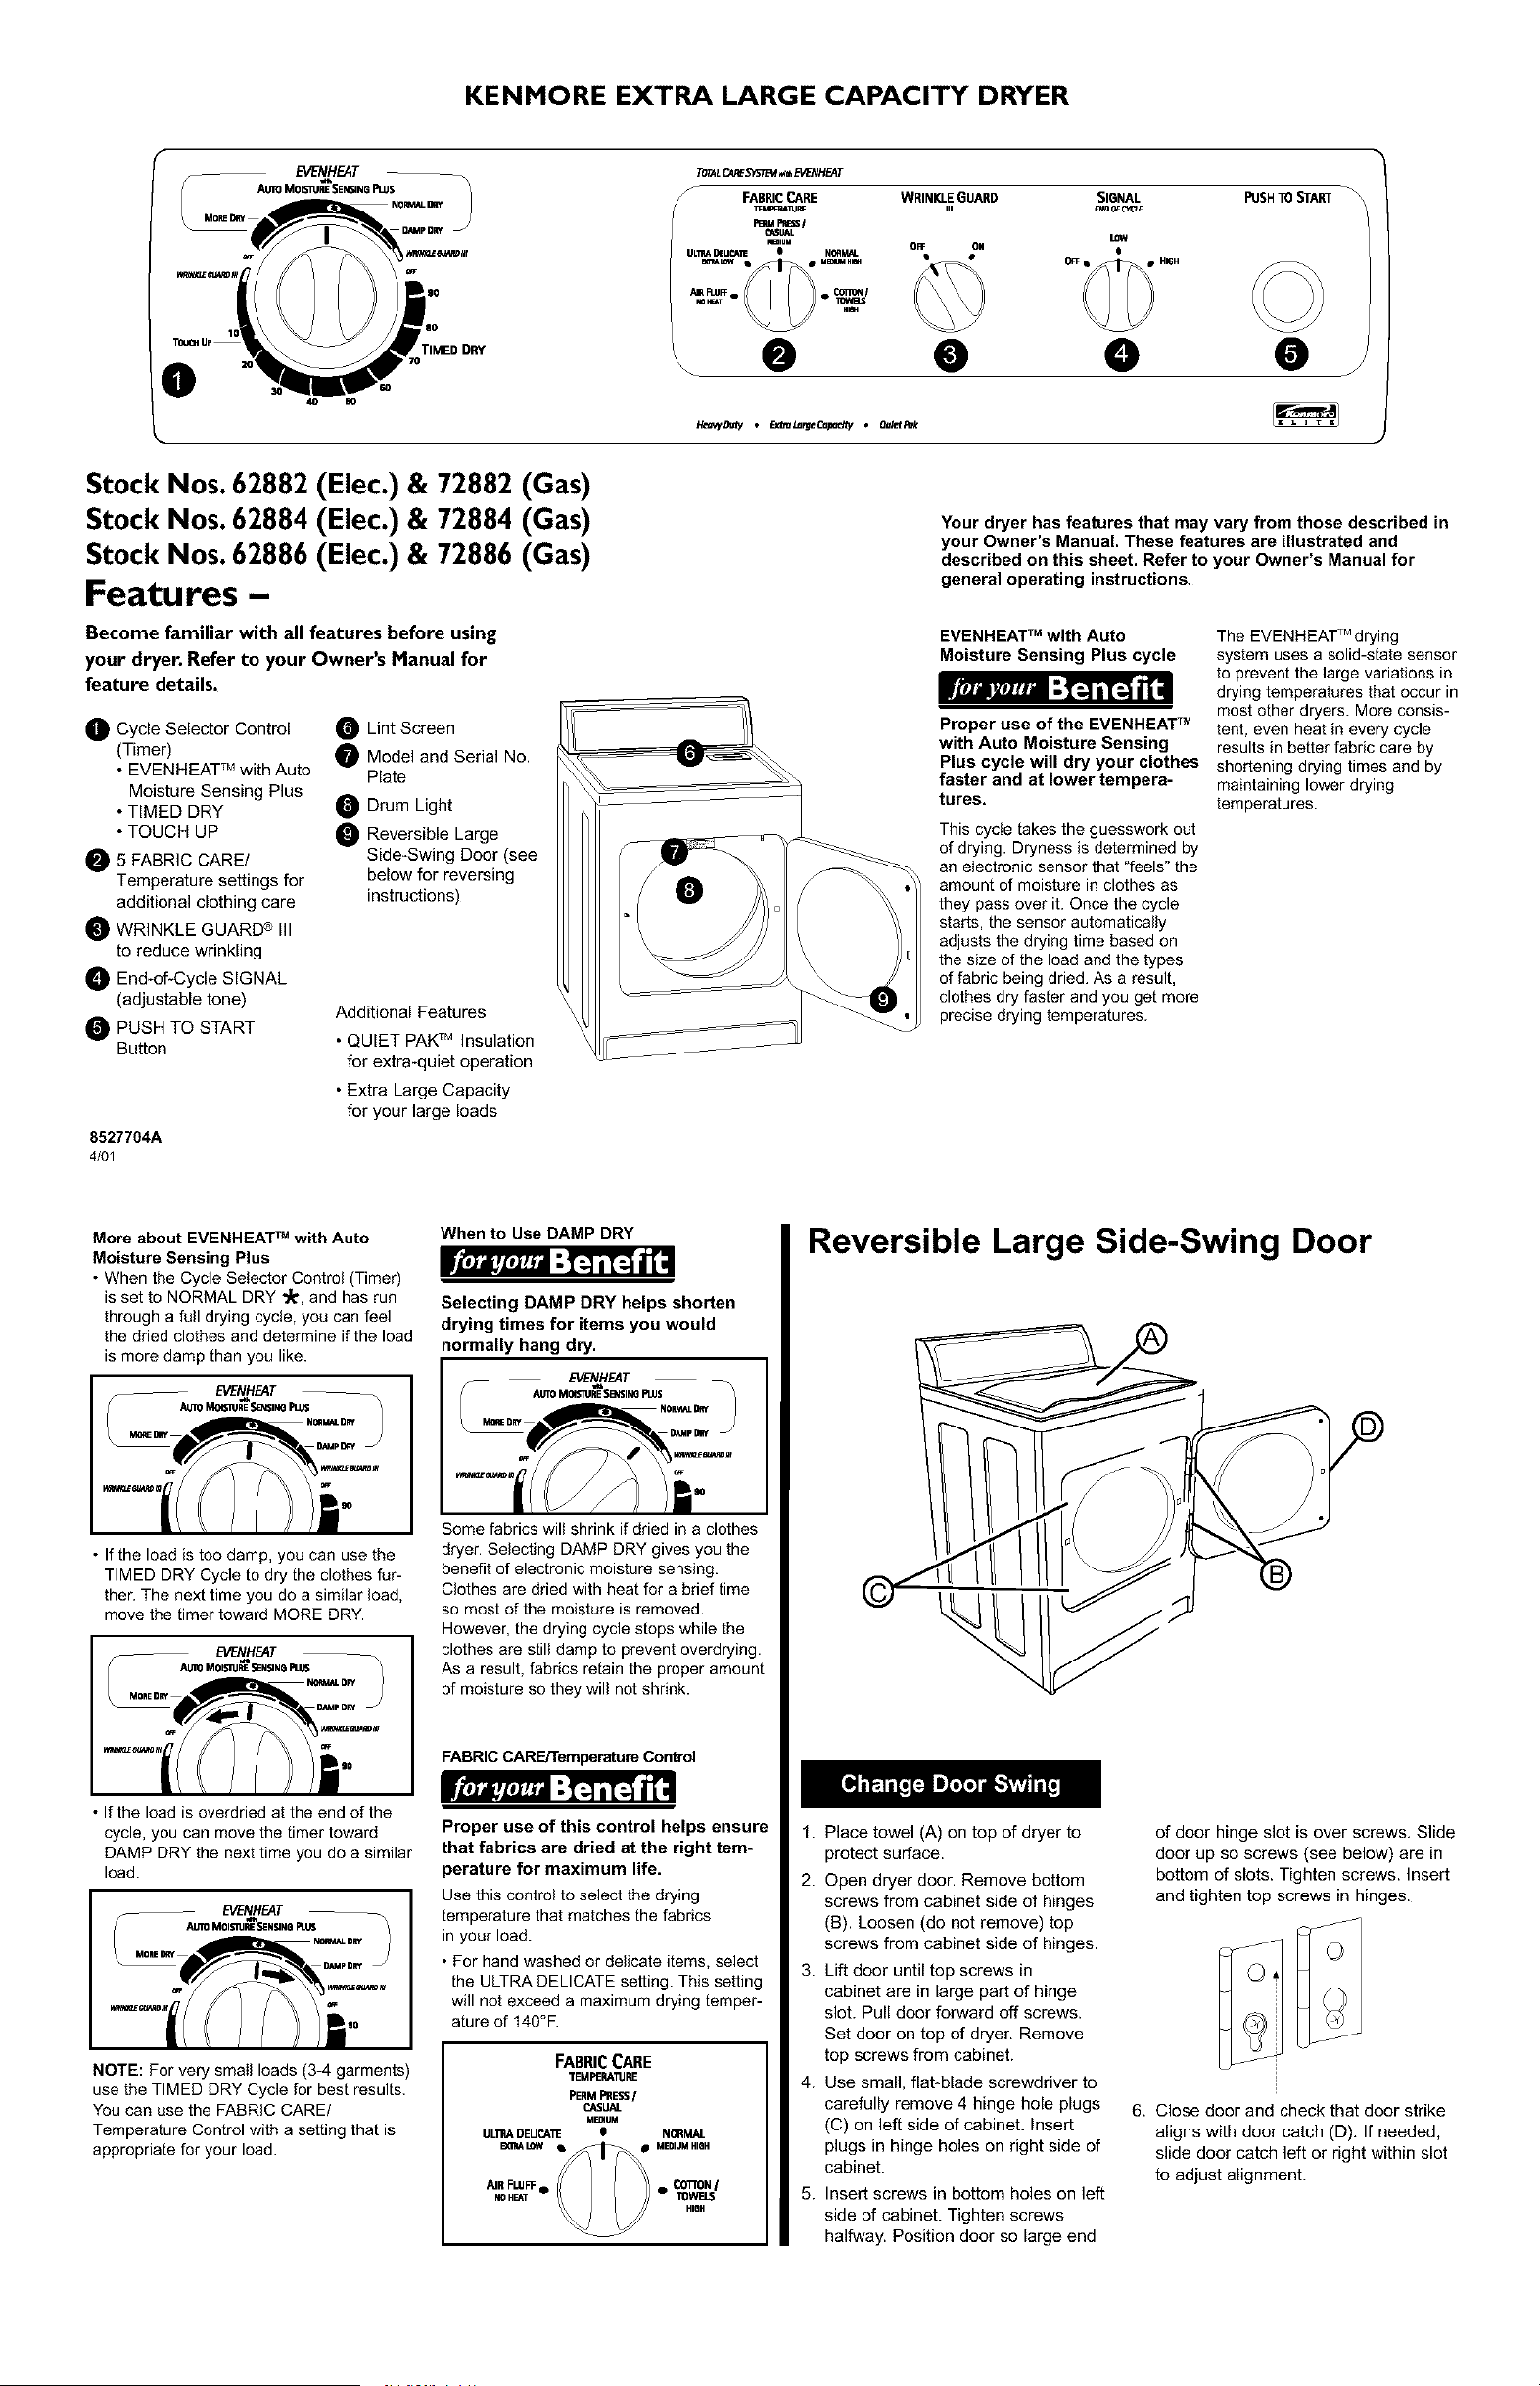
KENMORE EXTRA LARGE CAPACITY DRYER
4O SO
$0
rIMED DRY
ro
TOTALCC_ES"_TL_EVENHF_T
S FABRICCARE
TEMR_AllJRE
P_U FRE_I
_UAL
%-
ULmA BEU_ N0flkt4L
AIFLUFF°im_ o _TO,,_I
H_
_ @
WRINKLEGUARD
SIGNAL PUSHTO START
III
OFF ON
B_9OFL'fC'U"
LOW
e
0 • 0
Stock Nos. 62882 (Elec.) & 72882 (Gas)
Stock Nos. 62884 (Elec.) & 72884 (Gas)
Stock Nos. 62886 (Elec.) & 72886 (Gas)
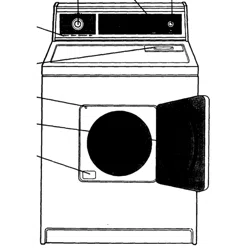
Features -
Become familiar with all features before using
your dryer. Refer to your Owner's Manual for
feature details.
O Cycle Selector Control
(Timer)
• EVENHEAT TM with Auto
Moisture Sensing Plus
• TIMED DRY
• TOUCH UP
O 5 FABRIC CARE/
Temperature settings for
additional clothing care
WRINKLE GUARD ® III
to reduce wrinkling
_ End-of-Cycle SIGNAL
(adjustable tone)
PUSH TO START
Button
8527704A
4/01
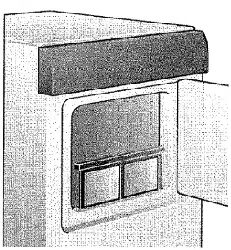
Lint Screen
Model and Serial No.
Plate
Drum Light
Reversible Large
Side-Swing Door (see
below for reversing
instructions)
Additional Features
• QUIET PAKTM Insulation
for extra-quiet operation
• Extra Large Capacity
for your large loads
Your dryer has features that may vary from those described in
your Owner's Manual. These features are illustrated and
described on this sheet. Refer to your Owner's Manual for
general operating instructions,
EVENHEATTM with Auto The EVENHEATTM drying
Moisture Sensing Plus cycle system uses a solid-state sensor
to prevent the large variations in
itlJmVIItl_ "-_[_..I|[_-} I_lt=11 drying temperatures that occur in
most other dryers. More consis-
Proper use of the EVENHEAT TM tent, even heat in every cycle
with Auto Moisture Sensing results in better fabric care by
Plus cycle will dry your clothes shortening drying times and by
faster and at lower tempera- maintaining lower drying
tures, temperatures.
This cycle takes the guesswork out
of drying. Dryness is determined by
an electronic sensor that fieels" the
amount of moisture in clothes as
they pass over it. Once the cycle
starts, the sensor automatically
adjusts the drying time based on
the size of the load and the types
of fabric being dried. As a result,
clothes dry faster and you get more
precise drying temperatures.
More about EVENHEAT TM with Auto
Moisture Sensing Plus
• When the Cycle Selector Control (Timer)
is set to NORMAL DRY _1_,and has run
through a full drying cycle, you can feel
the dried clothes and determine if the load
is more damp than you like.
• If the load is too damp, you can use the
TIMED DRY Cycle to dry the clothes fur-
ther. The next time you do a similar load,
move the timer toward MORE DRY.
EVENHEAT
AUTOMOISIIJPJESEN_N6
• If the load is overdried at the end of the
cycle, you can move the timer toward
DAMP DRY the next time you do a similar
load.
NOTE: For very small loads (3-4 garments)
use the TIMED DRY Cycle for best results.
You can use the FABRIC CARE/
Temperature Control with a setting that is
appropriate for your load.
When to Use DAMP DRY
W.Jo,me_o :I[_I i[_ _4
Selecting DAMP DRY helps shorten
drying times for items you would
normally hang dry.
EVENHEAT
Some fabrics will shrink if dried in a clothes
dryer. Selecting DAMP DRY gives you the
benefit of electronic moisture sensing.
Clothes are dried with heat for a brief time
so most of the moisture is removed.
However, the drying cycle stops while the
clothes are still damp to prevent overdrying.
As a result, fabrics retain the proper amount
of moisture so they will not shrink.
FABRIC CARE/Temperature Control
Proper use of this control helps ensure
that fabrics are dried at the right tem-
perature for maximum life.
Use this control to select the drying
temperature that matches the fabrics
in your load.
• For hand washed or delicate items, select
the ULTRA DELICATE setting. This setting
will not exceed a maximum drying temper-
ature of 140°F.
FABRICCARE
TEMPERA'/IJRE
PERM F_E£S/
CASUAL
ME_UM
ULgtA DEU_A_E 0 NORMAL
_A LOW _ MEDNUMHN_H
AIRFLUFF• e (::01TONI
HIBH
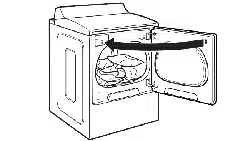
Reversible Large Side-Swing Door
1. Place towel (A) on top of dryer to
protect surface.
2. Open dryer door. Remove bottom
screws from cabinet side of hinges
(B). Loosen (do not remove) top
screws from cabinet side of hinges.
3. Lift door until top screws in
cabinet are in large part of hinge
slot. Pull door forward off screws.
Set door on top of dryer. Remove
top screws from cabinet.
4. Use small, flat-blade screwdriver to
carefully remove 4 hinge hole plugs
(C) on left side of cabinet. Insert
plugs in hinge holes on right side of
cabinet.
5. Insert screws in bottom holes on left
side of cabinet. Tighten screws
halfway. Position door so large end
of door hinge slot is over screws. Slide
door up so screws (see below) are in
bottom of slots. Tighten screws. Insert
and tighten top screws in hinges.
6. Close door and check that door strike
aligns with door catch (D). If needed.
slide door catch left or right within slot
to adjust alignment.
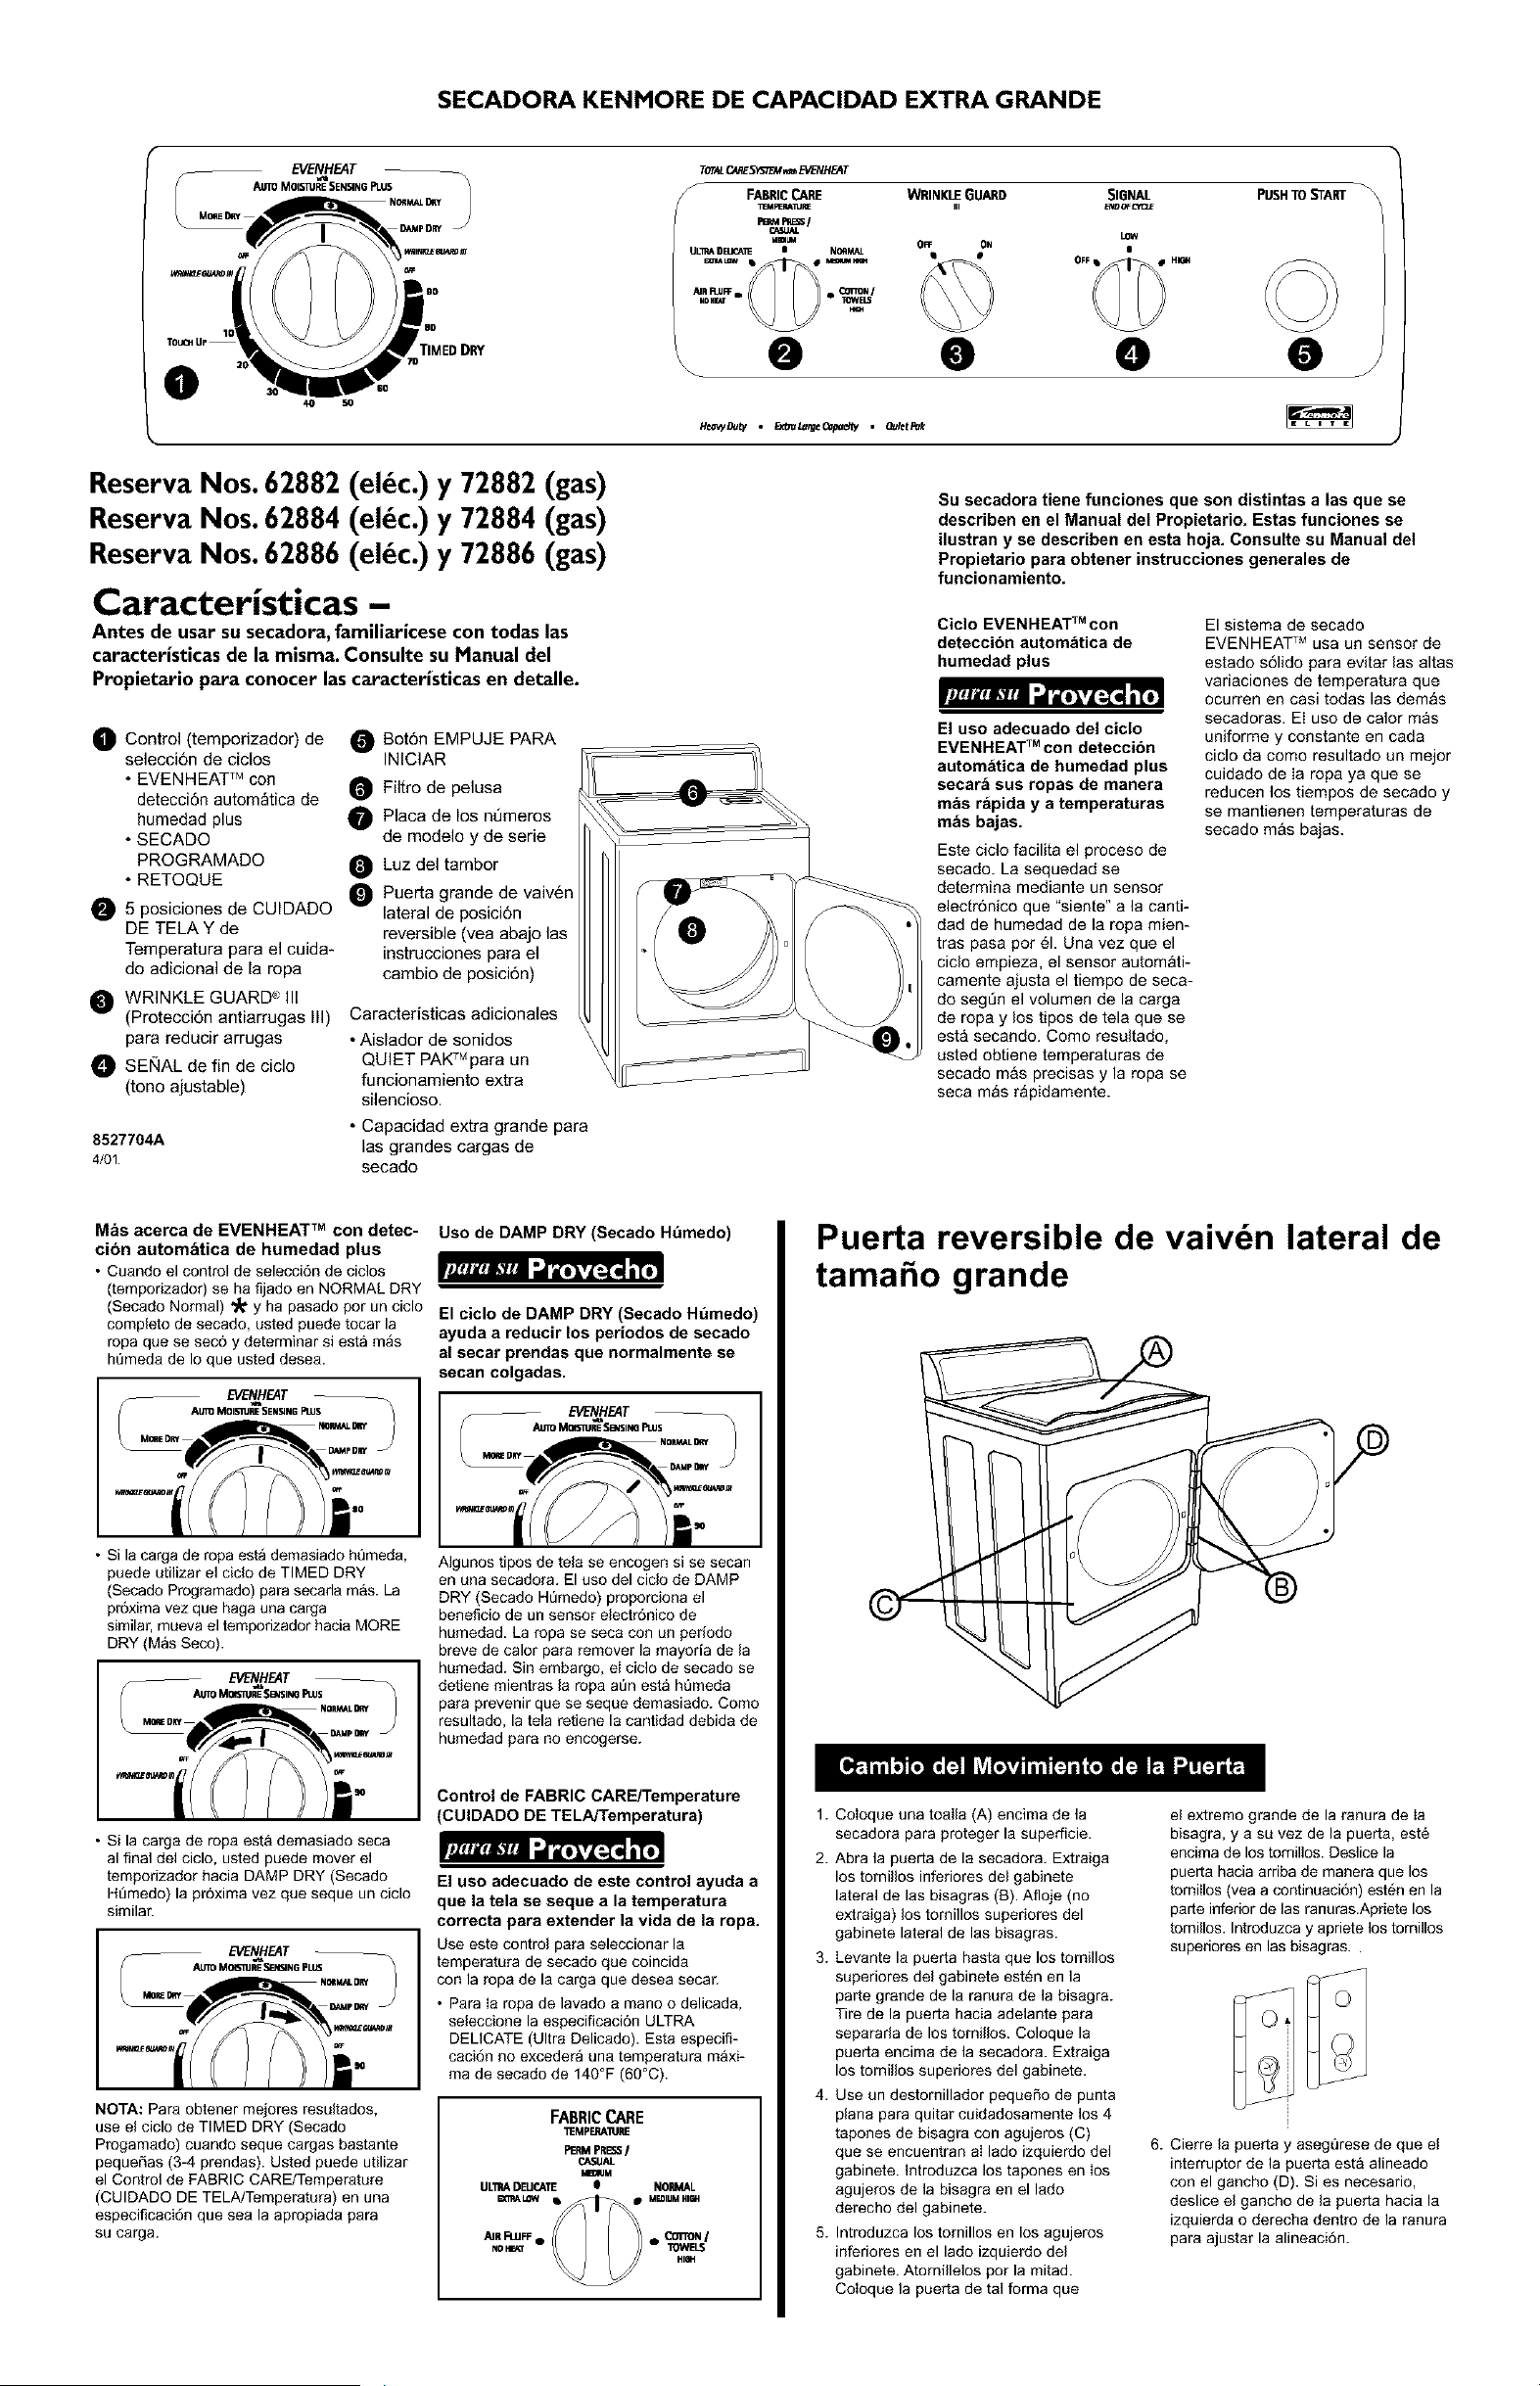
SECADORA KENMORE DE CAPACIDAD EXTRA GRANDE
EVENHF-AT
MOIS_JRESENflN6PLUS
Di_4pD _
TOU_ Up
TIMEDDRY
0
40 5O
TOT_C_ESY_:rEM_EVENHEAT
S FABRICCARE
TEMPERATUE
PromPESSl
CASUAL
AIRP_I_ m OJ_N /
NDH_r • IOWBJ
WRINKLEGUARD SIGNAL PUSHTOSTART
LOW
OFF ON
Reserva Nos. 62882 (eldc.) y 72882 (gas)
Reserva Nos. 62884 (eldc.) y 72884 (gas)
Reserva Nos. 62886 (eldc.) y 72886 (gas)
Caracteristicas -
Antes de usar su secadora, familiarlcese con todas las
caracteristicas de la misma. Consulte su Manual del
Propietario para conocer lascaracteristicas en detalle.
0 Control (temporizador) de
selecci6n de ciclos
• EVENHEAT TM con
detecci6n autom_tica de
humedad plus
• SECADO
PROGRAMADO
• RETOQUE
_ 5 posiciones de CUIDADO _
DE TELA Y de
Temperatura para el cuida*
do adicional de la ropa
WRINKLE GUARD _"_III
(Protecci6n antiarrugas III)
para reducir arrugas
O SENAL de fin de ciclo
(tono ajustable)
Bot6n EMPUJE PARA
INIClAR
Filtro de
pelusa
Placa de los nt_meros
de modelo y de serie
Luz del tambor
Puerta grande de vaiv6n
lateral de posici6n
reversible (vea abajo las
instrucciones para el
cambio de posici6n)
Caracteristicas adicionales
• Aislador de sonidos
QUIET PAKTMpara un
funcionamiento extra
silencioso.
• Capacidad extra grande para
8527704A las grandes cargas de
4/01 secado
. 0 0 0 0
Su secadora tiene fanciones que son distintas a las que se
describen ee el Manual del Propietario. Estas fanciones se
ilustran y se describen en esta hoja. Coesulte su Manual del
Propietario para obtener instrucciones geeerales de
fuecionamiento.
Ciclo EVENHEAT TM con
detecci6n autom_tica de
humedad plus
El uso adecuado del ciclo
EVENHEAT TM con deteccibn
automatica de humedad plus
secara sus ropas de manera
mas rapida y a temperaturas
mas bajas.
El sistema de secado
EVENHEAT TM usa un sensor de
estado s61ido para evitar las altas
variaciones de temperatura que
ocurren en casi todas las demas
secadoras. EI uso de calor rn_s
uniforrne y constante en cada
ciclo da como resultado un mejor
cuidado de Ia ropa ya que se
reducen los tiempos de secado y
se mantienen temperaturas de
secado rn&s bajas.
H_DUp,, • _LgrgeCapodty • Qulet,_k
Este ciclo facilita el proceso de
secado. La sequedad se
determina mediante un sensor
electr6nico que "siente" a la canti-
dad de humedad de la ropa mien-
tras pasa por 61. Una vez que el
ciclo empieza, el sensor autom&ti-
camente ajusta el tiempo de seca-
do segQn el volumen de la carga
de ropa y los tipos de tela que se
esta secando. Como resultado,
usted obtiene temperaturas de
secado mas precisas y la ropa se
seca m&s r&pidamente.
TM
Mbs acerca de EVENHEAT con detec- Uso de DAMP DRY (Secado H_medo)
cion autombtica de humedad plus
• Cuando el control de selecci6n de ciclos
(temporizador) se ha fijado en NORMAL DRY
(Secado Normal) _ y ha pasado por un ciclo El ciclo de DAMP DRY (Secado H_medo)
compieto de secado, usted puede tocar la
ropa que se sec6 y determinar siesta mas ayuda a reducir los periodos de secado
hQmeda de Io que usted desea, al secar prendas que normalmente se
seean colgadas.
_Ha_
Au_MO=SpJ_SENSN__LUS EVENHEAT
• Si la carga de ropa esta demasiado humeda,
puede utilizar el ciclo de TIMED DRY
(Secado Programado) para secada mas. La
pr6xima vez que haga una carga
similar, mueva el temporizador hacia MORE
DRY (Mas Seco).
EV_NHEAT
AUTOM01S'KI_ESBNSlN_PUJS _
• Si la carga de ropa est& demasiado seca
al final del ciclo, usted puede mover el
temporizador hacia DAMP DRY (Secado
H_medo) la pr6xima vez que seque un ciclo
similar.
EVENHEAT
AUTOMOI_IJRE_FJ_IN6 PLI_
NOTA: Para obtener mejores resuitados,
use el ciclo de TIMED DRY (Secado
Progamado) cuando seque cargas bastante
pequefas (3-4 prendas). Usted puede ufilizar
el Control de FABRIC CARE/Temperature
(CUIDADO DE TELA/Temperatura) en una
especificaci6n que sea la apropiada para
su carga.
AIgunos tipos de tela se encogen si se secan
en una secadora. El uso del cido de DAMP
DRY (Secado HQmedo) proporciona el
beneficio de un sensor electr6nico de
humedad. La ropa se seca con un periodo
breve de calor para remover la mayoria de la
humedad. Sin embargo, el ciclo de secado se
defiene mientras la ropa a_n esta humeda
para prevenir que se seque demasiado. Como
resultado, la tela retiene la canfidad debida de
humedad para no encogerse.
Control de FABRIC CARE/Temperature
(CUIDADO DE TELA/Temperatura)
El uso adecuado de este control ayuda a
que la tela se seque a la temperatura
correcta para extender la vida de la ropa.
Use este control para seleccionar la
temperatura de secado que coincida
con la ropa de la carga que desea secar.
• Para Ia ropa de lavado a mano o delicada,
seleccione la especificaci6n ULTRA
DELICATE (Ultra Delicado). Esta especifi-
caci6n no excedera una temperatura m&xi-
ma de secado de 140°F (60°C).
FABRIC CARE
"NEMPERAllJRE
PERMPRESSI
CASUAL
kl_JM
UL'n_ DEUCATE B NORMAL
B_LQW qb_ MEDIUMHI6¢4
NO_r TOWELS
:t1_t
Puerta reversible de vaivdn lateral de
tama o grande
1. CoIoque una toalla (A) encima de la
secadora para proteger la superficie.
2. Abra la puerta de la secadora. Extraiga
los tornillos inferiores del gabinete
lateral de las bisagras (B). Afloje (no
extraiga) los tornillos superiores del
gabinete lateral de las bisagras.
3. Levante la puerta hasta que los tomillos
superiores del gabinete est_n en la
parte grande de la ranura de la bisagra.
Tire de la puerta hacia adelante para
separarla de los tornillos. Coloque la
puerta encima de la secadora. Extraiga
los tornillos superiores del gabinete.
4. Use un destomillador peque_o de punta
plana para quitar cuidadosamente los 4
tapones de bisagra con agujeros (C)
que se encuentran ai lado izquierdo del
gabinete. Introduzca los tapones en Ios
agujeros de la bisagra en el lado
derecho del gabinete.
5. Introduzca los tornillos en los agujeros
inferiores en el lado izquierdo del
gabinete. Atomiilelos por la mitad.
Coloque la puerta de tal forma que
el extremo grande de la ranura de Ia
bisagra, y a su vez de la puerta, est6
encima de los tomil]os. Deslice la
puerta hacia arriba de manera que los
tornilIos (vea a continuaci6n) est6n en la
parte inferior de las ranuras.Apriete los
torniilos. Introduzca y apriete los torni]los
superiores en las bisagras.
6. Cierre la puerta y asegt_rese de que el
interruptor de la puerta esta alineado
con el gancho (D). Si es necesario,
deslice el gancho de la puerta hacia la
izquierda o derecha dentro de la ranura
para ajustar la alineaci6n.