Loading ...
Loading ...
Loading ...
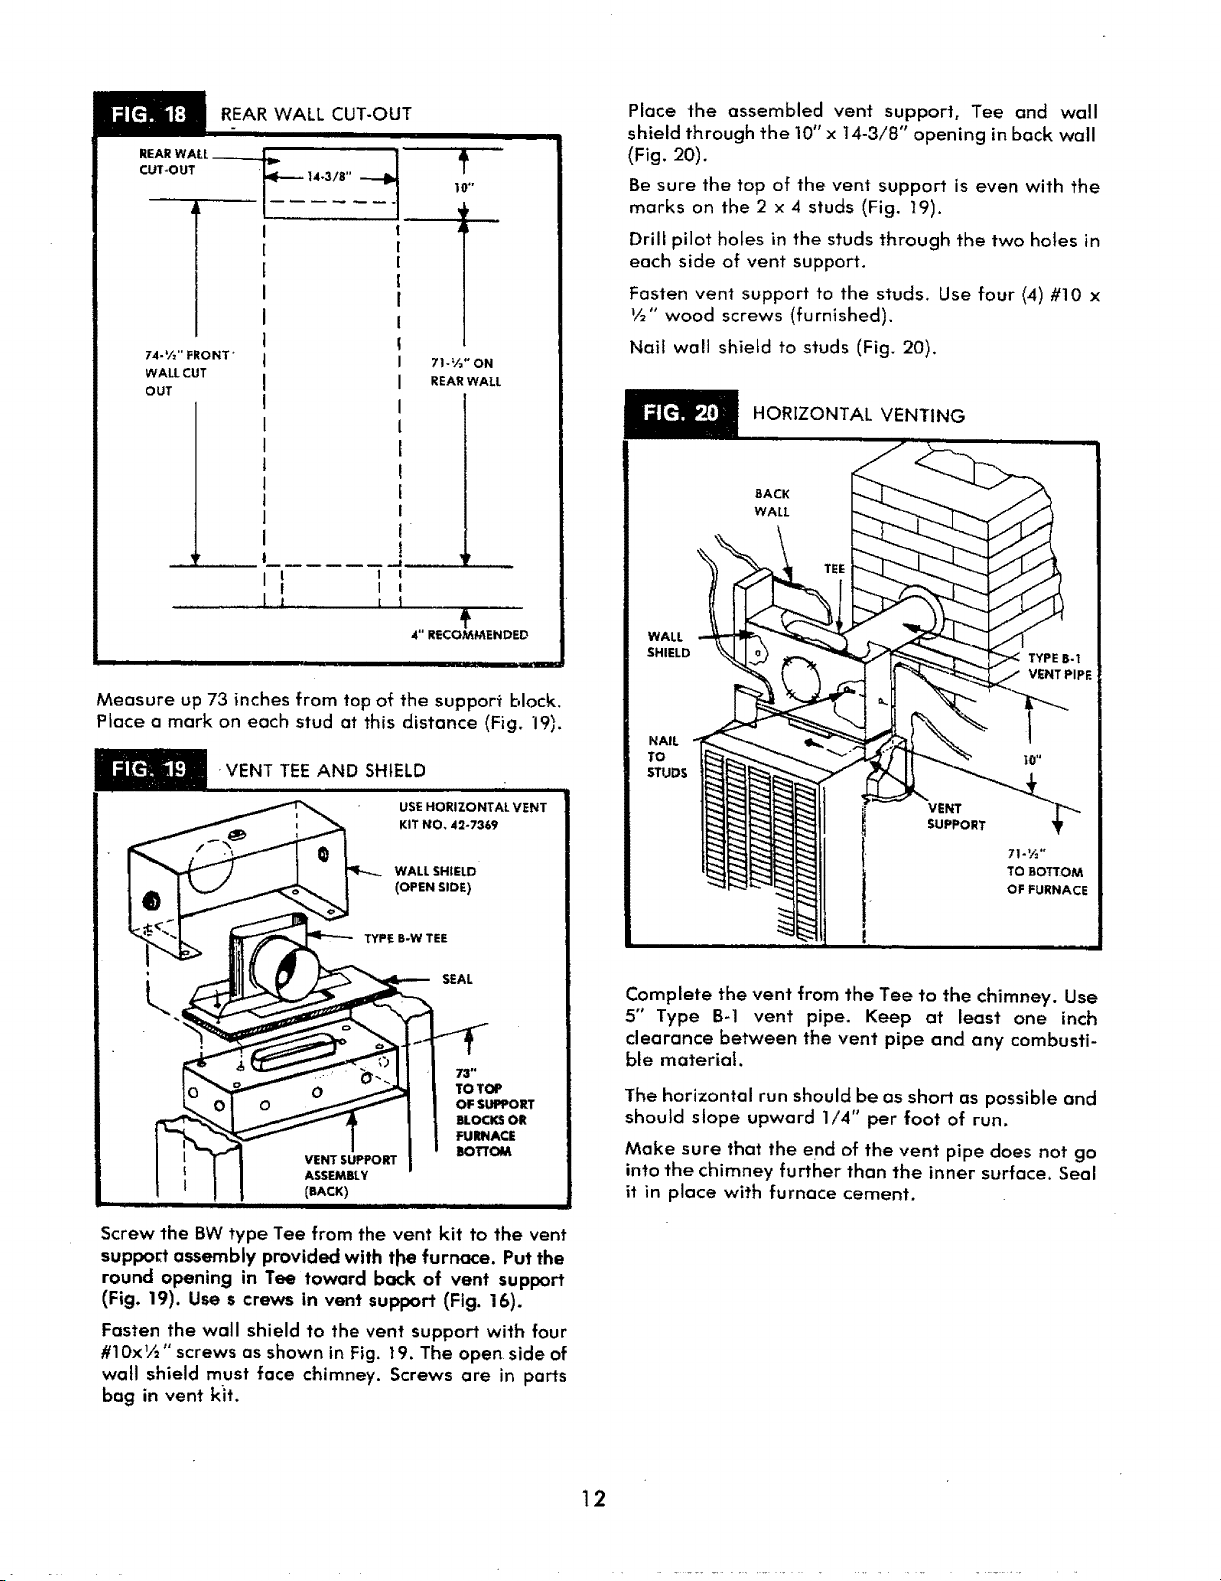
REAR WALL CUT-OUT
.........T
74.V=" FRONT"
WALL CUT
OUT
I'
10"
,q
J
7 I- V_" ON
REAR WALL
...... ,.-I
I I
! I
4" RECOMMENDED
Measure up 73 inches from top of the support block.
Place a mark on eoch stud at this distance (Fig. "19).
•VENT TEE AND SHIELD
Screw the BW type Tee from the vent kit to the vent
support assembly provided with the furnace. Put the
round opening in Tee toward back of vent support
(Fig. 19). Use s crews in vent support (Fig. 16).
Fasten the wall shield to the vent support with four
#10xV=" screws as shown in Fig. 19. The open side of
wall shield must face chimney. Screws are in parts
bag in vent kit.
Place the assembled vent support, Tee and wall
shield through the 10" x 14-3/8" opening in back wall
(Fig. 20).
Be sure the top of the vent support is even with the
marks on the 2 x 4 studs (Fig. 19).
Drill pilot holes in the studs through the two holes in
each side of vent support.
Fasten vent support to the studs. Use four (4) #10 x
V2" wood screws (furnished).
Nail wall shield to studs (Fig. 20).
HORIZONTAL VENTING
BACK
WALL
WALL
SHIELD
NAIL
TO
STUDS
VENT
SUPPORT
71 -V="
TO BOTTOM
OF FURNACE
Complete the vent from the Tee to the chimney. Use
5" Type B-1 vent pipe. Keep at least one inch
clearance between the vent pipe and any combusti-
ble material.
The horizontal run should be as short as possible and
should slope upward 1/4" per foot of run,
Make sure that the end of the vent pipe does not go
into the chimney further than the inner surface. Seal
it in place with furnace cement.
12
Loading ...
Loading ...
Loading ...