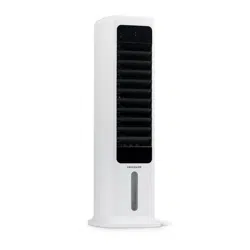
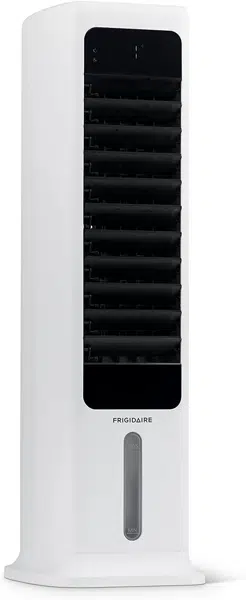
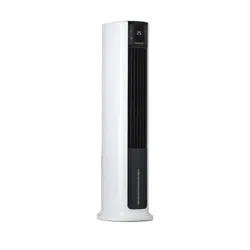
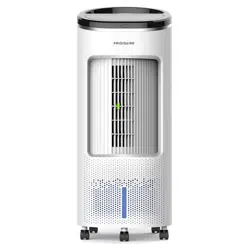
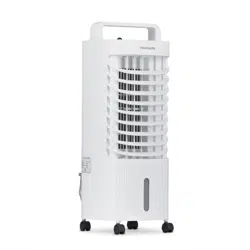
User manual Air Cooler for Frigidaire FEC450WH00
INTRODUCTION
FEATURES
1. Wind speed: Low, medium, and high
2. Wind mode: Normal, natural, and sleep
3. Wind oscillation: Horizontal and vertical options
4. Timer shutdown: 1-9 hours timer
5. Water pump cooling/humidification
6. Dry wind function
7. Automatic dimming LED light after 1 minute without action
8. Remote control (operation distance up to 19 ft.)
9. Easy to clean and fill water tank
10. Spray water circulation refrigeration technology for faster cooling

ACCESSORIES
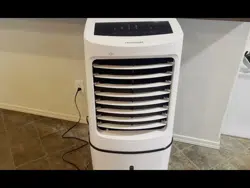
FEC450WH00 control panel.


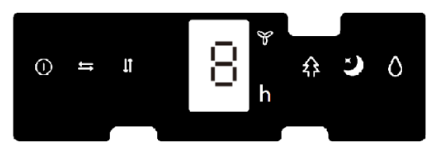
Display panel
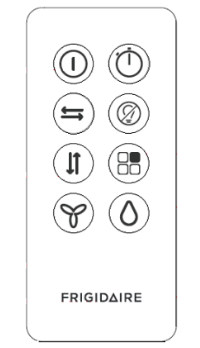
Remote control operation panel
Ice pack
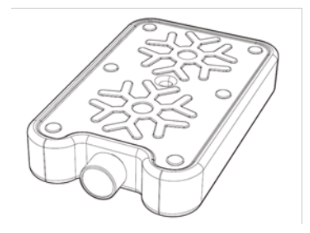
Ice pack use:
- Place ice pack on the freezer until completely frozen.
- Slide open the water tank, place frozen ice pack inside and close shut. Wait about 10min for the air temperature to decrease.
- Avoid opening the lid of the ice pack and/or consuming its contents.
SPECIFICATIONS

CONTROLS & OPERATION
INSTALLATION METHOD
After the product is taken out of the package, it can be used immediately by just plugging it in.
Use of each function
- When it is first powered on, the buzzer beeps twice and the device will enter standby mode, with all function indicators off. All buttons will be inactive except for the "On/Off" button.

In standby mode, press this key to turn the unit into working mode. The power indicator and speed indicator light will turn on at the same time, and the current speed will be displayed. When the unit is first turned on, the setting is at low speed and wind mode is in the normal mode. When the power is on, press this button to shut down. The buzzer will beep. When the device is shut down, the system will return to the standby state without any output or display.

In working mode, press to turn on/off the horizontal oscillation, and the corresponding LED indicator will light up.

In working mode, press to turn on/off the vertical oscillation, and the corresponding LED indicator will turn on.
Note: After powering on for the first time, the motor needs to swing downward to find the original point first. The horizontal blades may close for about 10 seconds and then swing upwards, which is normal.
When no oscillation is not turned on, the horizontal blade will swing to the horizontal position and stop.

This is used to activate the timing function with a time range of 1-9 hours. The time duration increases by hours and is shown on the digital display. In working mode, press this key to set the power off time of the unit. The timer indicator and time indicator will turn on and the digital display will flash to show the set time, indicating that the timer is activated. At this moment, you can press the timer key to set a different timing and press any button (except On/Off) or wait 5 seconds to exit the setting. After setting the timer, the digital display will alternately show the set timing and the current wind speed at 10 seconds intervals, and the wind speed indicator and time indicator will light on accordingly. When the time lapse set reaches its end, the unit will shut down and enter standby mode.
Press to select different wind modes in the following sequence: normal → natural → sleep, and the corresponding LED indicator will turn on. There is no indicator for normal mode.
Normal mode: the fan runs at a fixed speed selected without any change.
Natural mode: the fan speed fluctuates between low, medium and high on a random pattern.
In the natural mode, the LED indicator shows the selected mode; the speed indicator will only show the initial wind speed; other changes during natural mode will not show (i.e., if the natural mode is turned on high speed, the speed indicator will only show the high indicator without switching).
Sleep mode: Regardless of the speed set before selecting sleep mode, the sleep wind mode will start on the current setting. The wind speed will start lowering in 30 minutes intervals, and the speed LED indicator will show the speed changes at the same time until the lowest speed is reached. If there is a timer set at the same time, once the timing interval is over the unit will shut down.

In working mode, press to turn on/off the cooler function, and the corresponding LED indicator will turn on.

- "Screen off” (only on remote)
In working mode press for all the LED indicators to turn off.
Press again on the remote or press any button on the unit’s control panel when the LED display is off to turn it back on, then press any other button to execute the corresponding function.
Notes
- There is a low water level sensor and alarm: After the water pump works for 60s, and the software detects that the water level is low for 5 consecutive seconds (65 seconds in total), the water pump will stop working and unit will beep 10 times.
- If there is no activity on the control panel while in working mode for 1min the indicator lights will dim automatically and will return to regular brightness once you press any button on the control panel again.
- In case of power loss, the unit’s memory function will restart the unit with the previous setting once energy it’s recovered.
- If the unit is turned off and on manually, it will restart on medium wind speed and then switch to the previous speed setting after 3 seconds.
- If the unit is in sleep mode before turning off (manually or by power outage), the memory function will not restart on previous mode, but will restart in normal mode.
Water filling
- If the cooling and humidification functions are turned on, please add water to the water tank. Before adding water, unlock the water tank knob by rotating the knob to a horizontal position. After the water tank is half drawn out, slowly pour the water into the water tank (Fig. 1, Fig. 2, Fig. 3). After adding the water, return the water tank into its original position, and then lock the water tank knob rotating it to its original vertical position.
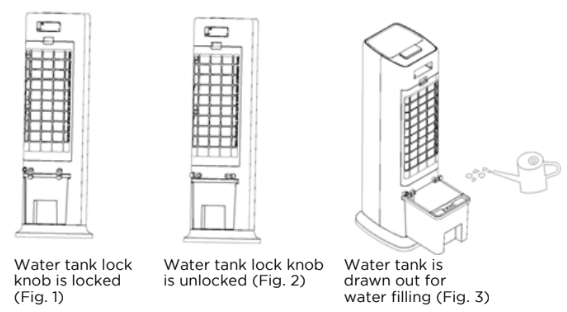
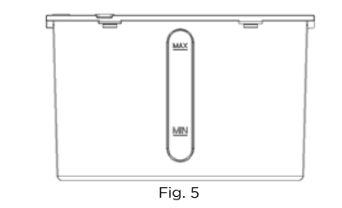
When adding water manually, please pay attention to the water level displayed on the water tank (Fig.5).
- When adding water, please be careful not to fill above the maximum water level or below the minimum water level. Be careful when using an ice pack since it can affect the water level on the tank.
- Be sure to use clean water.
- Tip: It is normal if there is a slight smell and the water is slightly colored when the unit is used for the first time. It is non-toxic and harmless, and will not affect your health.
Use of remote control
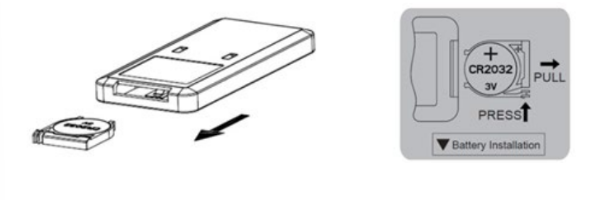
- First, open the battery cover on the back of the remote control and install a 3V CR2032 battery.
- When using the remote, point it toward the control panel, which has a receiver on the far right of the panel.
- When the battery is low, please replace it immediately. Dispose of batteries properly and keep them away from children. Please note that even used batteries could be hazardous.
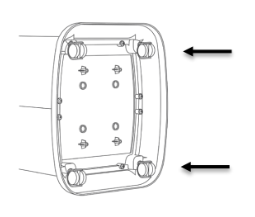
Caster Wheels Installation
- Step 1: Lay unit on its back
- Step 2: Push in the caster wheels with even pressure into the openings
Note:
The wheels can be hard to slide in, make sure to use enough force to slide fully into place.
CLEANING AND MAINTENANCE ATTENTION
- Don’t use chemicals when cleaning.
- Turn off the power and unplug it to avoid electric shock.
- Please use a soft cloth to wipe surface dust, if any: if it’s too dusty, please mix water with a soft detergent, wipe with soft cloth and dry.
- When cleaning, please don’t use gasoline, corrosive detergent or solvent that may damage the outer surface.
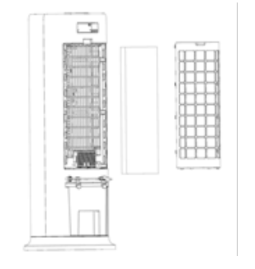
Cleaning of rear net and cooling pad
As excessive dust or specs can accumulate on the net, it may affect air circulation, is recommended to clean it at least once every other month.
- Unplug the power
- Take out rear net and cooling pad (as in figure shown below)
- Soak cooling pad in detergent for a few minutes, then clean and dry it.
Water tank cleaning
- Unplug the power supply, un lock the water tank by rotating the knob to a horizontal position, and pull out the water tank halfway.
- Put your hand into the water tank, rotate the fixing buckle 90°, and then push the water pump box assembly down to take it out, and finally take out the water tank.
- Wipe off the scale in the water tank with a towel dipped in detergent, and then pour out the sewage after washing with water.
Cleaning of body surface
- Clean the body surface with a wet cloth.
- Don’t use corrosive detergent or solvent for cleaning.
- When cleaning the body, please be sure to turn off the power switch and unplug the power cord to avoid electric shock.
Installation and use after cleaning
- Install wet cooling pad and rear net properly in the corresponding sequence.
- Connect the power supply and ensure normal operation of the unit.
Maintenance
- When not using for a long time, unplug the power cord and pack the product to avoid dust.
- Make sure that the cooling pad and filter screen are dry and there is no water in the water tank before packaging.
TROUBLESHOOTING
Let us help you troubleshoot your concern! This section will help you with common issues. If you need us, visit our website, chat with an agent, or call us. We may be able to help you avoid a service visit. If you do need service, we can get that started for you!
The unit does not cool.
- There is insufficient water in the tank.
Check the water level in the tank and make sure there is enough water.
- The water pump is not lowered all the way to the bottom.
Check the water pump to make sure it is lowered all the way to the bottom, then press the evaporative cooling button.
Contact customer service if there is an issue with the water pump.
The unit does not cool on high speed.
- The cooling pad is not sufficiently saturated with water.
The cooling pad will be fully soaked after the unit runs for 10 minutes.
- The water tank is leaking.
The water tank is damaged.
Contact customer service if there is an issue with the water tank.