Loading ...
Loading ...
Loading ...
Y
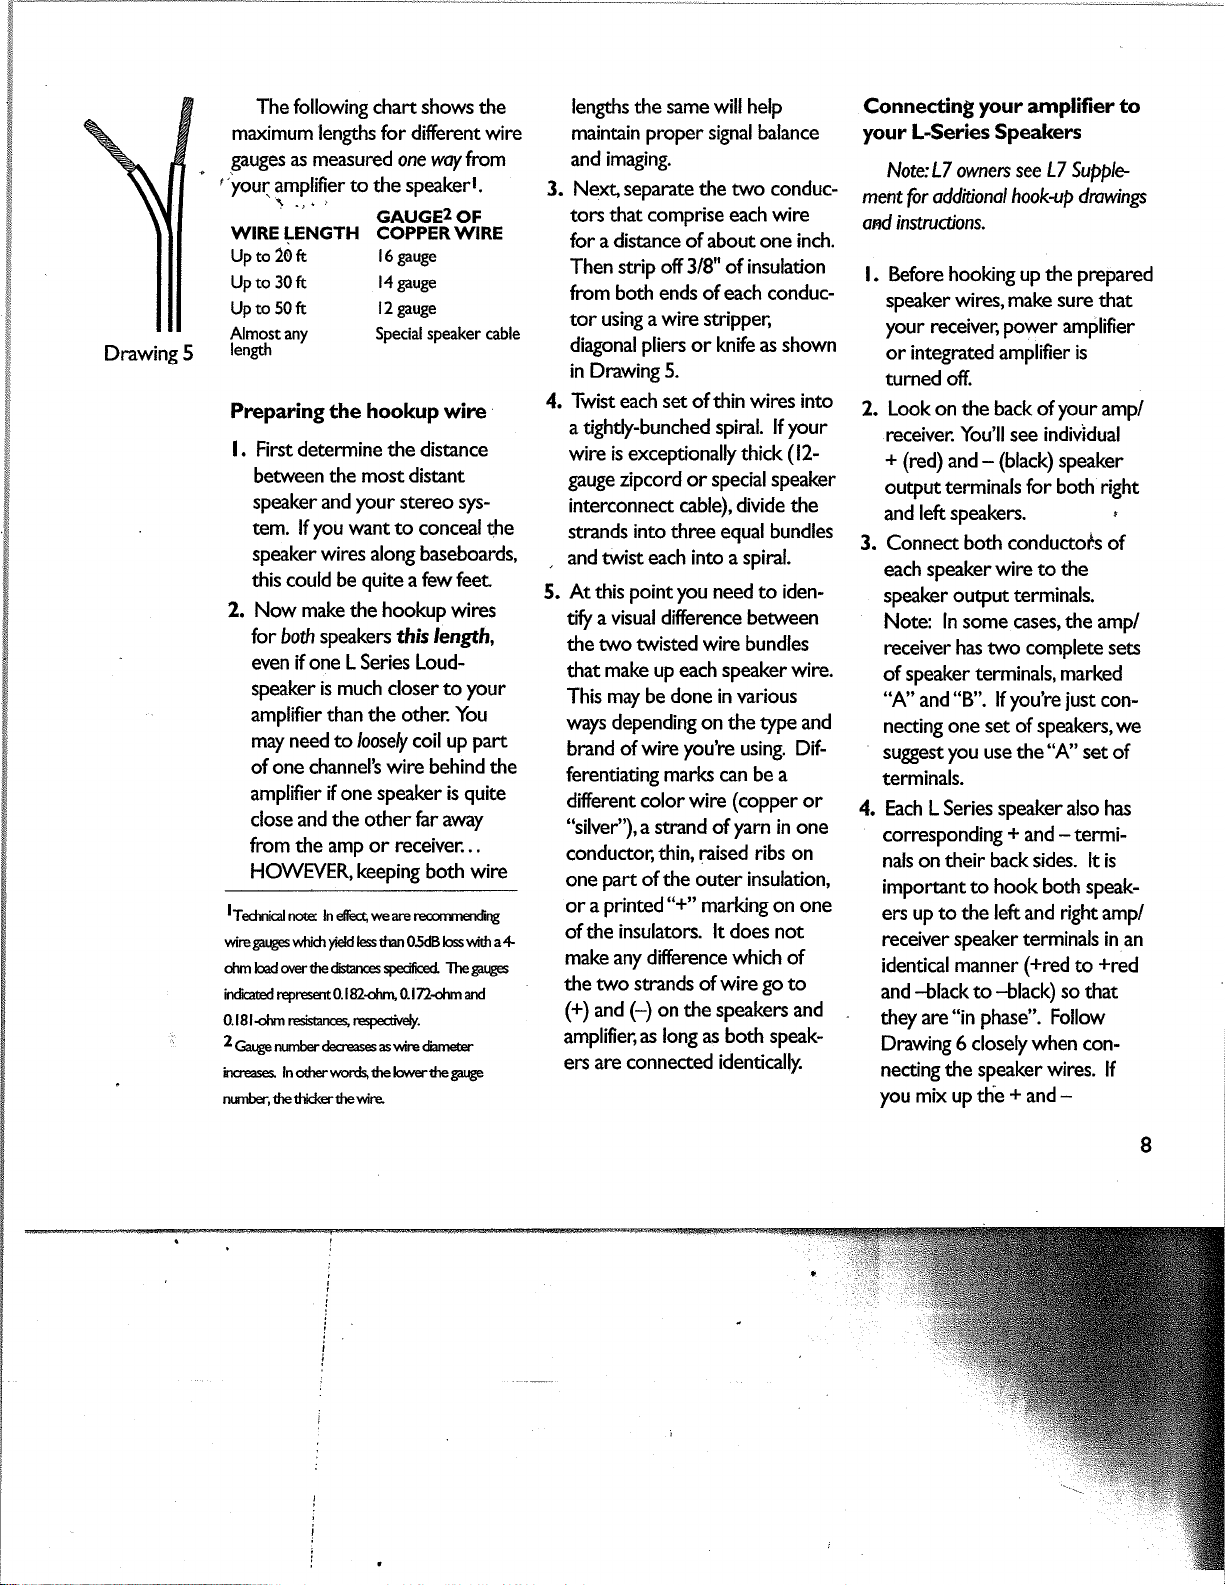
Drawing 5
The
following
chart shows the
maxÍmum lengths for different wire
gauges
as
measured
onewoyfrom
|youq
amplífier
to
the speakerl.
lengths the same will help
maintain
proper sþnal balance
and imaging.
3.
NexC separate the two conduc-
tors
that comprise
each wire
for
a
distance of
about
one inch.
Then strip
off
3/8"
of insulation
from both ends of each conduc-
tor using a wire strippen
diagonal
pliers
or knife as shown
in Drawing 5.
4.
Twist
each
set of thin wires into
a tightly-bunched
spiral. lf your
wire is except¡onall), thick
(
12-
gauge zipcord or special speaker
interconnect cable), divide the
strands
into
three equal bundles
.
and twist each into a spiral.
5.
At this point
you
need to iden-
tifr a
visual difference between
the two twisted wire bundles
that
make up each speaker
wire.
This may be
done in
various
ways
depending on the type and
brand
of wire
you're
using. Dif-
ferentiating marks can be a
different color wire (copper or
"silYer"),
a strand of
yarn
in one
conductoG
thin, raised ribs on
one
paft of the
outer
insulation,
or a
printed
"+"
marking on one
of the
insulators. lt does not
make any difference which of
the two strands of
wire
go
to
(+)
and
(-) on
the speakers and
amplifieri
as long as both speak-
ers are
connected identically.
Connectint
your
amplifier to
your
L-Series
Speakers
NotsfT owners see
L7
Suþple
ment
for
additionol
hook-up drowinç
ond inst¡uoions.
l.
Before hooking up the
prepared
speaker
wires, make sure that
your receive[
power
amplifier
or integrated amplifier
is
turned off.
2.
Look on the back of
your
amp/
receiver. You'll see
individual
+
(red)
and
-
(black)
speaker
output terminals for both rþht
and
leftspeakers.
!
3. Connect both conductoÊs of
each speaker
wire to the
speaker output
terminals.
Note: ln some cases, the amp/
receiver has two complete sets
of speaker
terminals, marked
'4"
and
"B".
lf you're
just
con-
necting one
set of speakers,
we
suggest
you
use
the
"A"
set of
terminals.
4. Each L Series speaker also has
corresPonding
+
¿¡¿
-termi-
nals on their back sides. lt is
important to hook botJr speak-
ers up to the
left
and
right
amp/
receiver speaker terminals in
an
identical manner
(+red
to
+red
and
-black
to
-black)
so that
they are
"in
phase".
Follow
Drawing 6 closely when con-
necting the speaker
wires.
lf
you mix up thb
+
and
-
1
.,.
,
WIRE LENGTH
Upto20ft
Upto30ft
Upto50ft
Almost any
length
GAUGEz OF
COPPERWIRE
l6
gauge
l4 gauge
l2 gauge
Special speaker cable
Pr.eparing
the
hookup
wire
l. First determine the disønce
between
the most distant
speaker and
your
stereo sys-
tem. lf
you
want to conceal the
speaker
wires along
baseboards,
this could be
quite
a
few fee¿
2. Now make the hookup
wires
for both speakers thìs
lenglh,
even if one L Series Loud-
speaker
is much closer to
your
amplifier than the othen You
may need to loosely
coil
up
part
of one channel's wire behind the
amplifier
if
one
speaker is quite
close and the other far away
from the amp or receiver...
HOWEVER,
keeping
both wire
IT"d"rlcal
n"to In effecq we are reconrnerdirg
wire
garges which
yidd
l€ss úEn O-ftB bss
wiú
a4
otm læd o¡erthe dsar¡ces
+ecificed
Ttre
galges
indræd represent
0. I 82€[rm 0. | 72€tùn and
0. I I I <frn resisanceq r€sp€cdr/dy.
2
C"ra" *nnæ. aucroto as wire &mger
iîcr€âses In
odrc¡'words,
the lowerthe
garye
ntrrùer, the thirj<er tlp wire.
Loading ...
Loading ...
Loading ...