Loading ...
Loading ...
Loading ...
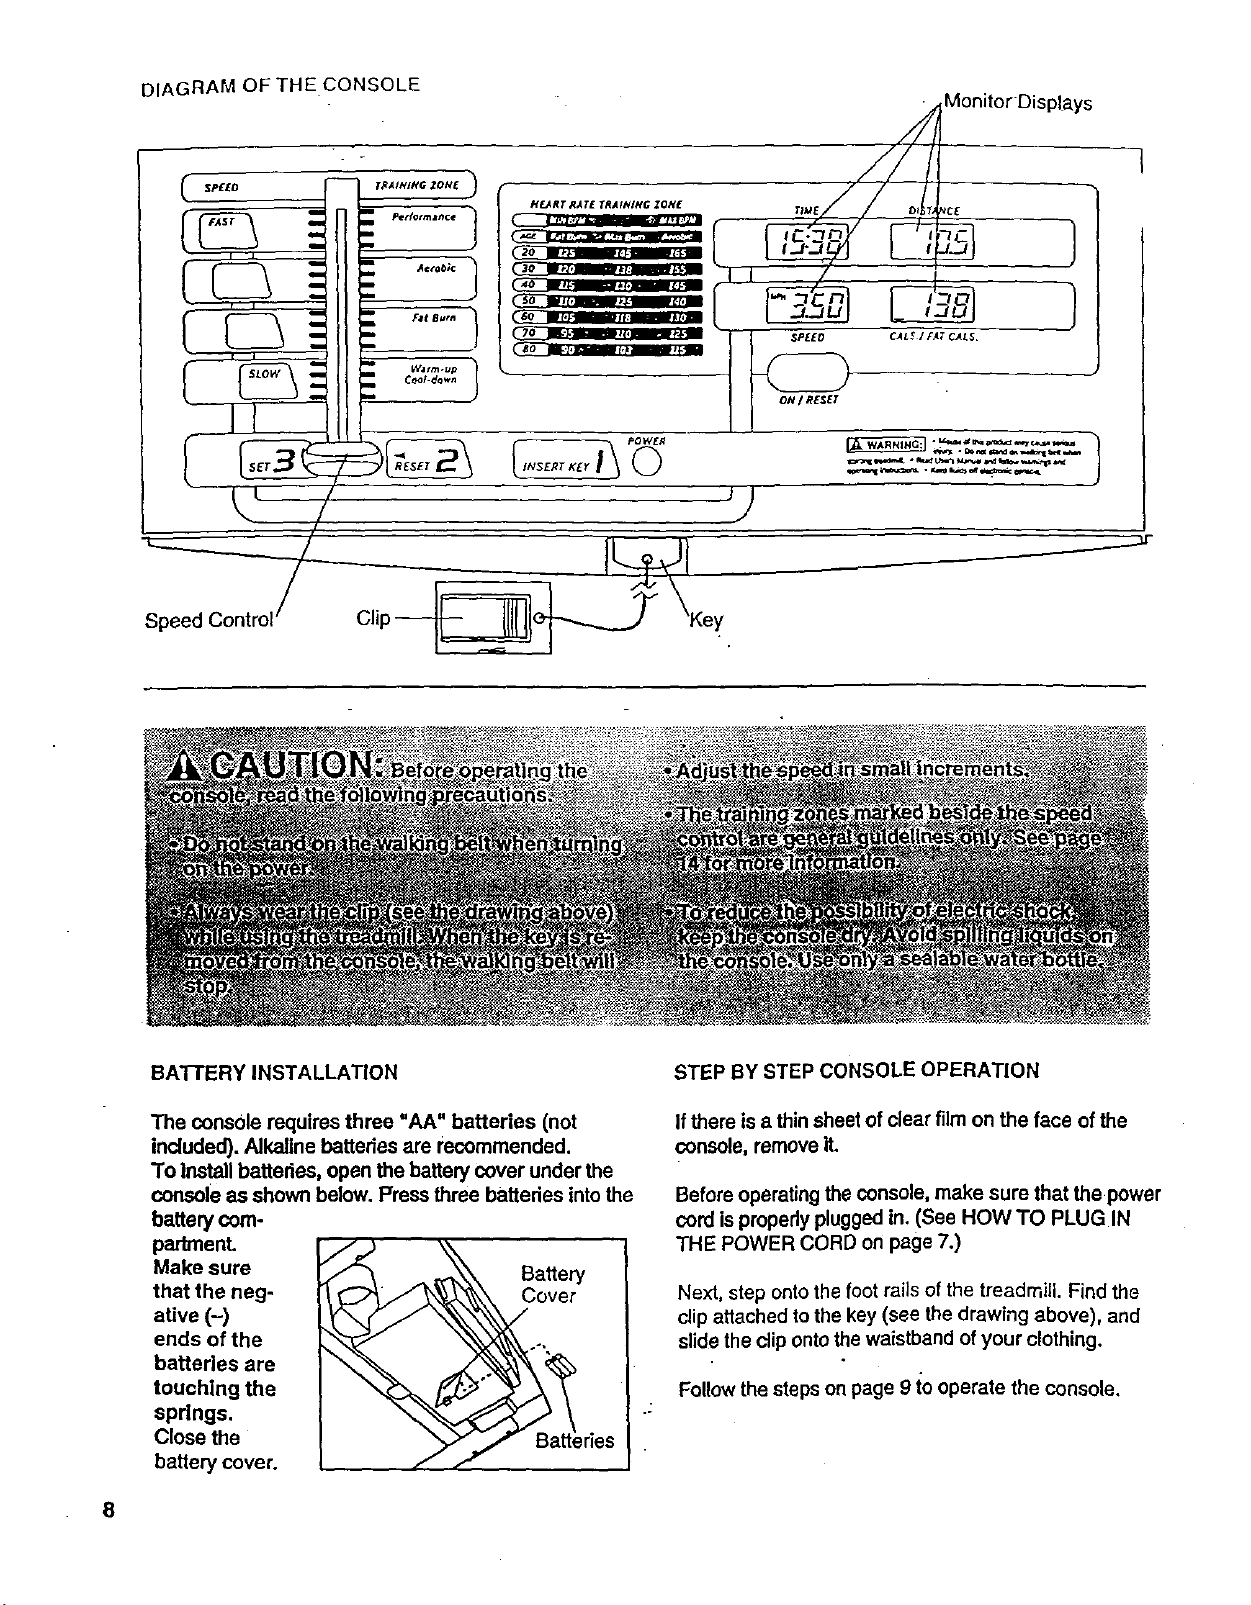
DIAGRAM OF THE CONSOLE
qTRAINIHG ZONE _
Speed Control/ Clip-
HF_RT RATE TRAINING ZONE
30 , .
40 _ .
I_].1 h milJ31 -. PPJ'!
,8o ., ,
_11 POWER
V
,// MonitorDisplays
SP£EO CAL_ I FAT CALS
BATTERY INSTALLATION
The console requires three "AA" batteries (not
included). Alkaline battedes are recommended.
To install batteries, open the battery cover under the
console as shown below. Press three batteries intothe
battery com-
padment.
Make sure
that the neg-
ative (-)
ends of the
batteries are
touching the
spdngs.
Close the
battery cover.
Baffery
Cover
_a_eries
STEP BY STEP CONSOLE OPERATION
If there is a thin sheet of clear film on the face of the
console, remove It.
Before operating the console, make sure that the power
cord is properly plugged in. (See HOW TO PLUG IN
THE POWER CORD on page 7.)
.J
Next, step onto the foot rails of the treadmill. Find the
clip attached tothe key (see the drawing above), and
slide the clip ontothe waistband of your clothing.
Follow the steps on page 9 to operate the console.
8
Loading ...
Loading ...
Loading ...