Loading ...
Loading ...
Loading ...
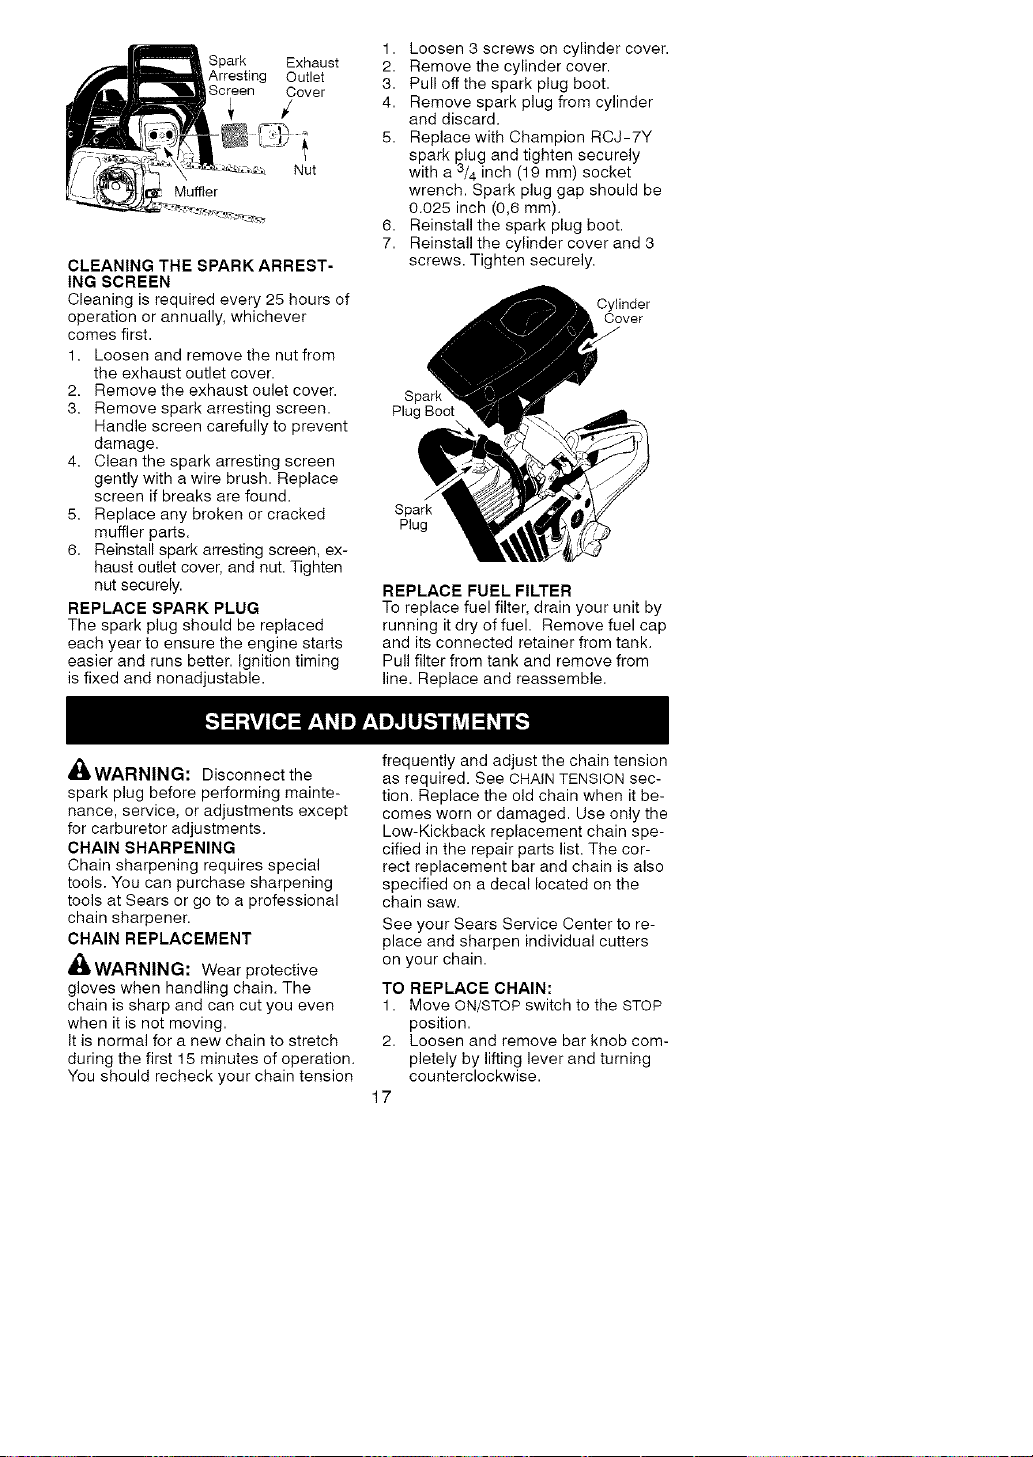
Spark Exhaust
Arresting Outlet
Screen Cover
Nut
Muffler
CLEANING THE SPARK ARREST-
ING SCREEN
Cleaning is required every 25 hours of
operation or annually, whichever
comes first.
1. Loosen and remove the nut from
the exhaust outlet cover.
2. Remove the exhaust oulet cover.
3. Remove spark arresting screen.
Handle screen carefully to prevent
damage.
4. Clean the spark arresting screen
gently with a wire brush. Replace
screen if breaks are found.
5. Replace any broken or cracked
muffler parts.
6. Reinstall spark arresting screen, ex-
haust outlet cover, and nut. Tighten
nut securely.
REPLACE SPARK PLUG
The spark plug should be replaced
each year to ensure the engine starts
easier and runs better. Ignition timing
is fixed and nonadjustable.
1. Loosen 3 screws on cylinder cover.
2. Remove the cylinder cover.
3. Pull offthe spark plug boot.
4. Remove spark plug from cylinder
and discard.
5. Replace with Champion RCJ-7Y
spark plug and tighten securely
with a 3/4 inch (19 mm) socket
wrench. Spark plug gap should be
0.025 inch (0,6 mm).
6. Reinstall the spark plug boot.
7. Reinstall the cylinder cover and 3
screws. Tighten securely.
Cylinder
Cover
Spar_
Plug Boot
Spark
Plug
REPLACE FUEL FILTER
To replace fuel filter, drain your unit by
running it dry of fuel. Remove fuel cap
and its connected retainer from tank.
Pull filter from tank and remove from
line. Replace and reassemble.
,_WARNING: Disconnect the
spark plug before performing mainte-
nance, service, or adjustments except
for carburetor adjustments.
CHAIN SHARPENING
Chain sharpening requires special
tools. You can purchase sharpening
tools at Sears or go to a professional
chain sharpener.
CHAIN REPLACEMENT
,_ WARNING: Wear protective
gloves when handling chain. The
chain is sharp and can cut you even
when it is not moving.
It is normal for a new chain to stretch
during the first 15 minutes of operation.
You should recheck your chain tension
frequently and adjust the chain tension
as required. See CHAIN TENSION sec-
tion. Replace the old chain when it be-
comes worn or damaged. Use only the
Low-Kickback replacement chain spe-
cified in the repair parts list. The cor-
rect replacement bar and chain is also
specified on a decal located on the
chain saw.
See your Sears Service Center to re-
place and sharpen individual cutters
on your chain.
TO REPLACE CHAIN:
1. Move ON/STOP switch to the STOP
position.
2. Loosen and remove bar knob com-
pletely by lifting lever and turning
counterclockwise.
17
Loading ...
Loading ...
Loading ...