Loading ...
Loading ...
Loading ...
54
Using your Mixmaster
®
Combo Pro (continued)
Using your mixer
1. With the speed control switch in the ‘0’
OFF position, plug the power cord into a
230- 240V AC power outlet.
2. Use the speed control switch to turn
the mixer ‘ON’ and ‘OFF’ and to control
the mixing speeds. Clearly marked
instructions for correct mixing speeds
for each type of mixture are shown in the
Mixing Guide on page 7.
Tip: Always start mixing at slow speeds
and increase the speed gradually to
prevent ingredients splashing out of the
mixing bowl.
Tip: When adding dry ingredients use the
lowest speed to prevent the ‘snow storm’
effect.
Tip: When kneading yeast doughs, using
Low speeds 1-2 (low) to achieve best
results.
3. When mixing is complete, turn the speed
control switch to the ‘0’ OFF position and
unplug the cord from the power outlet.
4. Hold down the ‘tilt’ button and ease the
head of the mixer back until the mixer
head is in the tilt position.
5. To remove the beaters/whisks/dough
hooks, place fingers loosely around the
spindles and press the speed control
switch downwards.
Removing the hand mixer
1. With the speed control switch in the '0'
OFF position, unplug the power cord.
2. Press the 'tilt' button with one hand and
place the other hand on the hand mixer
handle. Tilt the mixer head back to full
position until 'click' into place.
3. With one hand pull down on the Hand
Mixer Release Tab, releasing the hand
mixer from the mixing base.
4. With the other hand, grip the hand mixer
handle and pull away from the mixer base
in a diagonally upwards movement.
5. The hand mixer is now ready to use for
mixing tasks.
Using your Mixmaster
®
Combo Pro
Before use
Before assembling your mixer, be sure the
power cord is unplugged from the power
outlet and the speed control switch is in the
‘0’ OFF position.
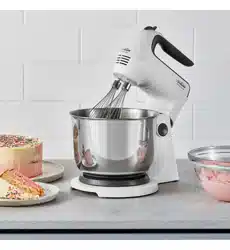
1. Press the tilt button and tilt the cradle
back into OPEN position. Place the
hand mixer into the cradle ensuring the
base of the hand locks in correctly.
Note: When fitted correctly there will be no
gap between the hand mixer and the
cradle.
2. Select the desired attachments,
depending on the mixing task to be
performed: beaters for mixing and
beating, whisks for whisking or dough
hooks for kneading.
Inserting the beaters or whisks
3a. Beaters or whisks can be inserted in
either socket, as they are identical.
Inserting the dough hooks
3b. To insert the dough hooks, place the
dough hook with the small washer into
the left socket. Place the other dough
hook into the right socket.
Note: Ensure both beaters, whisks or dough
hooks are fully inserted into the correct
sockets or your mixing results may be
affected.
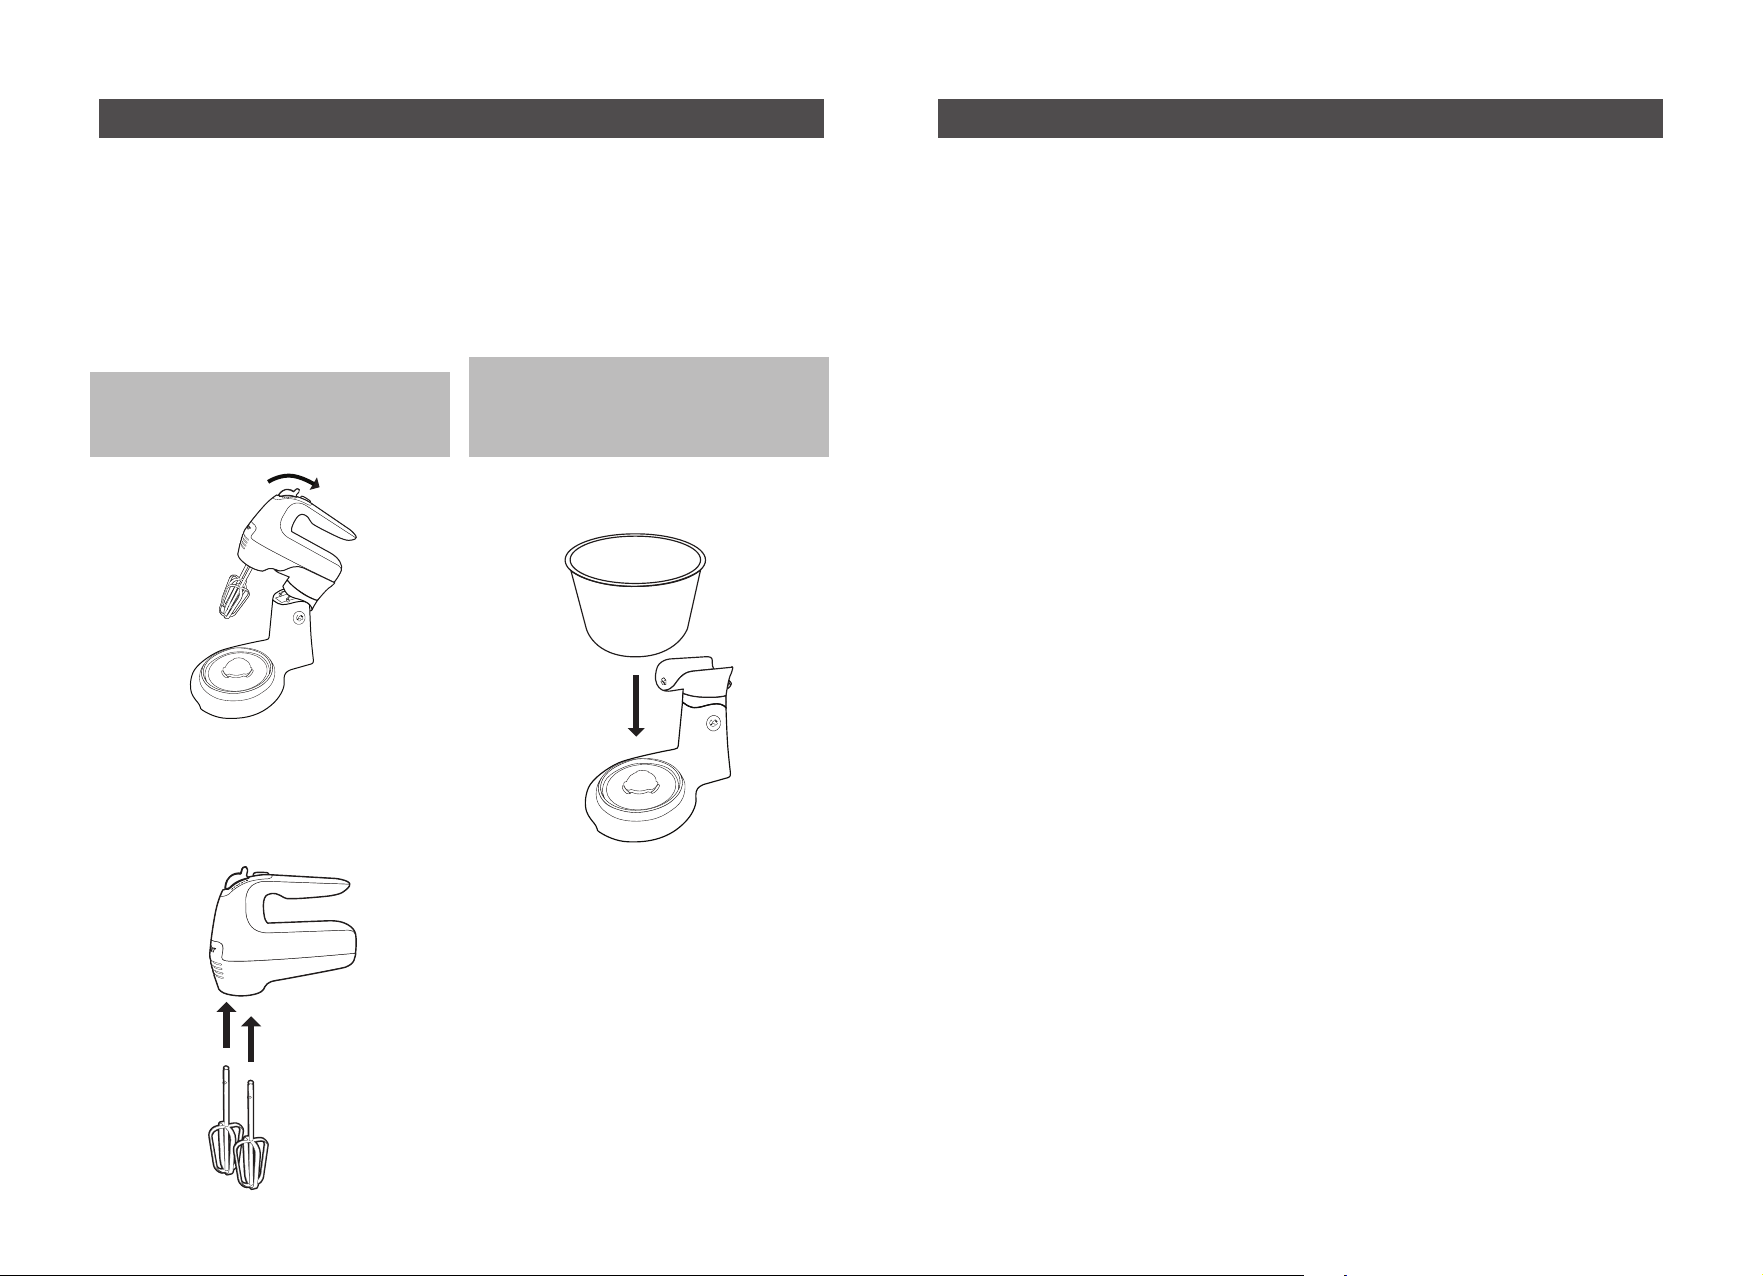
4. Place the 3.8 litre mixing bowl onto the
turntable.
5. To lower the head of the mixer and
beaters/whisks/dough hooks into the
bowl, depress the ‘tilt’ button, hold the
handle with the other hand and ease the
head of the mixer down. A ‘click’ will
indicate when the head has reached the
correct position.
x2
Loading ...
Loading ...
Loading ...