Loading ...
Loading ...
Loading ...
CRISPERS AND CRISPER COVER
J/!(%7/@%!#:>!+:&)#--!)*%!B(+&.%(P!<&%%!L+;1![!2T?
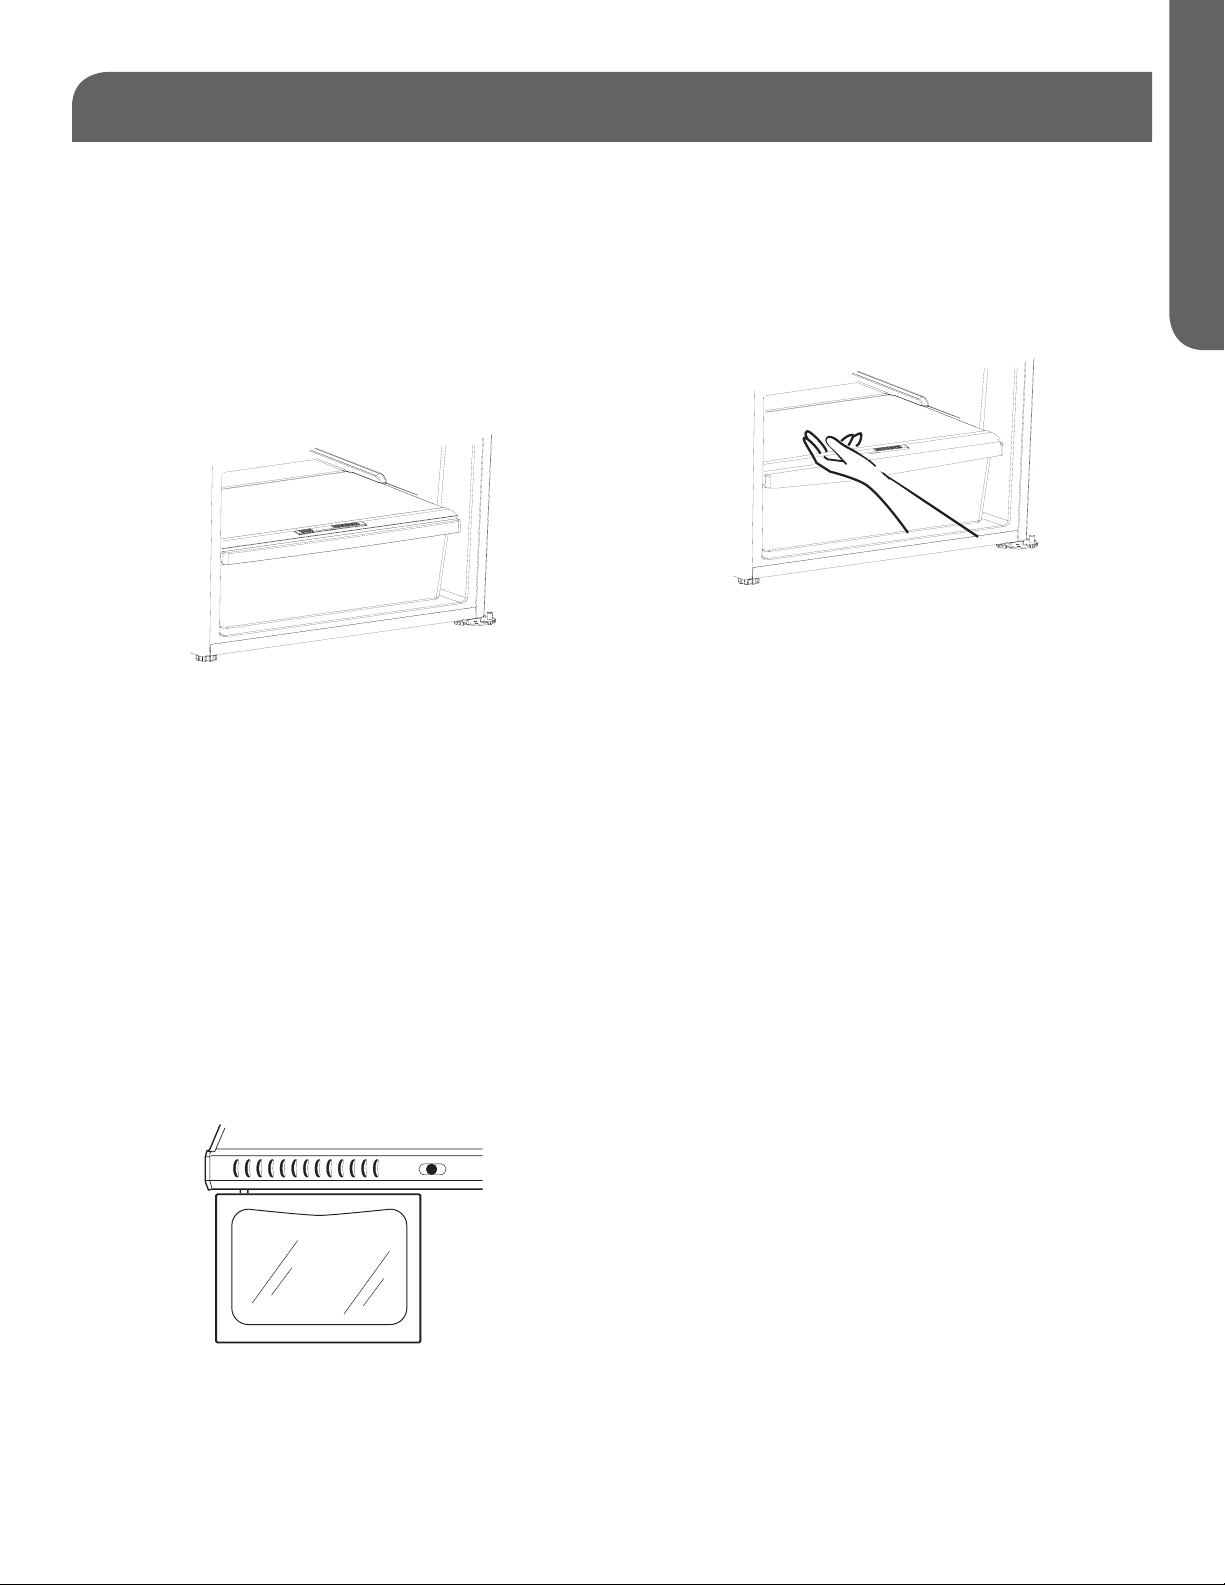
1. Grip the crisper firmly and slide out completely.
2. Replace the crisper by placing the crisper
properly in position and gently sliding it back
into place.
Your refrigerator is equipped with a slide control to
raise or lower the humidity levels or your crispers.
This feature will increase the storage life of your
A('+)&!#:>!@%;%)#,-%&1!F+7.-D!#>I'&)!)*%!B/:)(/-&!)/!
the appropriate setting for items you are storing
in the crispers. Low settings allow moist air to exit
the crisper, for optimum storage of fruit and/or
vegetables that have skins. High settings retains
moist air in the crisper, for optimum storage of
leafy fresh vegetables.
REMOVING OR REPLACING THE
CRISPER COVER
1. Carefully grasp the crisper cover and slide out to
(%7/@%1!<L+;1!22?
2. To replace, slide the rear of the crisper cover
into the right and left slots above the crisper
area and gently slide back into place.
!"#$99$&$'#)$2 $3$2'#
ENGLISH
FEATURES AND USE CONT.
Fig. 10
Fig. 11
Loading ...
Loading ...
Loading ...