Loading ...
Loading ...
Loading ...
TO START ENGINE (See Fig. 13)
CAUTION= Keep the tine control in !
411
"OFF" position when starting engine. !
• Make sure spark plug wire isproperly connected.
- Move shift lever indicatorto "N" (neutral) position_
• Place throttle control in "FAST" position:
• Place choke controlin "CHOKE" position if the engine
iscold. A warm engine may not require choking tostart.
, Grasp starter handle withone hand and graspthe tiller
.....with other hand. Pull rope out slowly until engine
reaches start of compression cycle (rope will pull
: slightly harder at this point). :: ': .....
• Pull rope with a rapid, continuous, fullarm stroke: Keep
a firm grip on starter handle and let rope rewind slowly.
Do not let starter handle snap back against starter.
• When engine starts, slowi_ move,choke con!rol on
engine halfway between CHOKE' and RUN posi-
tions and then to "RUN" position as engine warms up.
• Move throttle control to desired running position.
• Allow engine to warm up for a few minutes before
engaging tines.
_IOTE: Ifat a high altitude (above 3000 feet) or in cold
temperatures (below 32°F), the carburetor fuel mixture
may need to beadjusted for best engine performance. See
:"TOADJUST CARBURETOR" in the Service and Adjust-
ments section of this manual.
SPARK - :_. _ CHOKE
PLUG __ CONTROL
O
REC -------'-
HANDLE
FIG. 13
TILLING HINTS
CAUTION: Until you areaccustomed to
handling your tiller, start actual field
usewiththro eins!owpositto_.,pid-
way between FAST and IDLE
Tilling is digging into, turning over, and breaking up
packed soil before planting. Loose, unpacked soil
helps rootgrowth.Besttillingdepth is4 to 6. A tiller
will also clear the soil of unwanted vegetation. The
decomposition of thisvegetable matter :enrichesthe
soil. Depending on :theclimate (rainfall:andwind), it
may be aldvisableto tilltheSoilat theendofthegrowing
season tofurther condition thesoil.
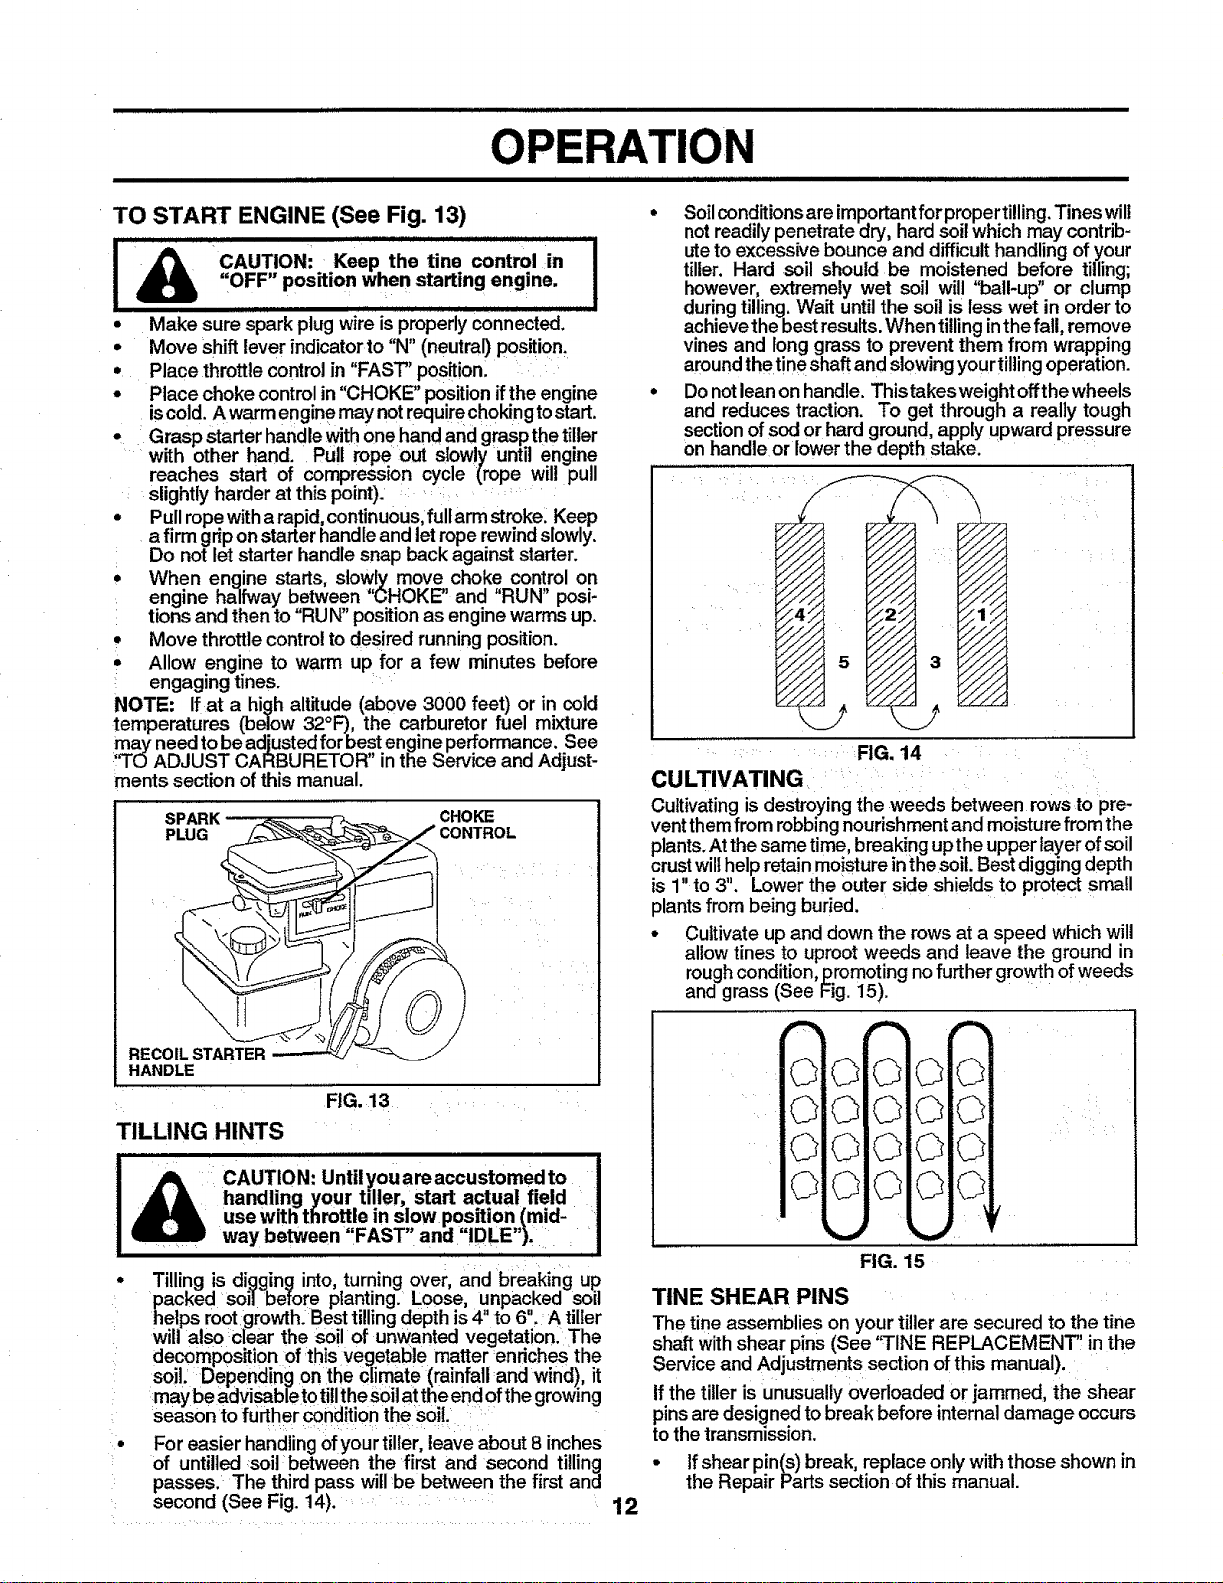
Foreasier handlingofyourtiller,leave about8 inches
of untilled soil between the first and second tilling
passes. The third pass willbe between the first and
second (See Fig. 14).
iii iiiii iiiii
o
12
Soilconditions are importantfor propertilling. Tines will
not readily penetrate dry, hard soil which may contrib-
uteto excessive bounce and difficult handling of your
tiller. Hard soil should be moistened before tilling;
however, extremely wet soil will "ball-up" or clump
during tilling. Wait until the soil is less wet in order to
achieve the best results. When tillinginthe fall, remove
vines and long grass to prevent them from wrapping
around the tine shaft and slowing your tillingoperation.
Donot lean on handle. This takes ,weightoff the wheels
and reduces traction. To get through a really tough
section of sod or hard ground, apply upward pressure
on handle or lower the depth stake. .....
........ FIG. 14 : ::
CULTIVATING ....:: i
Cultivating is destroying the weeds between rows to pre-
vent them from robbing nourishment and moisture from the
plants. At the same time, breaking upthe upper layer ofsoil
crust wi thelp retain moisture in the soil. Best digging depth
is 1" to 3". Lower the outer side shields to protectsmall
plants from being buried.
• Cultivate up and down the rows at a speed which will
allow tines to uproot weeds and leave the ground in
rough condition,promoting no further growth of weeds
and grass (See Fig. 15). ....
f-,_j
L.._l
_.r_l
FIG. 15
TINE SHEAR PINS
The tine assemblies on yourtiller are secured to the tine
shaftwithshear pins (See 'q-INE REPLACEMENT, in the
Service and Adjustmentssectionofthis manual).
If the tiller isunusually ovedoaded or jammed, the shear
pinsare designed tobreak before internaldamage occurs
tothe transmission.
• If shear pin(s) break, replace onlywiththose shown in
the Repair Partssection ofthis manual.
Loading ...
Loading ...
Loading ...