
Loading ...
Loading ...
Loading ...
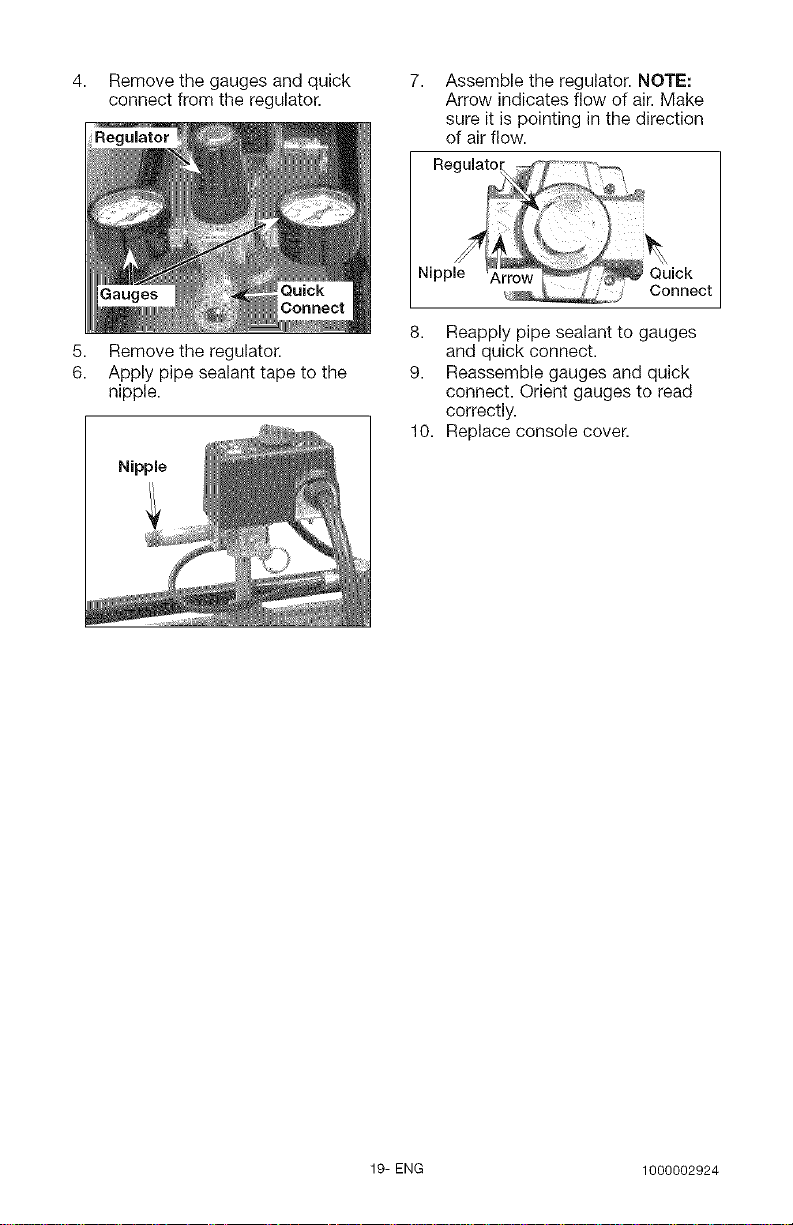
4,
Remove the gauges and quick
connect from the regulator.
Regulator
7,
Assemble the regulator. NOTE:
Arrow indicates flow of air. Make
sure it is pointing in the direction
of air flow.
5. Remove the regulator.
6. Apply pipe sealant tape to the
nipple.
Nipple
8. Reapply pipe sealant to gauges
and quick connect.
9. Reassemble gauges and quick
connect. Orient gauges to read
correctly.
10. Replace console cover.
19-ENG 1000002924
Loading ...
Loading ...
Loading ...