Loading ...
Loading ...
Loading ...
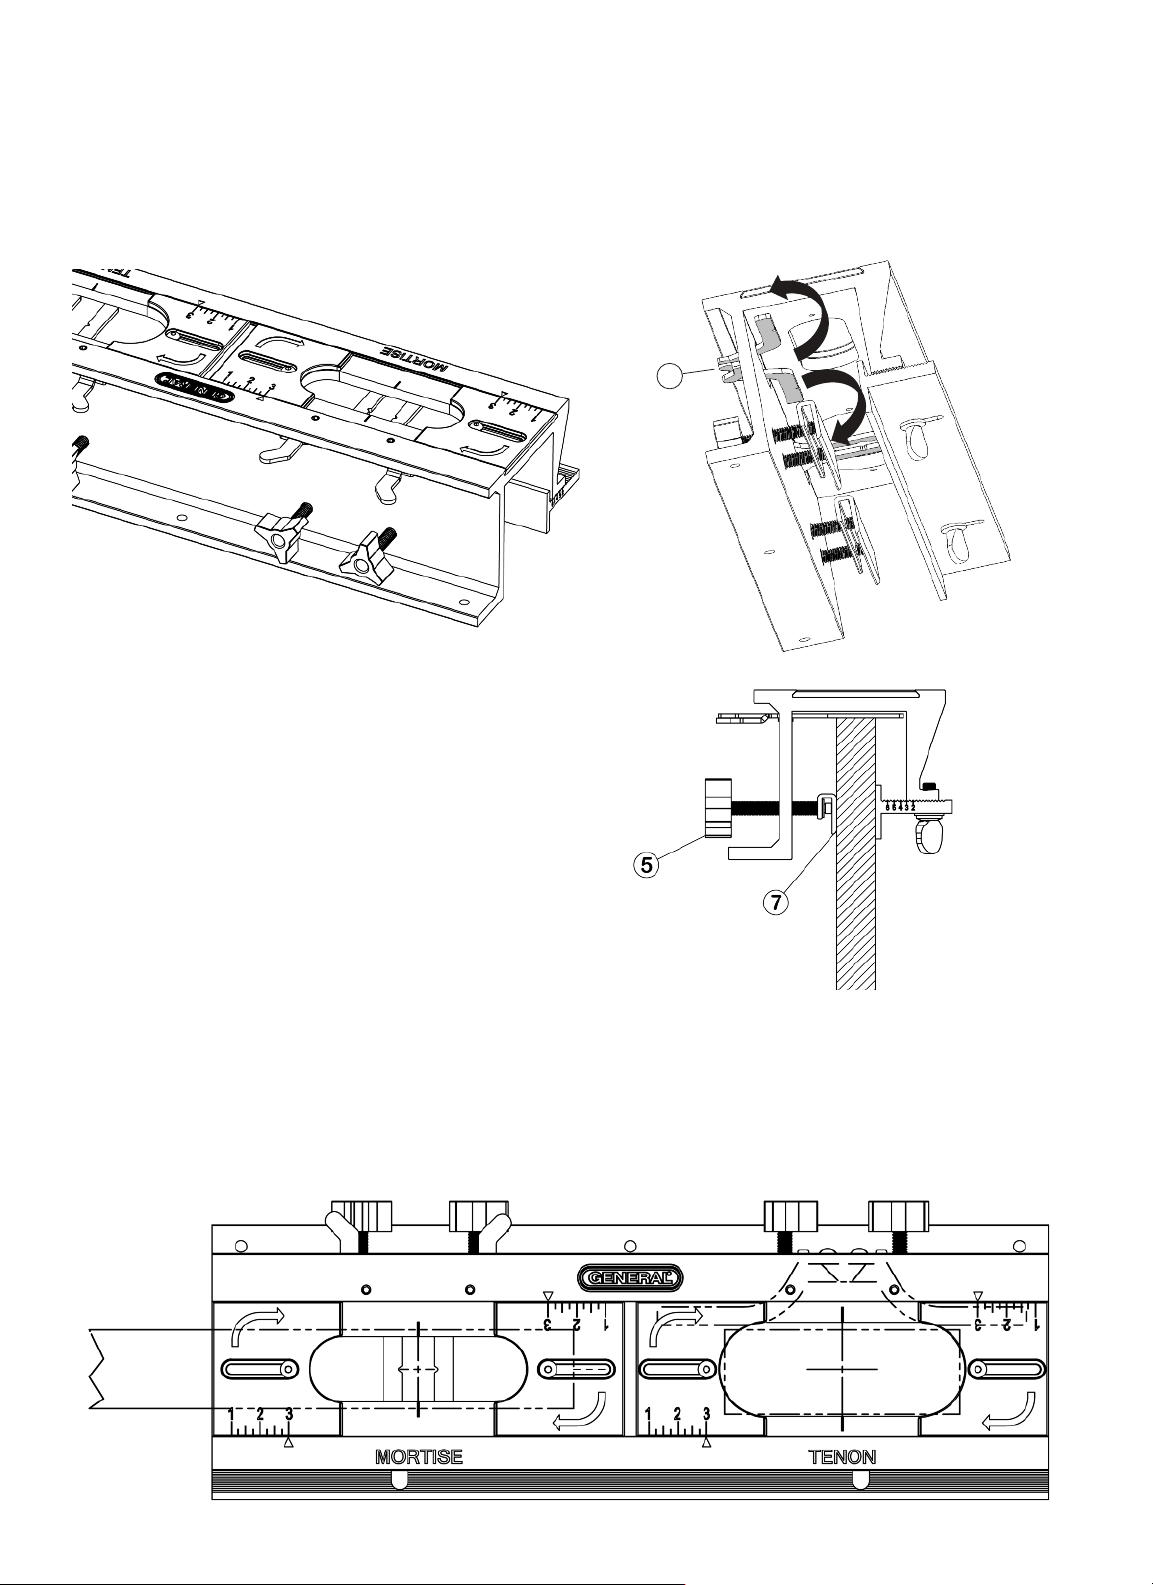
3. Positioning the Stock Using the Positioning Bars
When in the deployed position (Fig 12), the Positioning Bars serve two basic purposes:
1. Then position the stock at the correct depth below the underside of the template for routing
2. Then align the stock so it is squared, at 90 degrees, to the jig longitudinally
The Positioning Bars [Fig 12 and 13] are stored along
the inside edge of the underside of the jig’s top when
routing.
1. To extend the bars, use the Positioning Bar handles
[6A], located under the outside top edge.
2. After you fully deploy the Positioning Bars, you’re
ready to place the stock in the jig. Insert the stock
gently up against the deployed Positioning Bars
(Fig. 14) and tighten the Thumb Screws [5] just
enough so the stock is held loosely by the
Face Clamps [7].
3. Center the stock longitudinally using the jig’s Centering Marks [1A] on the jig (Fig. 15). Before
tightening the Face Clamps, be sure the stock is flat and square against the Positioning Bars
(but not too tight), and correctly centered.
4. Tighten the Face Clamps, enough to secure the stock from moving.
5. Using their handles, return the Positioning Bars to their storage position (Fig15).
8
Fig. 12
Fig. 13
Fig. 14
Fig. 15
IN USE POSITION
STORED FOR ROUTING
6
A
Loading ...
Loading ...
Loading ...