Loading ...
Loading ...
Loading ...
wasdesigned.Usetherightap-
pliance,Useonlyforjobsexplained
inthismanual,
MAINTENANCE SAFETY
• Maintain unit with care. Maintain unit
according to recommended proce-
dures. Follow instructions for chang-
ing blades in the SERVICE AND AD-
JUSTMENTS section. Keep blade and
blade guard clean to reduce the risk
of injury.
• Never start unit with blade guard re-
moved; blade can fly off or can throw
objects and cause serious injury,
• Disconnect unit from the power
source before performing mainte-
nance or changing blades.
• Use only genuine Weed Eater re-
placement parts as recommended.
• Have all maintenance and service
not explained in this manual per-
formed by an Authorized Service
Dealer.
CARTON CONTENTS
• Never douse or squirt the unit with
water or any other liquid. Clean the
unit and labels with a damp sponge.
Keep handles dry, clean, and free
from oil and grease,
TRANSPORTING & STORAGE
• Transport unit with motor stopped
and the blade away from your body.
• Do not grasp or hold exposed blade.
• Unplug unit before Storing; secure
unit when transporting it in a vehicle.
• Store unit so the blade cannot acci-
dentally cause injury. The unit can be
hung by the handle.
• Store unit indoors. Store unit un-
plugged in a high, dry place out of
reach of children.
If situations occur which are not cov-
ered in this manual, use care and
good judgment. If you need assis-
tance, contact your nearest Authorized
Service Dealer or call 1-800-554-6723.
SAVE THESE INSTRUCTIONS
Edger
Screws
Locknuts
Operator's Manual
Examine parts for damage. Do not use
damaged parts.
NOTE: If you need assistance or find
parts missing or damaged, call
1-800-554-6723.
ASSEMBLY
WARNING: If received assembled,
repeat all steps to ensure your unit is
properly assembled and all fasteners
are secure.
This Operator's Manual has been de-
veloped to help you assemble the unit
and to provide its safe operation. It is
important that you read the entire man-
ual to become familiar with the unit be-
fore you begin assembly.
Read your Operator's Manual
Tools you will need:
• Phillips Screwdriver
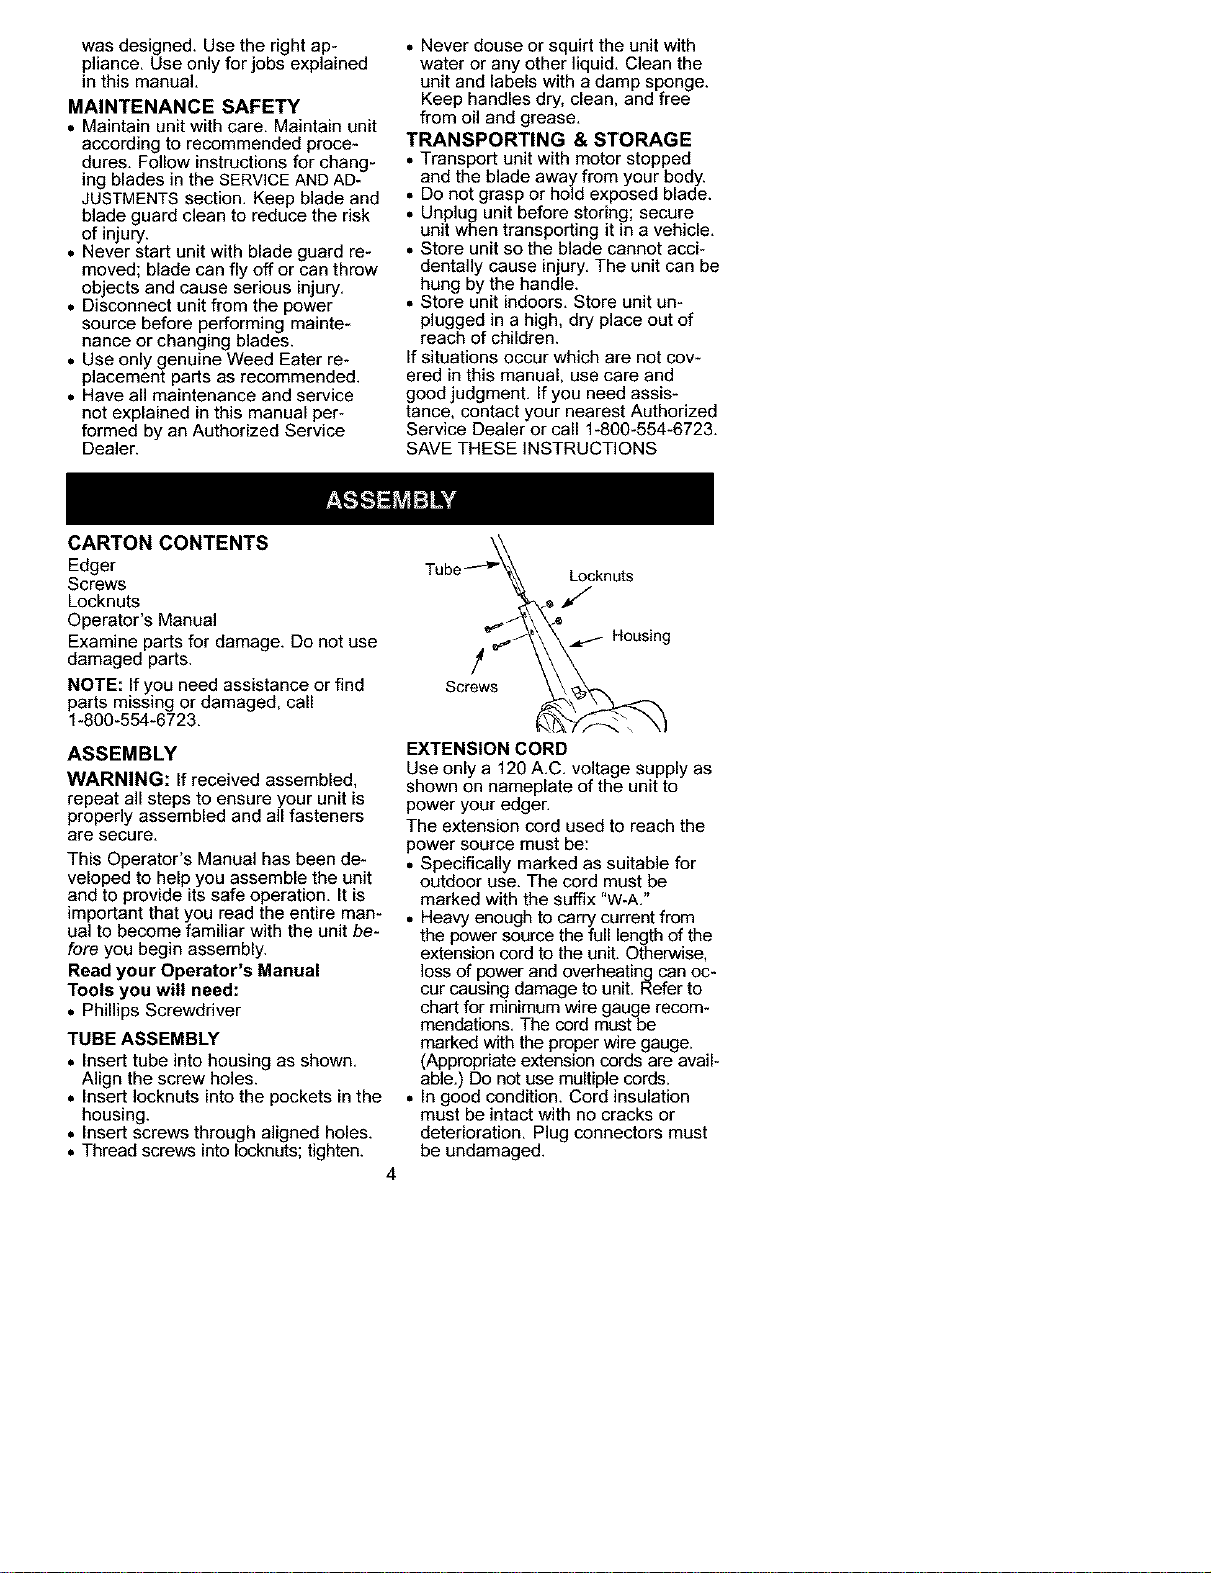
TUBE ASSEMBLY
• Insert tube into housing as shown.
Align the screw holes.
• Insert Iocknuts into the pockets in the
housing.
• Insert screws through aligned holes.
• Thread screws into Iocknuts; tighten.
4
Tube Locknuts
f
Housing
!
Screws
EXTENSION CORD
Use only a 120 A.C. voltage supply as
shown on nameplate of the unit to
power your edger.
The extension cord used to reach the
power source must be:
• Specifically marked as suitable for
outdoor use. The cord must be
marked with the suffix "W-A."
• Heavy enough to carry current from
the power source the full length of the
extension cord to the unit. Otherwise,
loss of power and overheating can oc-
cur causing damage to unit. Refer to
chart for minimum wire gauge recom-
mendations. The cord must be
marked with the proper wire gauge.
(Appropriate extension cords are avail-
able.) Do not use multiple cords.
• In good condition. Cord insulation
must be intact with no cracks or
deterioration. Plug connectors must
be undamaged.
Loading ...
Loading ...
Loading ...