Loading ...
Loading ...
Loading ...
Shooting
2
47
EN
[Keystone Compensation]
Keystone distortion due to the inuence of lens focal length and proximity to the subject
can be corrected, or enhanced to exaggerate the effects of perspective. Keystone
compensation can be previewed in the monitor during shooting. The corrected image is
created from a smaller crop, slightly increasing the effective zoom ratio.
1
Highlight [Keystone Compensation] in the AP mode menu (P. 40) and press
the Q button.
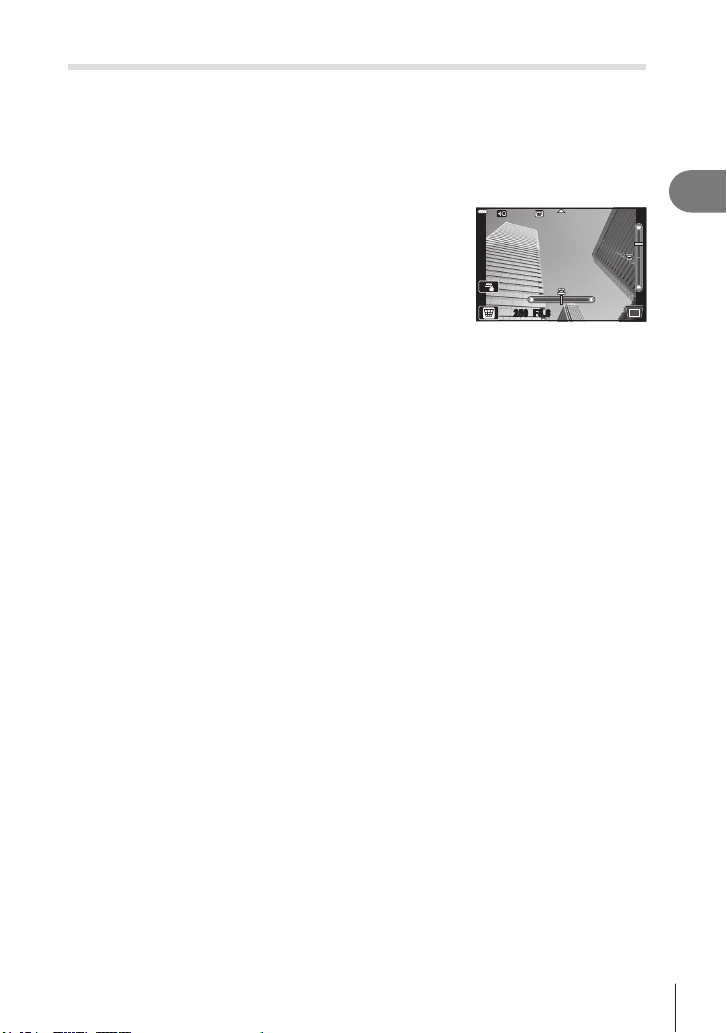
2
Frame the shot and adjust keystone compensation
while viewing your subject in the display.
• Use the front and rear dials to choose the compensation
amount.
• Use FGHI to choose the area to be recorded.
Depending on the compensation amount, you may be
unable to choose the area recorded.
• Press and hold the Q button to cancel any changes.
250250 F5.6
• To adjust exposure compensation and other shooting options while keystone
compensation is in effect, press the INFO button to view a display other than
keystone compensation adjustment. To resume keystone compensation, press the
INFO button until keystone compensation adjustment is displayed.
3
Press the shutter button halfway down to focus.
• If the focus indicator blinks, the camera is not in focus.
4
Press the shutter button all the way down to shoot.
• As the compensation amount increases:
- The image will become coarser
- The zoom ratio of the crop will increase
- It will no longer be possible to reposition the crop in both the vertical and horizontal
displays
• Photos are recorded in RAW+JPEG format when [RAW] is selected for image quality.
• The desired results may not be obtained with converter lenses.
• Depending on the amount of correction, some AF targets may be outside the display area.
An icon (g, h, i or j) is displayed when the camera focuses on an AF target outside
the display area.
• If a focus distance is selected for [Image Stabilizer], the correction will be adjusted for
the selected focus distance. Except when using a Micro Four Thirds or Four Thirds lens,
choose a focal length using the [Image Stabilizer] option (P. 93).
Loading ...
Loading ...
Loading ...