Loading ...
Loading ...
Loading ...
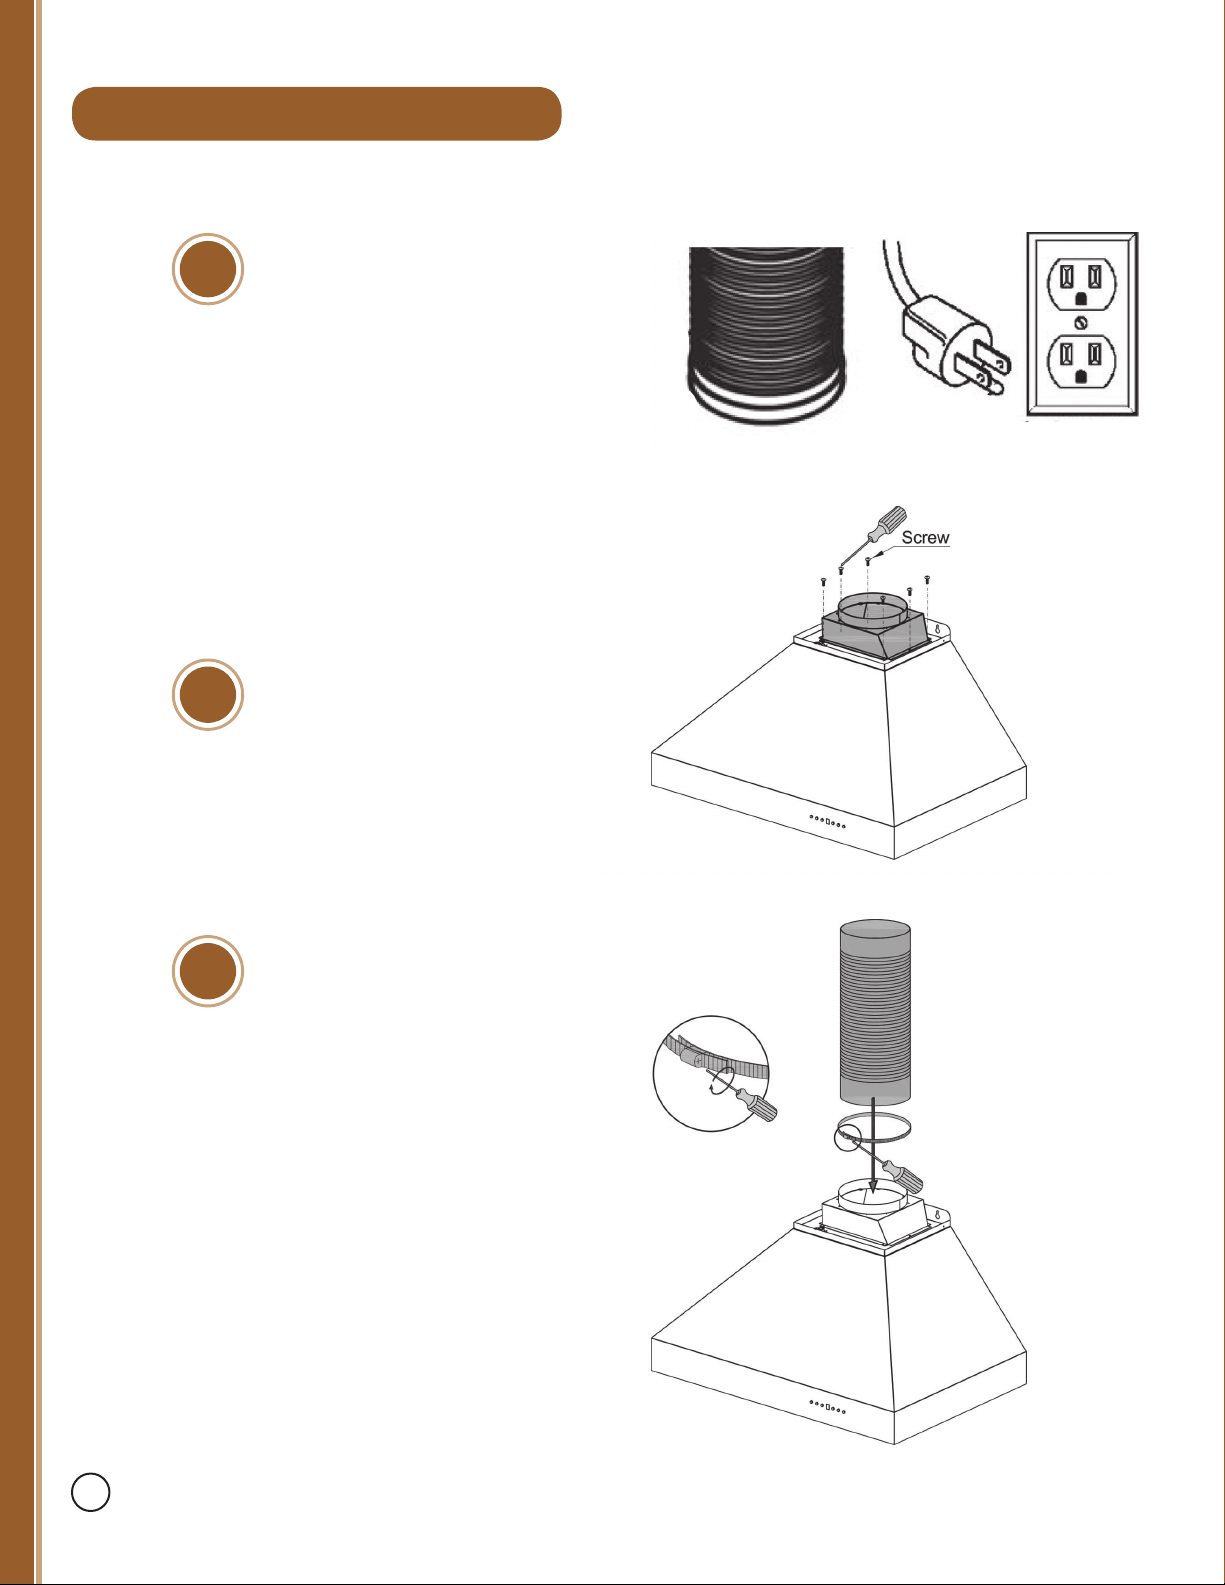
Figure 4
Figure 5
Figure 6
5
6
7
Make your electrical and ducting
connections. Try and minimize the
use of elbows. More elbows and lon-
ger runs create higher static pressure.
e hood comes with a grounded
three prong plug that can either be
direct wire or plugged into a 20amp.
circuit. (Figure 4)
Install the transition piece securing it
with screws provided. (Figure 5)
Connect the ducting to the transition
piece using ring to hold into place.
(Figure 6)
12
Designer Wall Range Hood Installation
Designer Wall Range Hood Installation
Loading ...
Loading ...
Loading ...